React To Full Stack
Tags: react node aws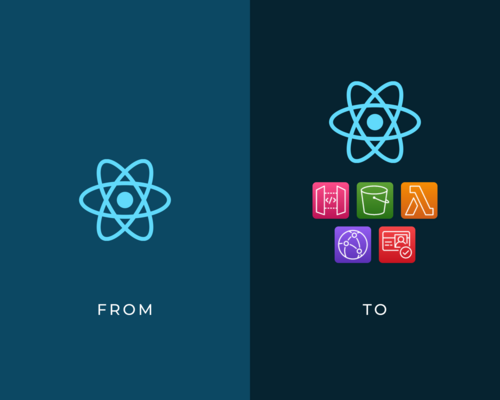
React seems to be the starting place for a lot of new developers, but what do you learn next? I know from personal experience that it can be daunting as a junior developer trying to decide what backend tech stack to go with. Should you use a SQL or NoSQL database? Should you use REST or GraphQL? How do you manage authentication? Should you learn .Net or Node? What should you use for hosting? What even is a Docker?
This article will save you the decision fatigue. Assuming that you know a bit of React, you can follow this step-by-step guide to build and deploy a full stack cloud native application, using AWS’s serverless infrastructure.
Overview
We are going to create the backend for a todo react app that I prepared earlier. The app is built with typescript and styled with material UI (MUI); we won’t be covering either of these as there are plenty of useful free resources on these topics online. Instead, we will be focusing on creating the backend infrasture and hosting the application.
As previously stated, our backend will be on the cloud, using AWS’s serverless infrastructure. With AWS serverless infrastructure, building your backend is a lot easier and faster. There’s less overhead to worry about like managing servers, system patching etc. It is also highly scalable, so you won’t need to worry about adding extra resources as your app userbase grows. Additionally, it also has a pay-for-value billing model, which means you only pay for what you use. AWS also continues to be the largest cloud provider in the market.
Let’s start by defining some basic requirements for full stack CRUD (create, read, update, delete) app. Generally, a full stack CRUD application requires the following:
- Ability to serve your application to users
- Ability to authenticate users to enter your app
- Somewhere to store your application build
- Ability to handle authorisation for API calls made from the app
- Ability to handle interactions between the app and database
- A database to store and retrieve information
Basic Architecture Diagram
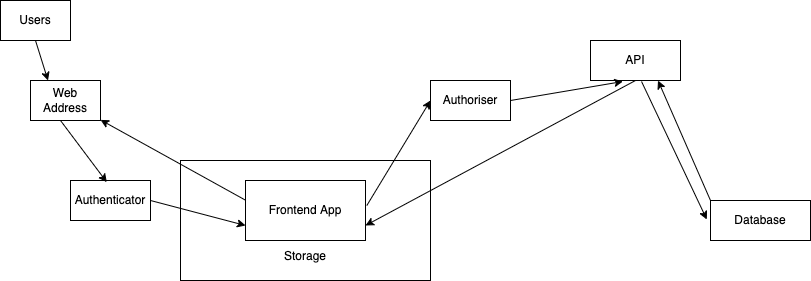
Each of these requirements have an infinite number of solutions, in comes AWS, your one stop shop with a cloud based service for every requirement.
- Ability to serve your application to users: AWS Cloudfront
- Ability to authenticate users to enter your app: AWS Cognito
- Somewhere to store your application build: AWS S3
- Ability to handle authorisation for API calls made from the app: AWS Cognito
- Ability to handle interactions between the app and database: AWS API Gateway & AWS Lambda
- A database to store information and retrieve information: AWS DynamoDB
Architecture Diagram with AWS
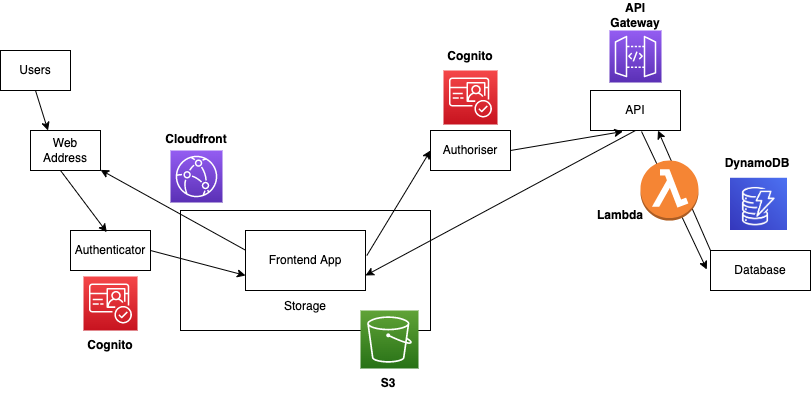
All of the AWS services integrate seamlessly providing a smooth development experience, I’ll walk you through configuring each one of these services using the AWS console. Hence, you will need an AWS account to follow this tutorial.
These are the steps we will take:
- Clone and launch the todo app locally
- Create the Cognito user pool - this will handle authentication and authorisation
- Create the DynamoDB database
- Create the Lambda function and give it permission to access DynamoDB
- Configure a REST API using API Gateway and integrate it with the Lambda function
- Upload the app to S3.
- Serve the app using a Cloudfront distribution
Tutorial Time
The Todo App
The todo app is a basic CRUD app, you’ll be able to create a todo, mark a todo as ‘done’, edit a todo, or delete a todo. These are the steps to setup the app locally:
- Clone this repo
- Run ‘npm i’ to install required packages
- Run ‘npm start’ to launch the application locally
You should see a login page, however, we haven’t set up authentication as yet - so it won’t work. Which takes us to the next stage, configuring Cognito for authentication.
Creating a Cognito user pool for authentication
AWS Cognito lets you add user sign-up, sign-in, and access control to your web and mobile apps quickly and easily. It really does make handling authentication a breeze.
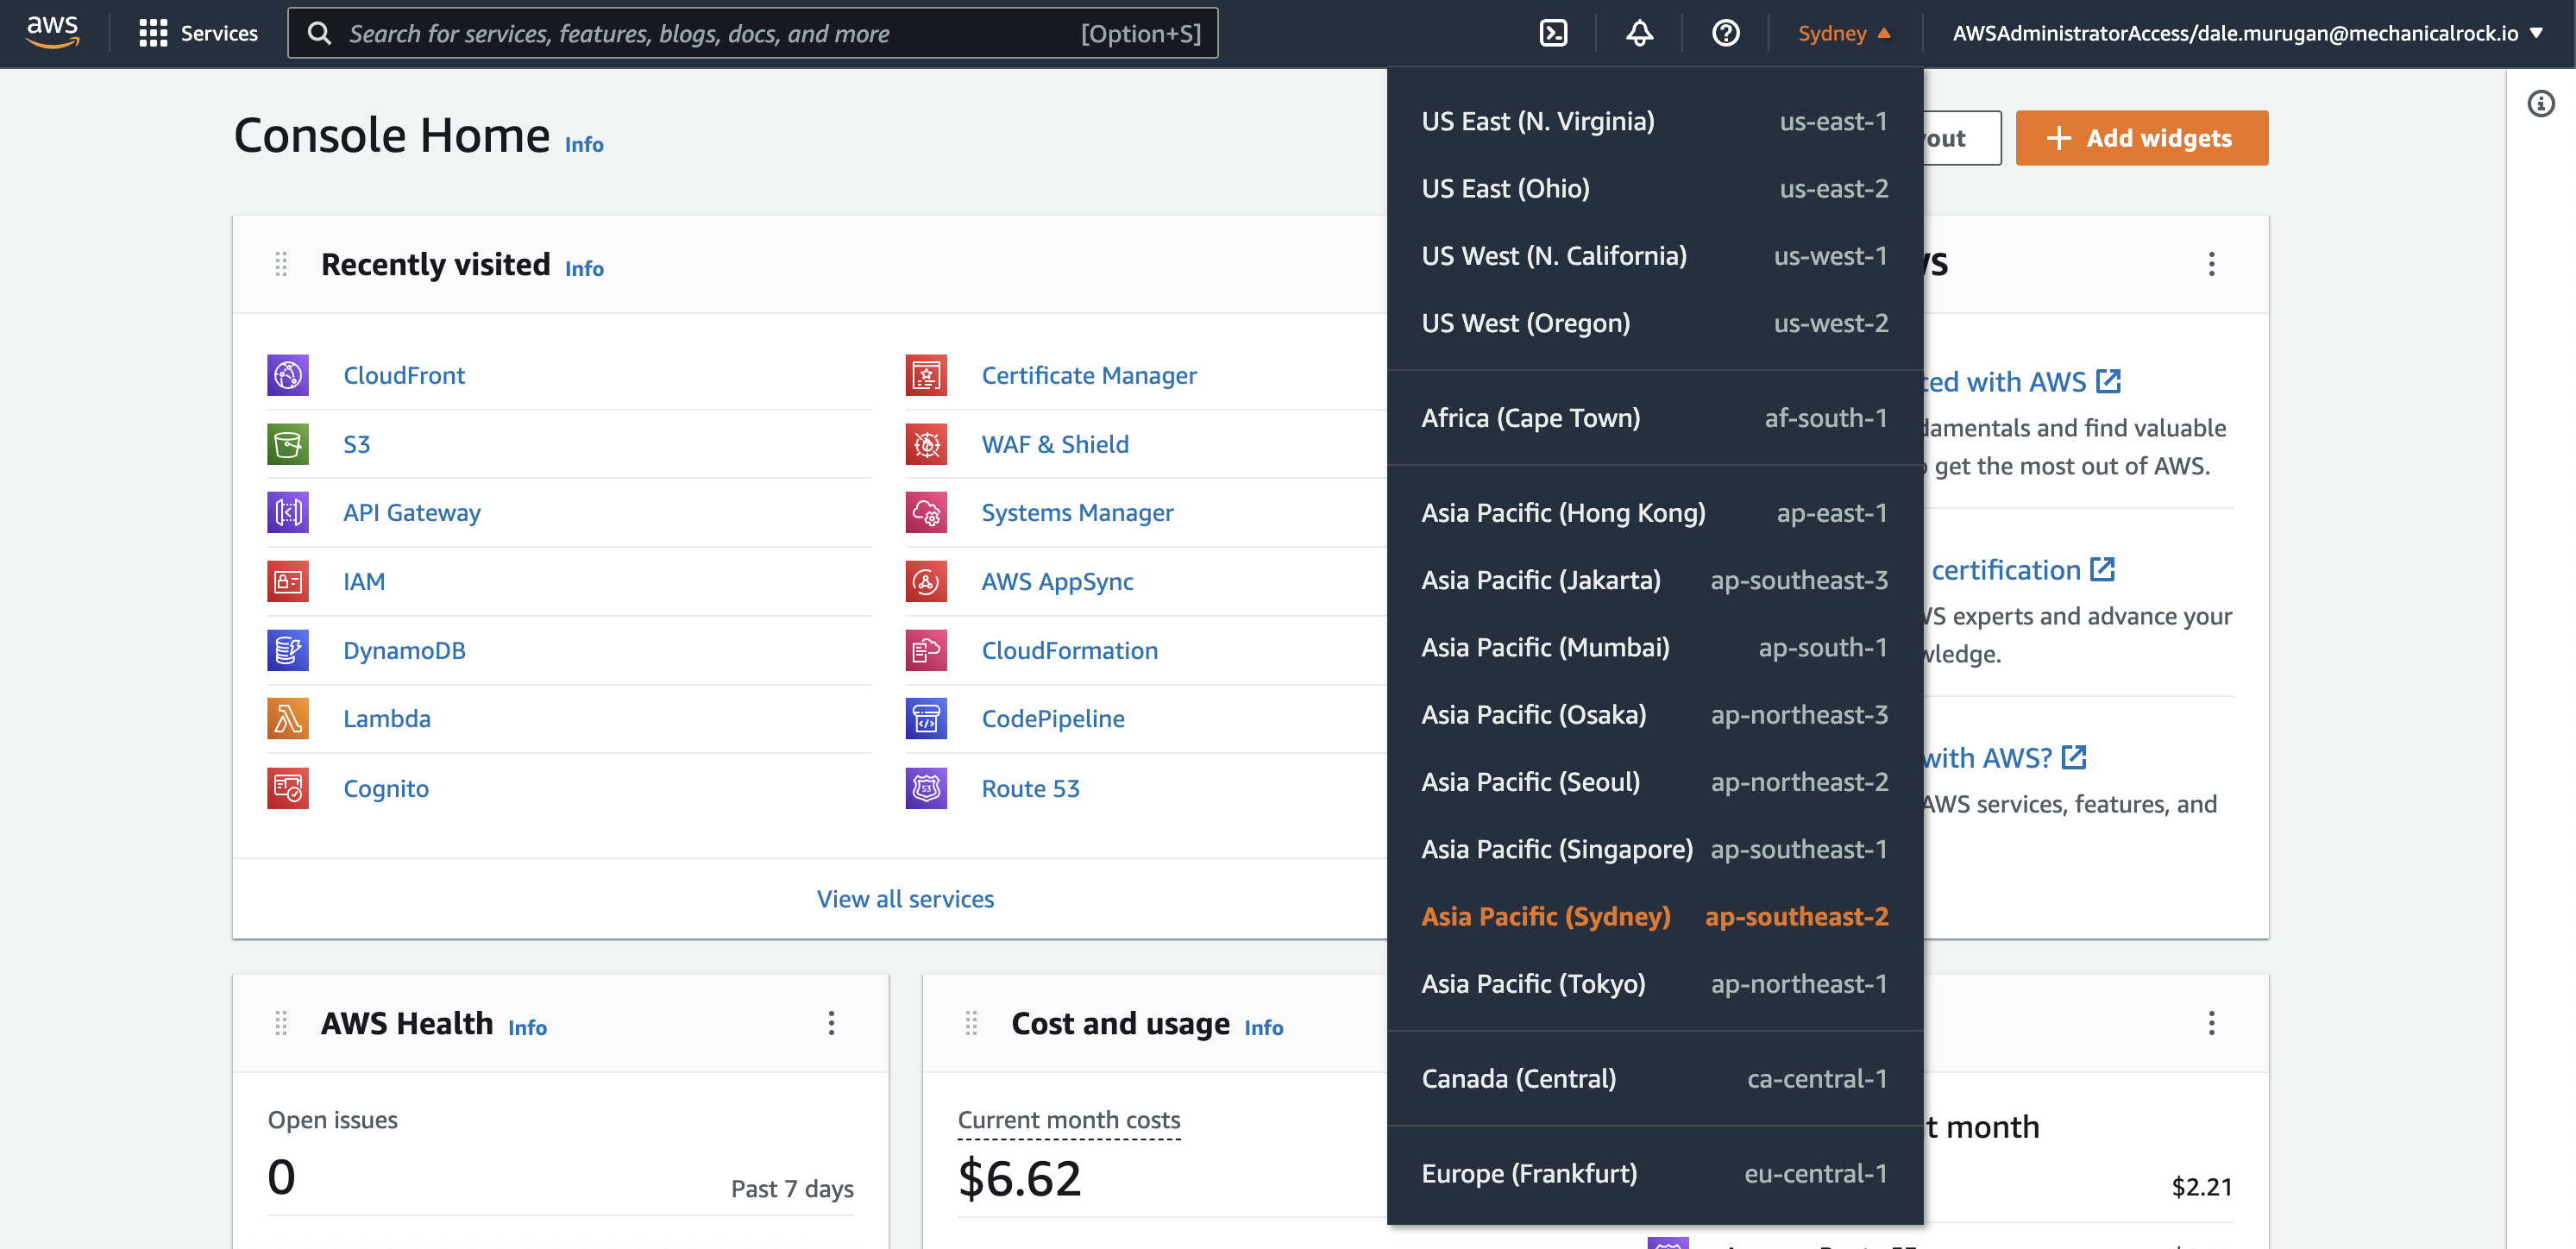
Before all of these steps, please ensure your AWS region is correct. If you do not know which region to pick, check this out and pick the one closest to you.
-
To do this simply click the drop down and select your region. I am based in Perth, Western Australia so my closest region is ap-southeast-2.
-
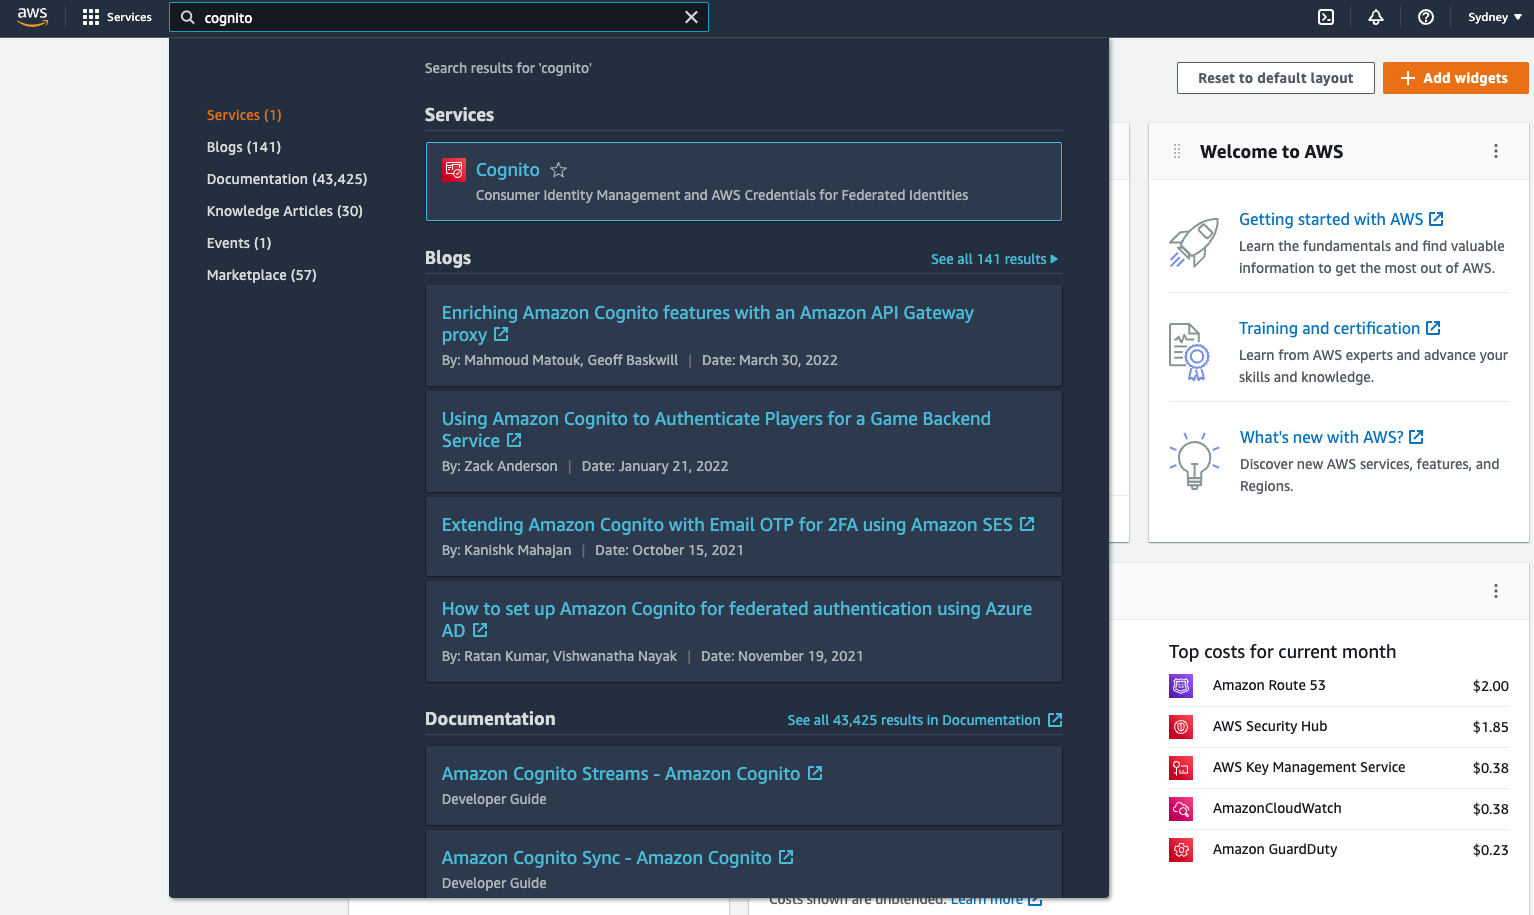
From the AWS console search for Cognito.
-
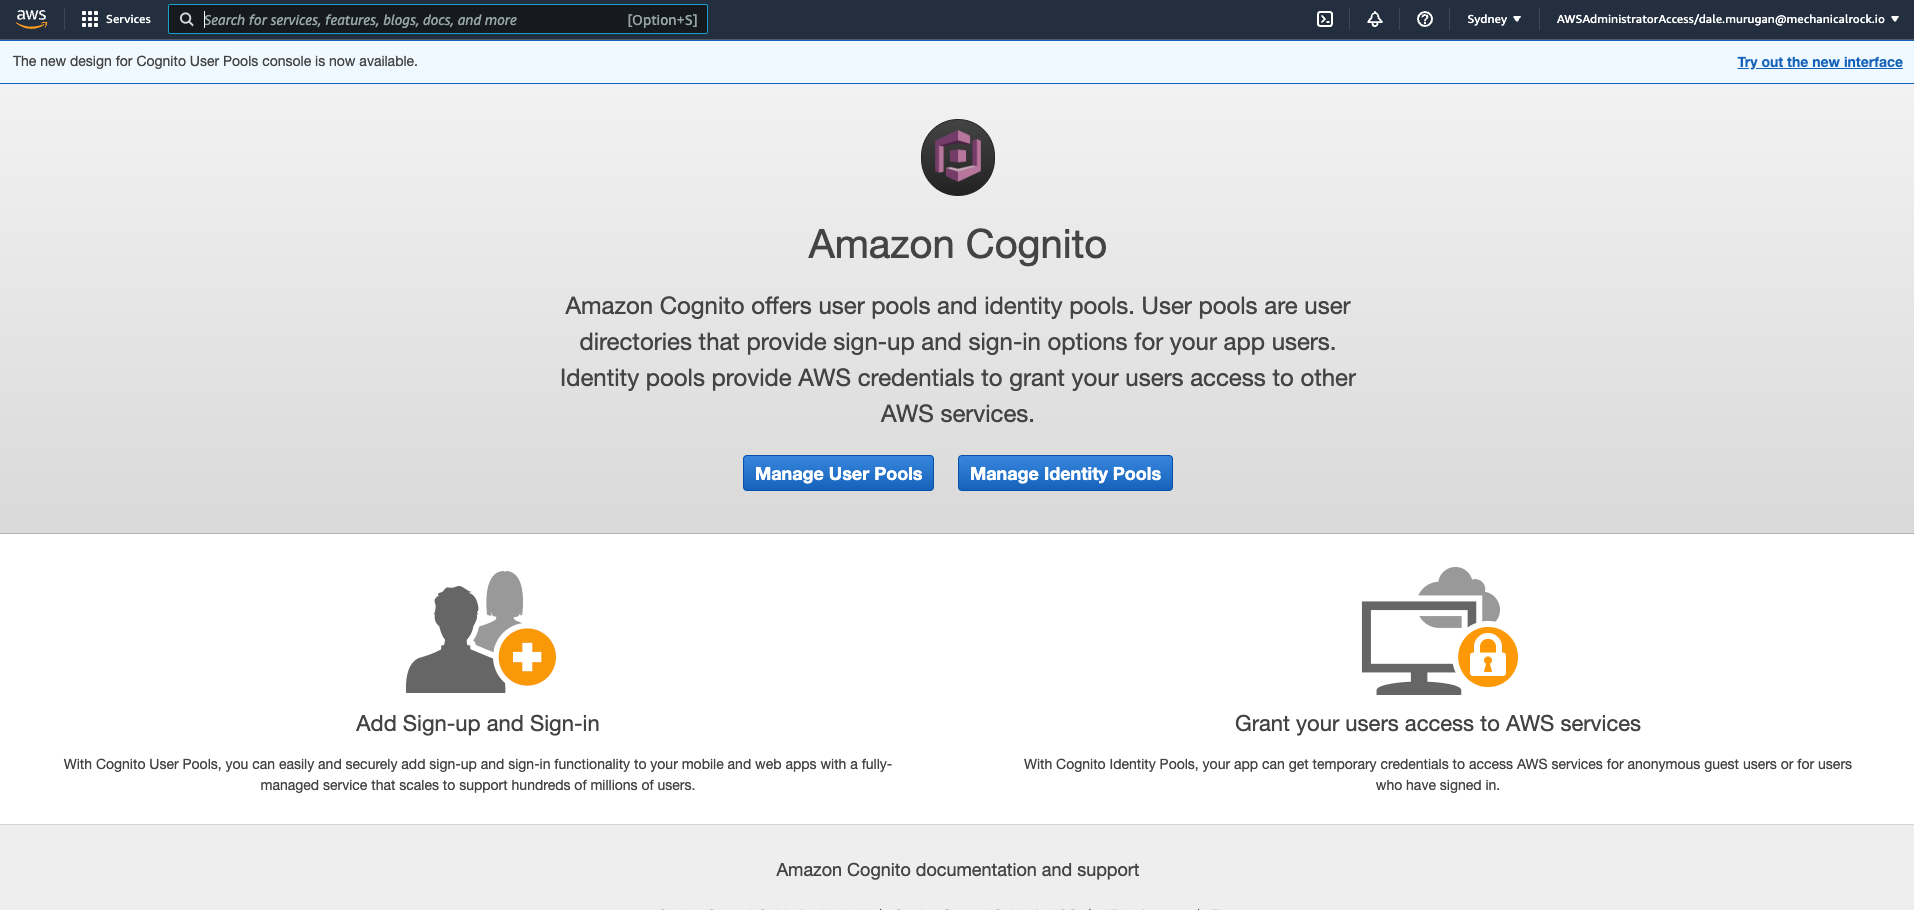
Click ‘Manage User Pools’.
-
In the top right corner click ‘Create a user pool’.
-
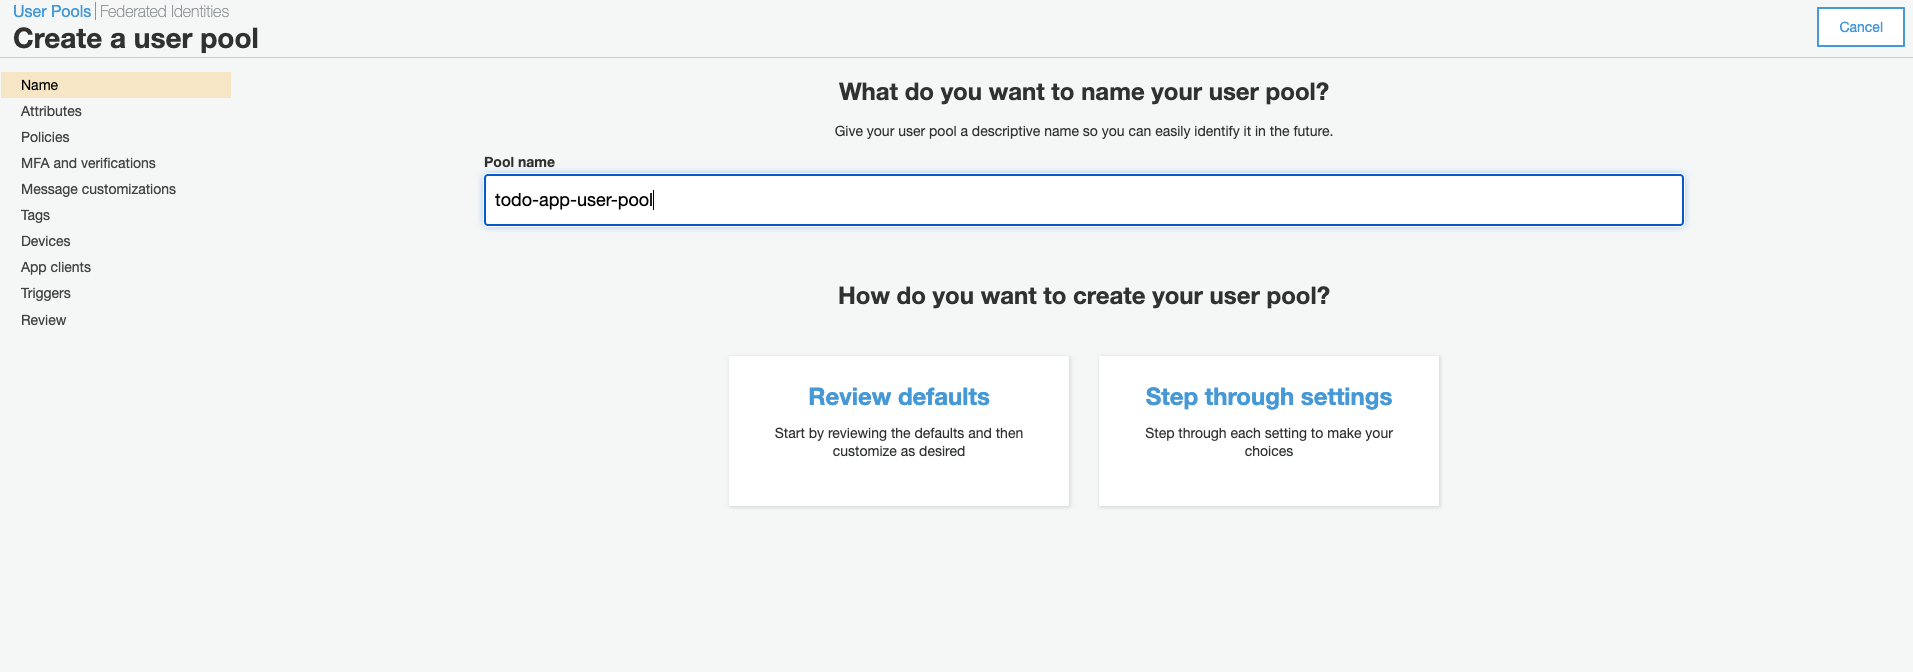
Enter a name for your user pool then click ‘Review Defaults’.
-
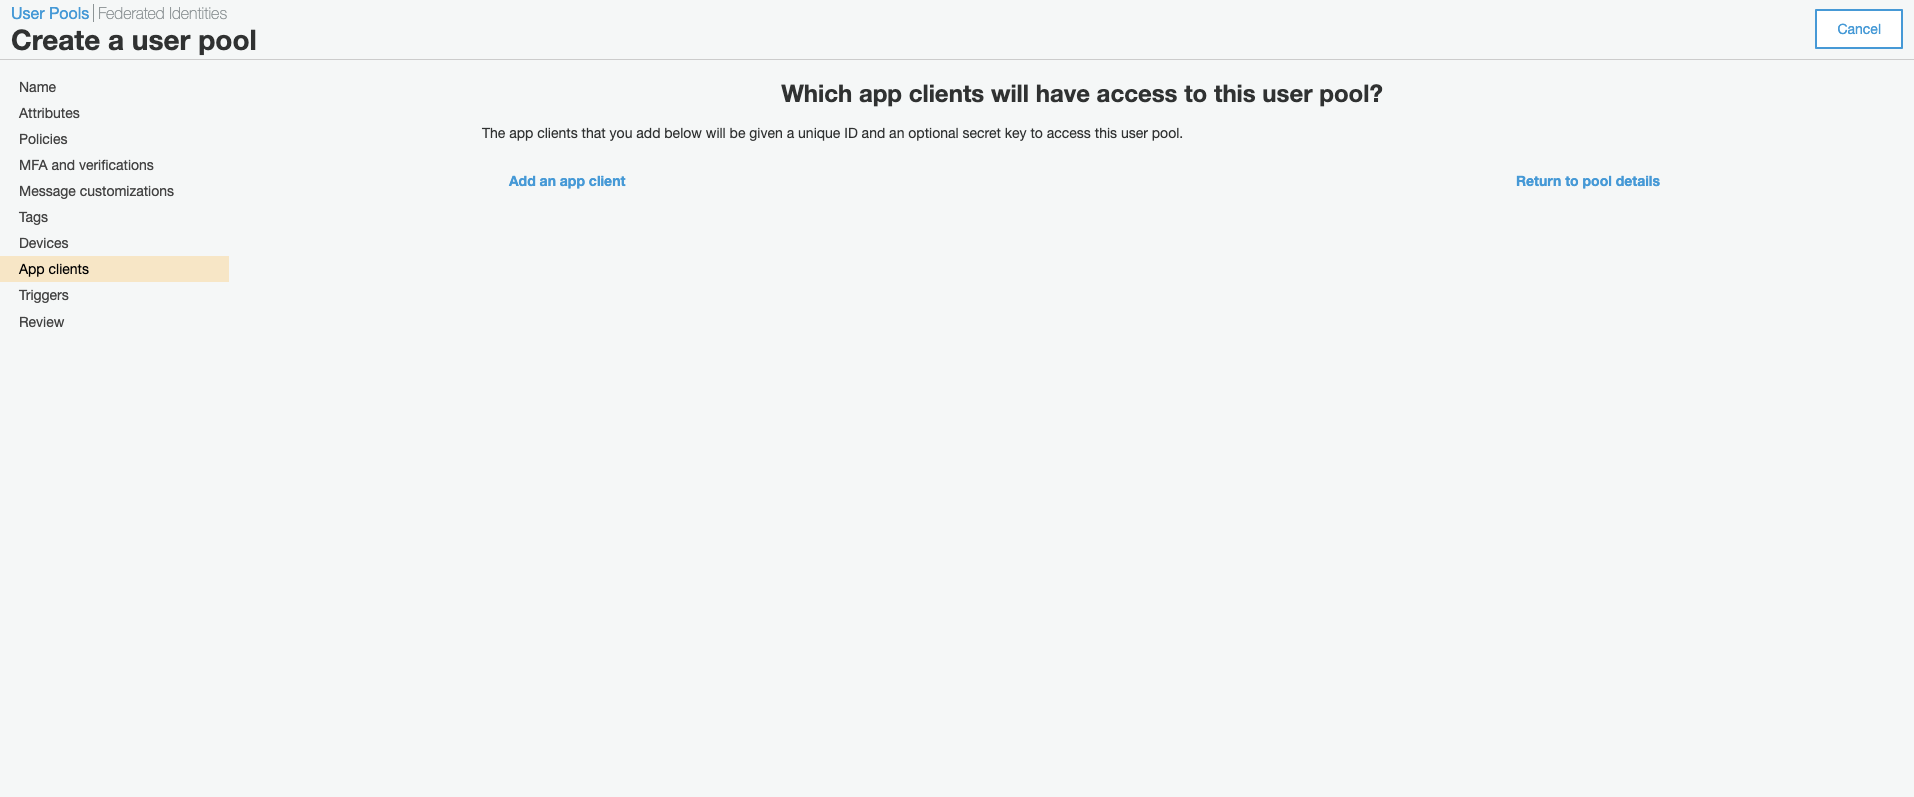
Click ‘Add app client’.

-
Click ‘Add an app client’.
-
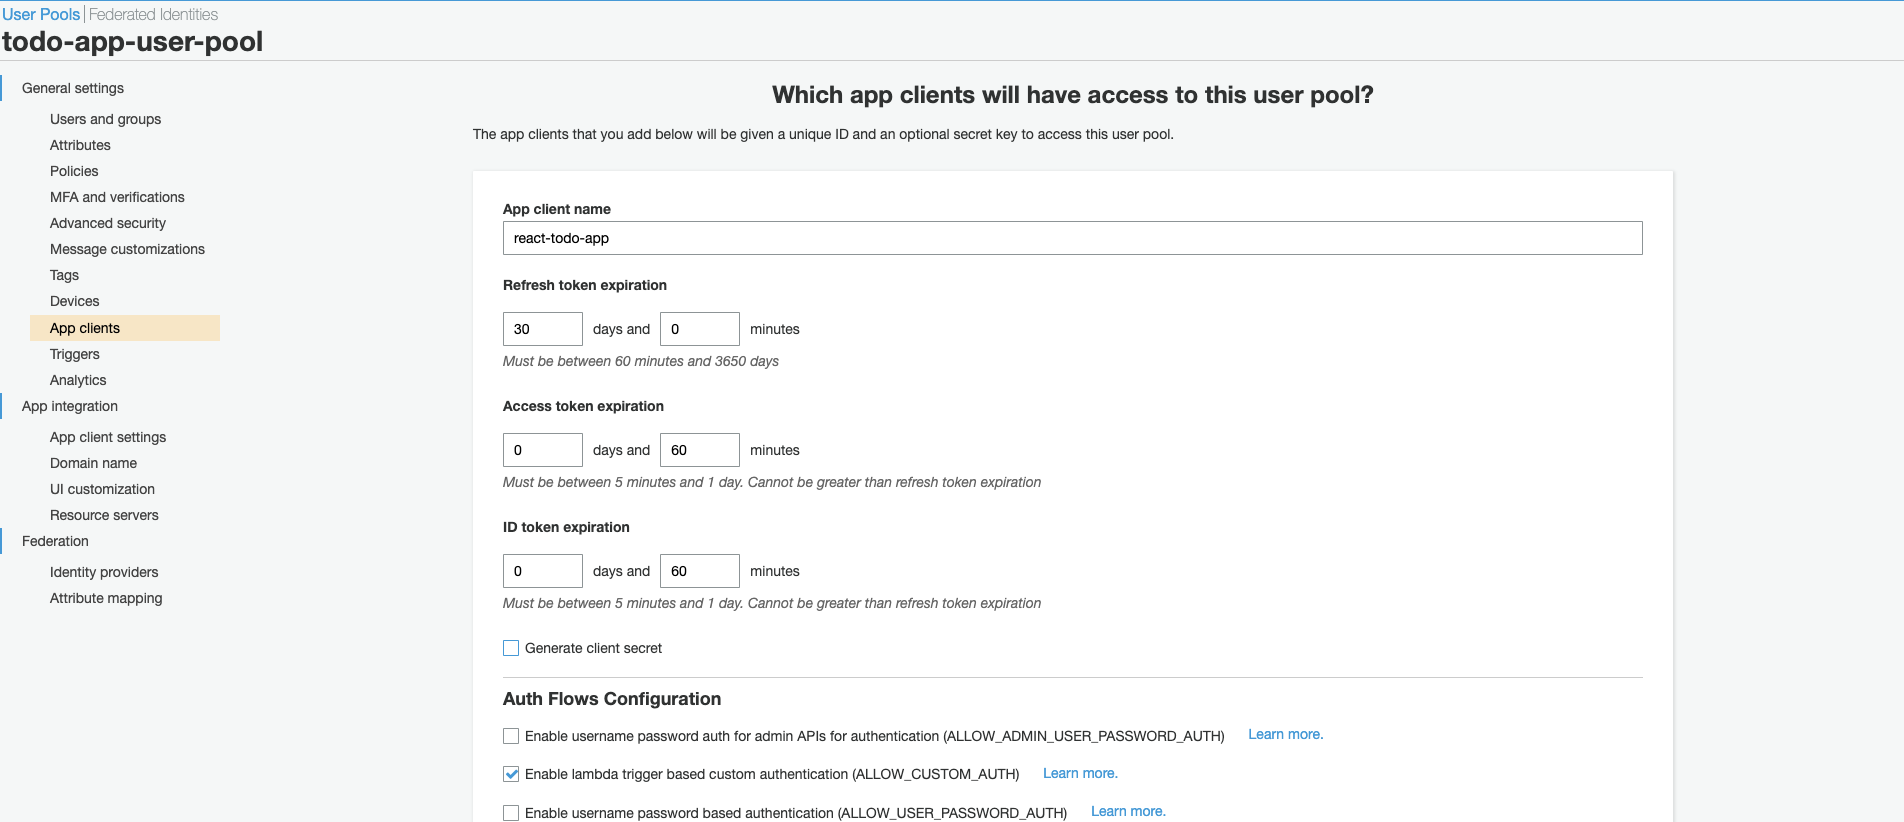
Create a name for your app client, uncheck “Generate client secret”, then scroll down and click ‘Create app client’.
-
Click ‘Return to pool details’.

-
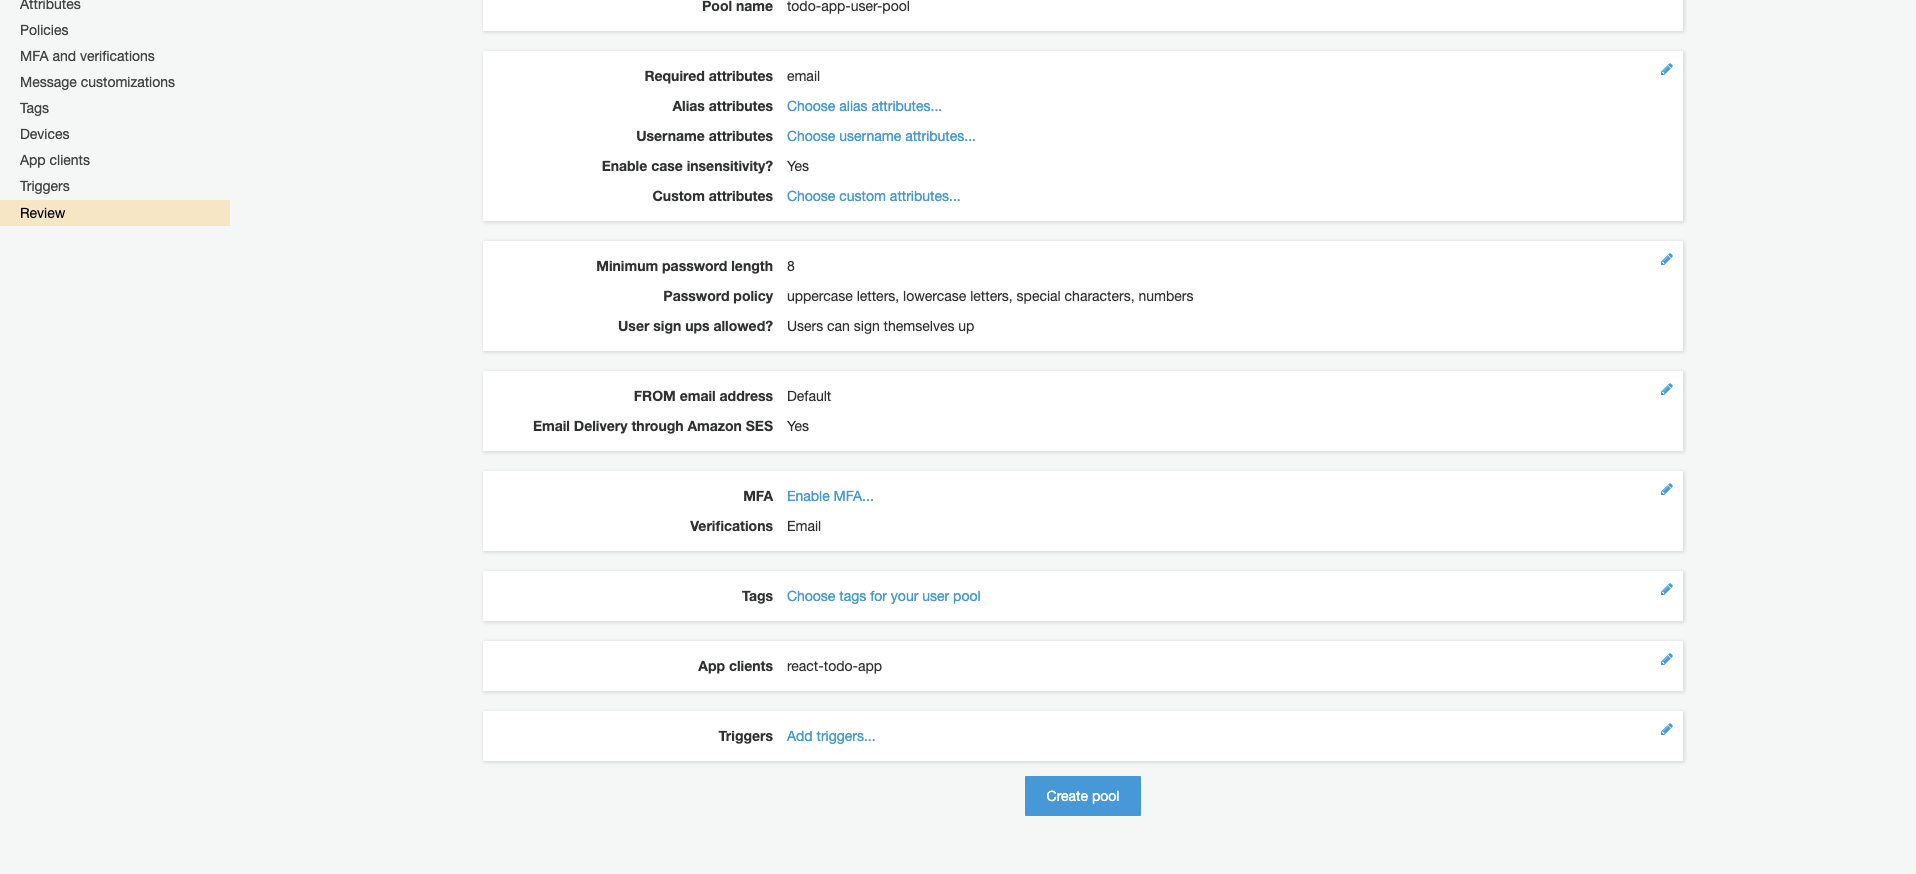
Click ‘Create pool’.
-
Copy your ‘Pool Id’ and paste it in userPoolId:”” in the COGNITO_CONFIG object in constants.ts (todo-app > src >constants > constants.ts) of the todo-app repo.
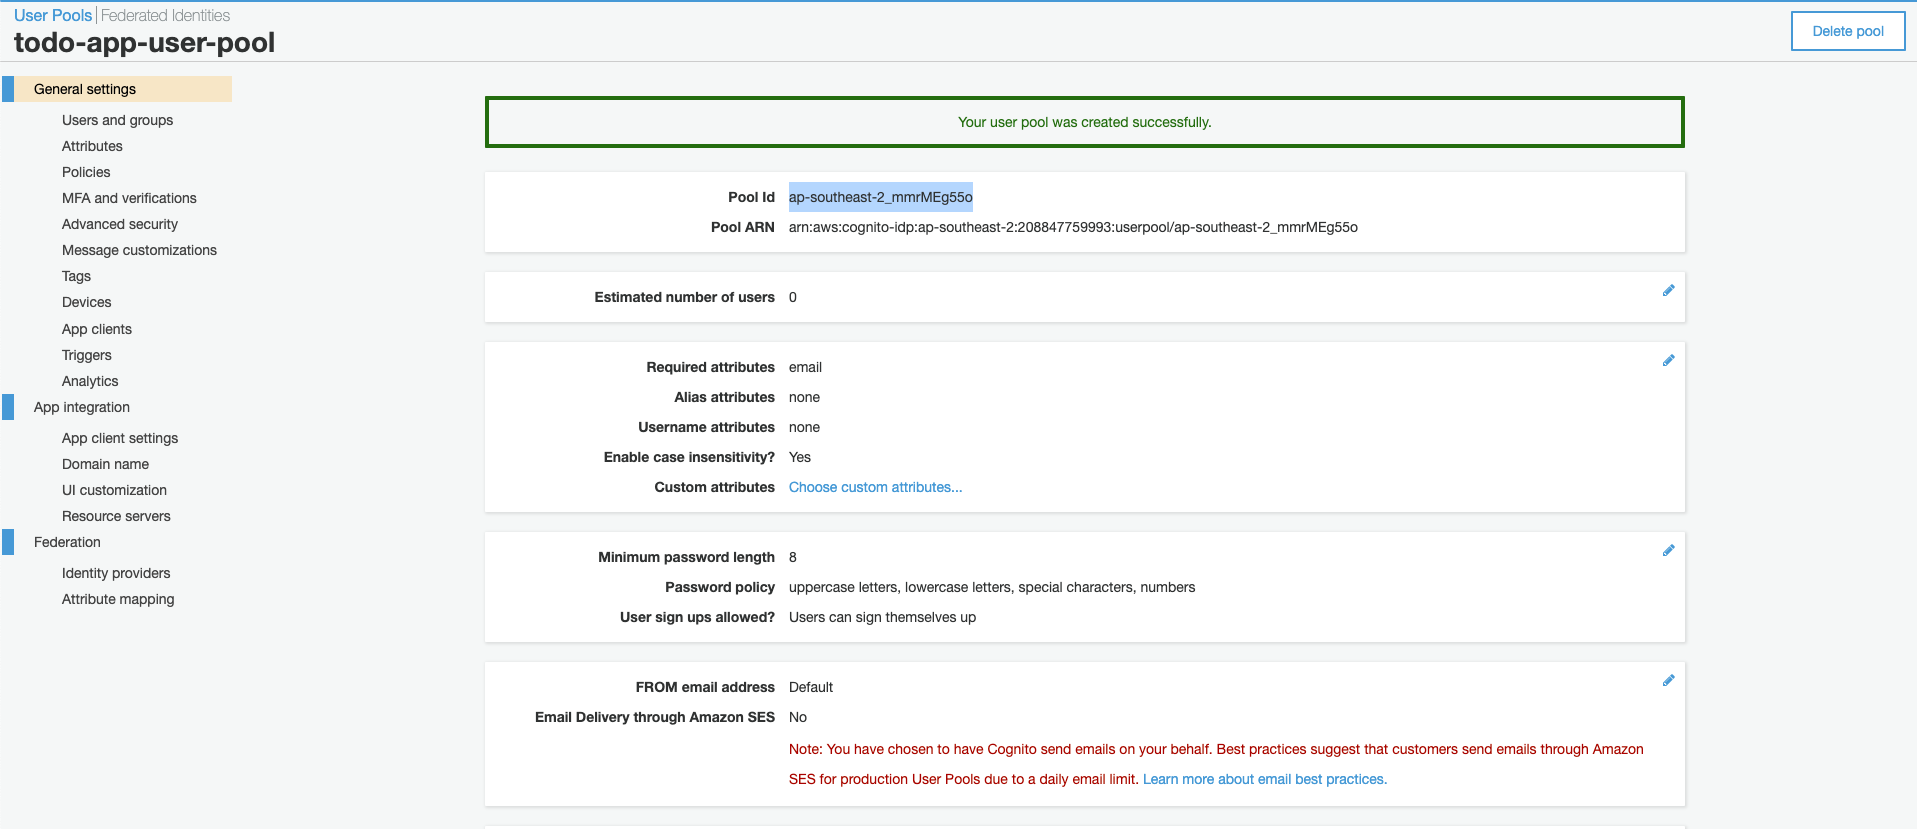
Your region is stated before the underscore, in my case it is ap-southeast-2. Plug in both the region and userPoolId into the COGNITO_CONFIG object. At this point it should look something like this.
export const COGNITO_CONFIG = { region: "ap-southeast-2", userPoolId: "ap-southeast-2_mmrMEg55o", userPoolWebClientId: "", }; -
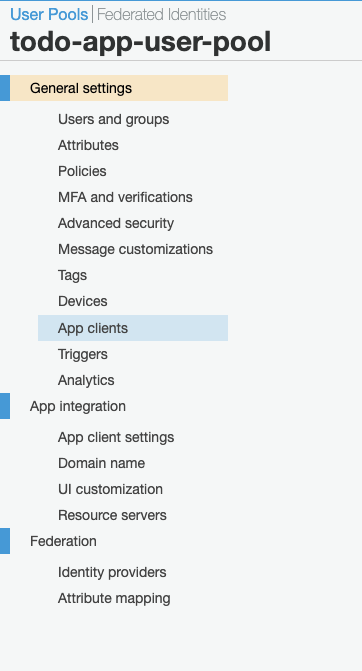
Navigate to ‘App clients’ using the side panel.
-
Copy the ‘App client Id’ and paste it into the ‘userPoolWebClientId’ value of the COGNITO_CONFIG object.
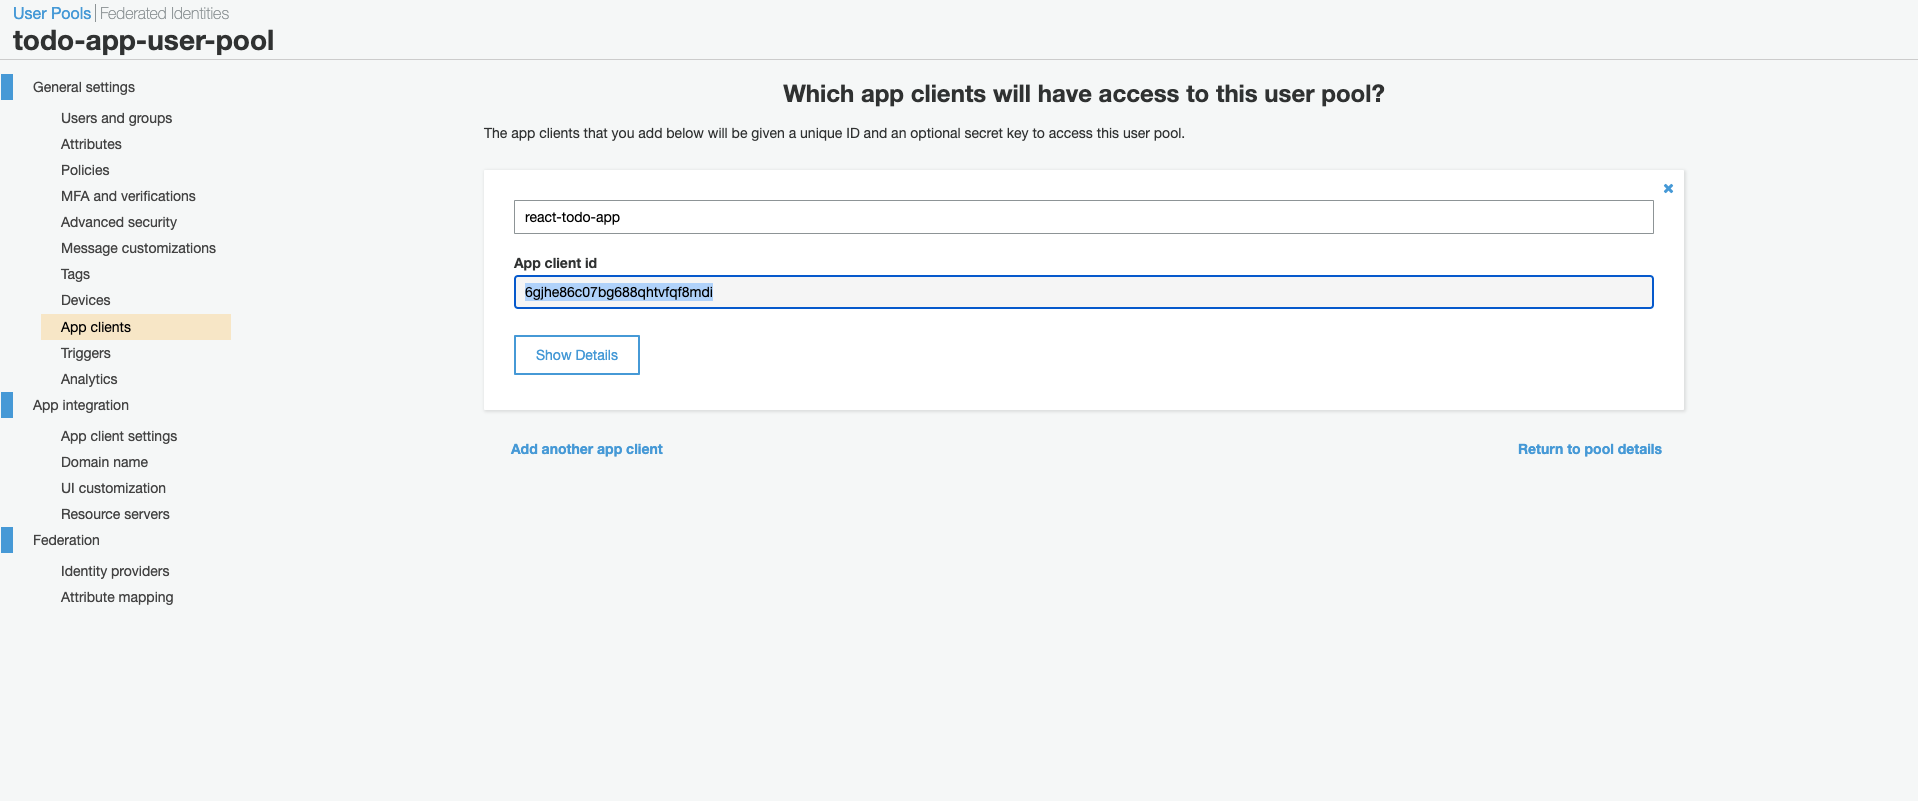
At this point your COGNITO_CONFIG object is configured and should look something like this.
export const COGNITO_CONFIG = { region: "ap-southeast-2", userPoolId: "ap-southeast-2_mmrMEg55o", userPoolWebClientId: "6gjhe86c07bg688qhtvfqf8mdi", }; -
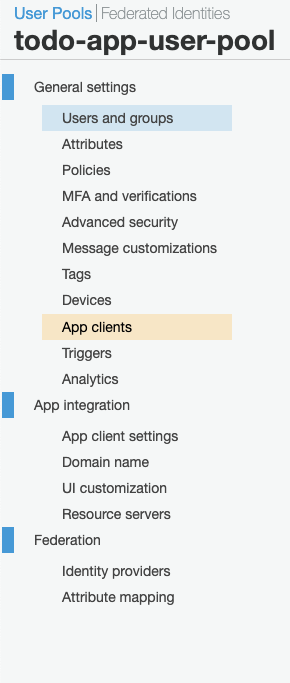
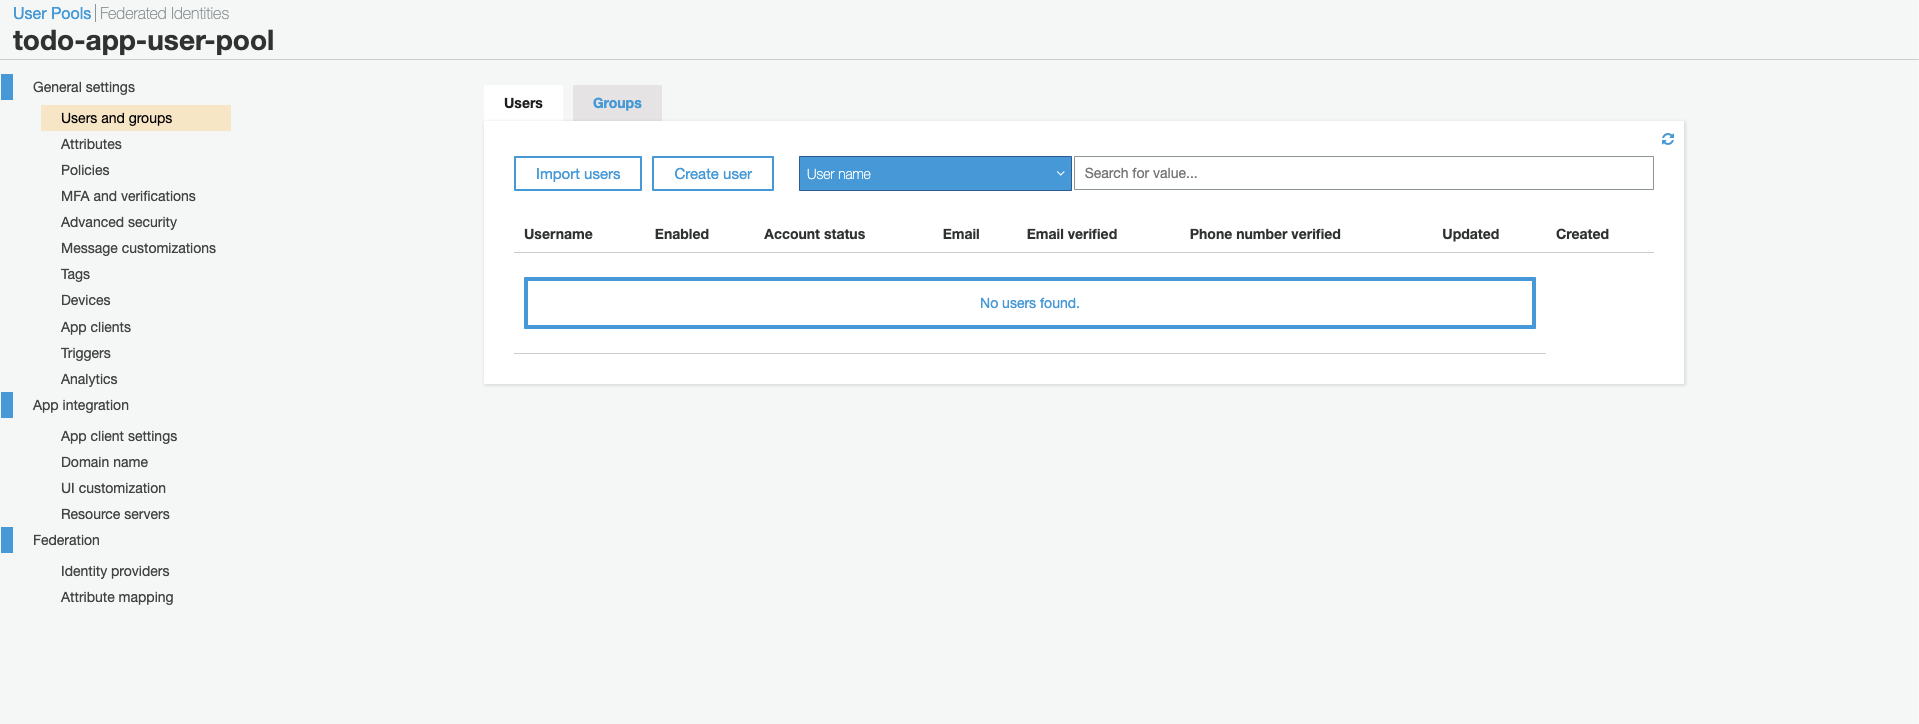
Now we need to create a user, using the side panel navigate to ‘Users and groups’.
-
Click ‘Create user’.
-
Uncheck ‘Send an invitation to this new user?’ and complete the rest of the information, then click ‘Create user’.
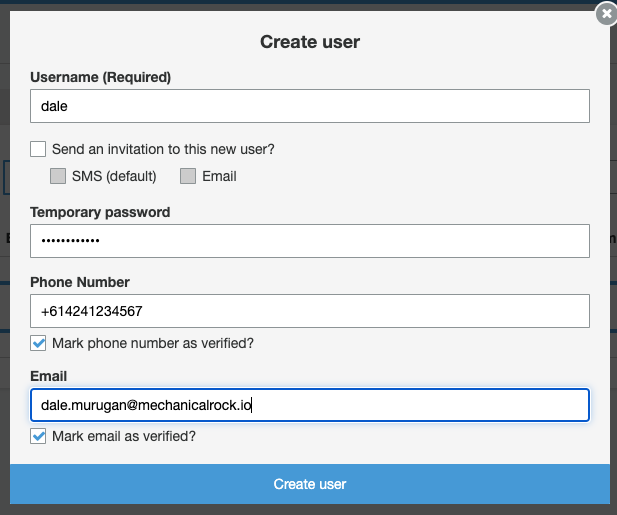
*You will notice the account status of the created user will be ‘FORCE_CHANGE_PASSWORD’. Usually the user would need to sign into your application and reset their password. To keep this tutorial simple, I have coded in some magic on the frontend to avoid this step.
- Once you’ve saved your COGNITO_CONFIG with the updated values, you can now launch the application by running the command ‘npm start’. When you hit the login page, login with the username and password you just created.
You’ll see this screen, ignore the error saying ‘Sorry something went wrong’.
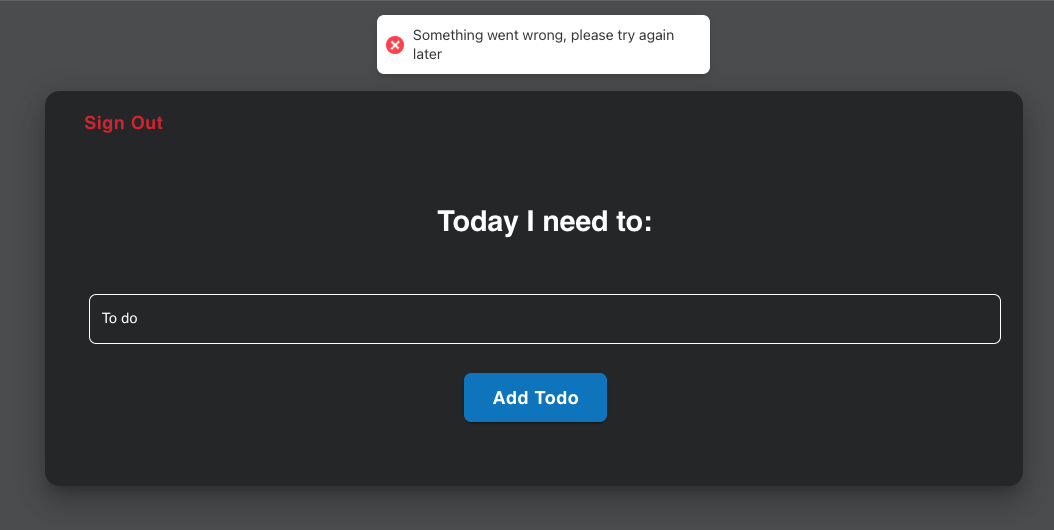
That’s cognito done! Let’s move on to configuring our database.
Create a DynamoDB database
AWS DynamoDB is a managed NoSQL database that provides high flexibility and scalability. I like DynamoDB because you don’t need to know your data structures in advance, for a junior dev who wants to experiment and test ideas this is ideal. Also, configuring a DynamoDB database is extremely simple as you will see.
-
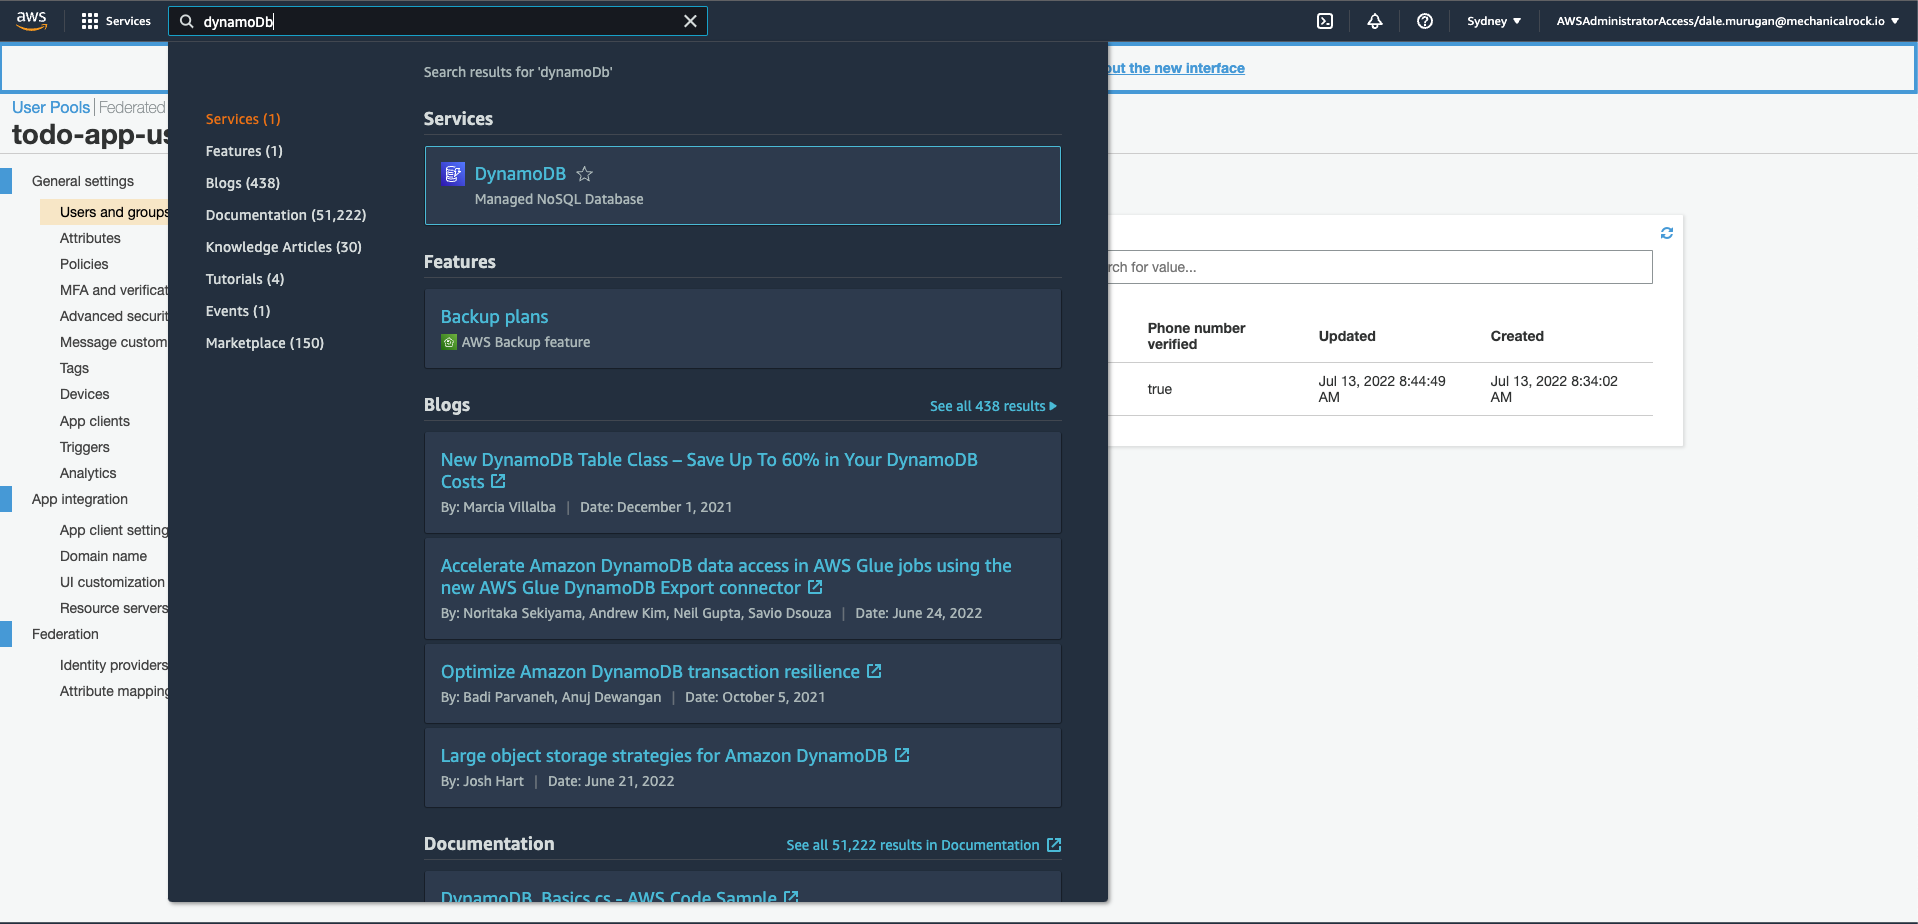
Search for DynamoDB using the search bar.
-
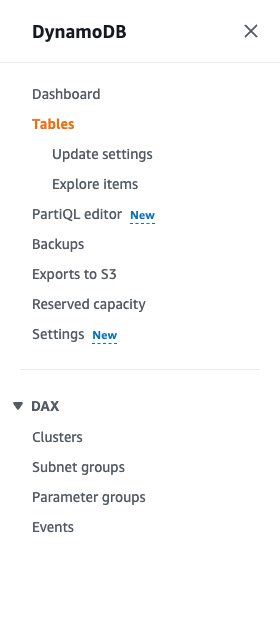
Using the side panel click ‘Tables’
-
On the top right hand corner of the screen, click ‘Create table’.

-
We are going to configure a partition key as “id” which will be a string value and the sort key as “createdAt” which will also be a string value. In our case the partition key will be a unique identifier for each todo, while the sort key will help with arranging the todos in order when we query the database. Both the partition key and sort key make up the primary key. Scroll to the bottom and click ‘Create table’.
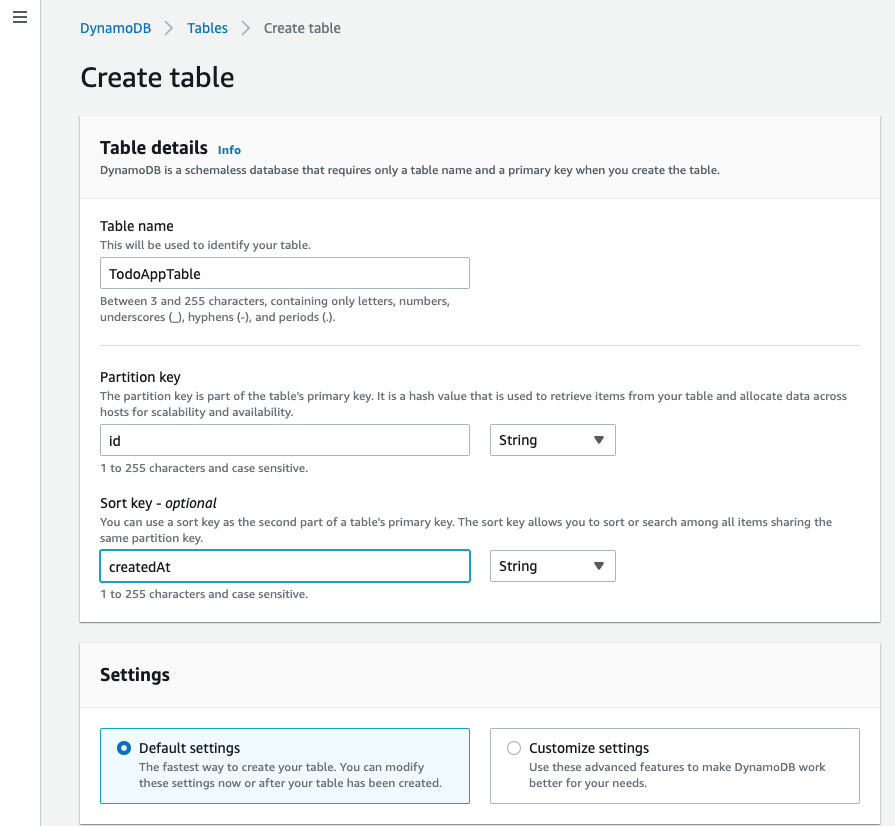
That’s it for provisioning our database.
Create a Lambda function
AWS Lambda is a highly versatile compute service that lets you run code without the hassle of managing or provisioning servers. Lambda has many use cases, we’re going to use it to interact with our DynamoDB database.
-
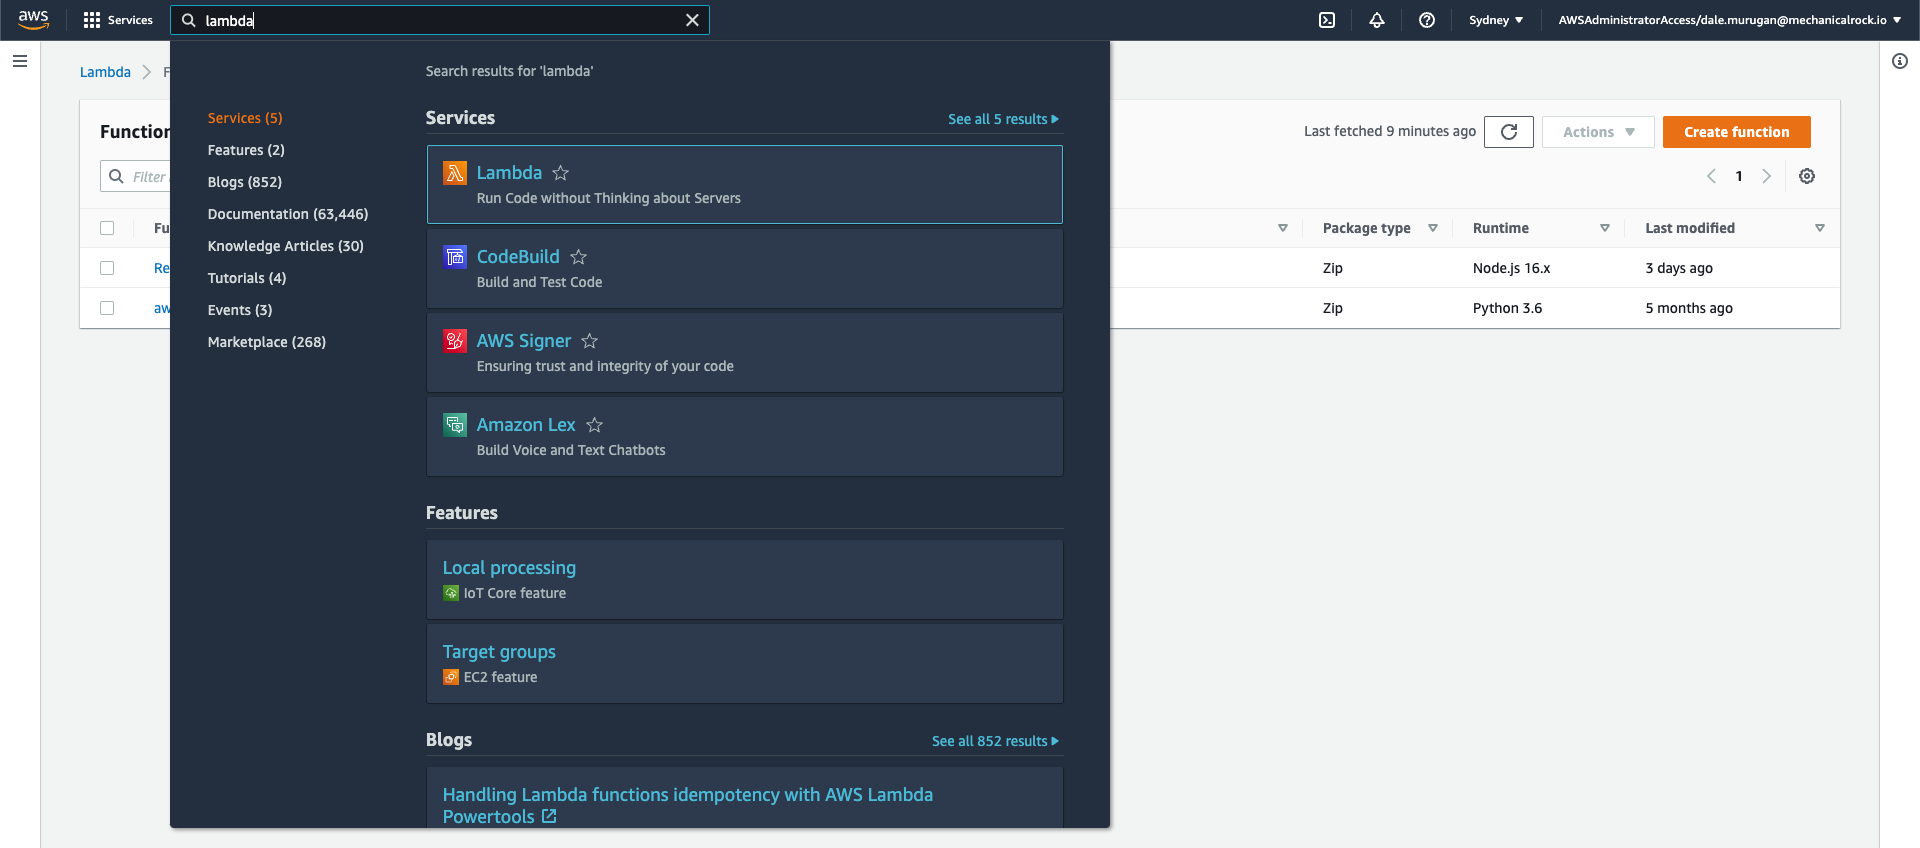
Search for Lambda using the search bar, and select it from the drop down.
-
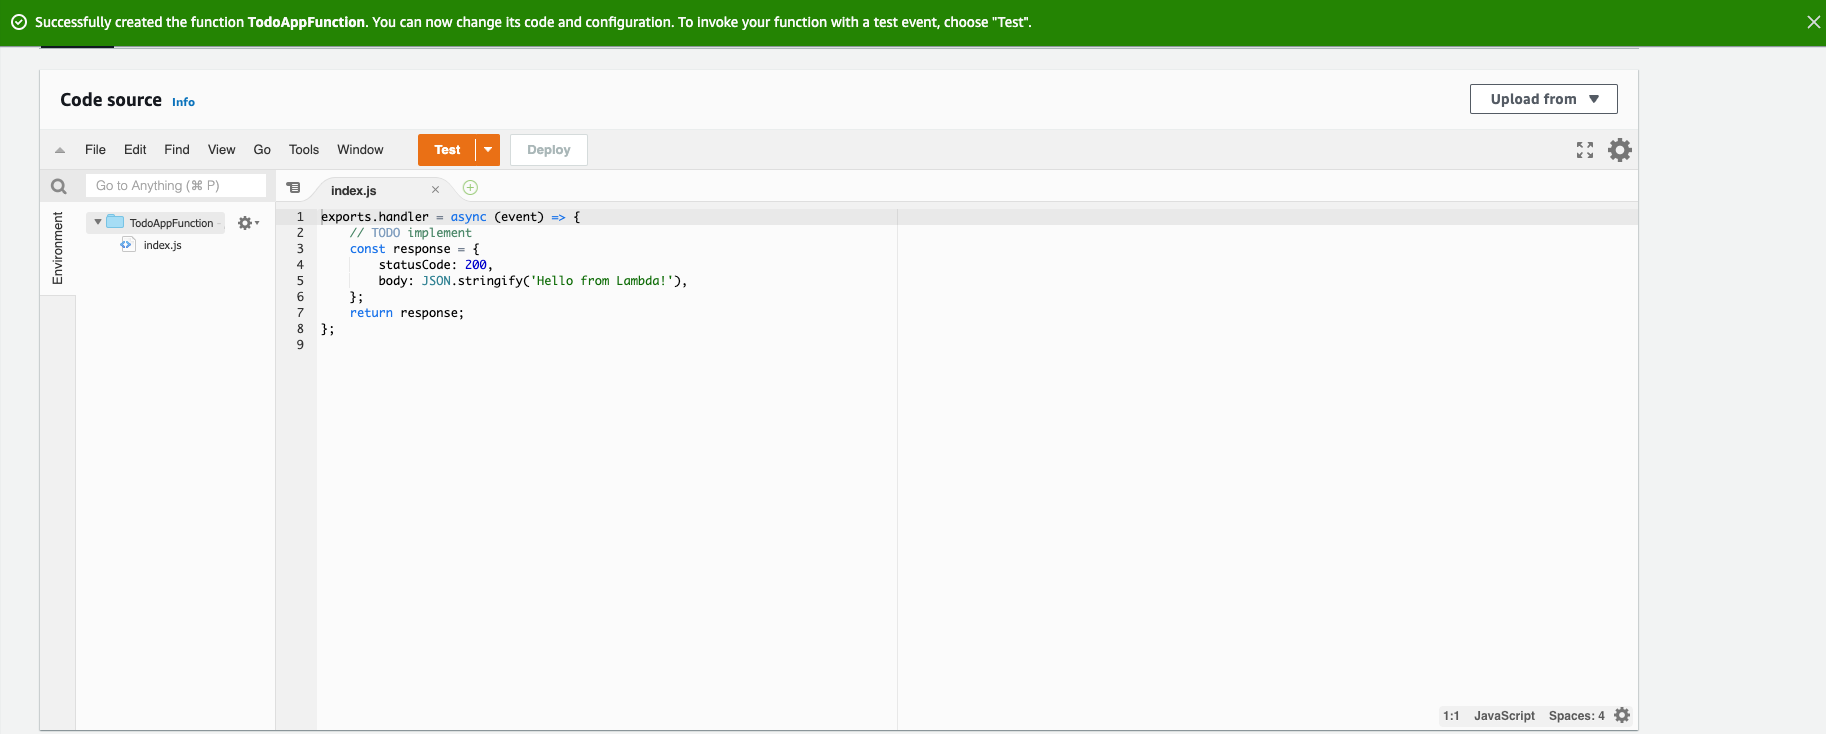
On the top right hand side of your screen, click ‘Create function’.
-
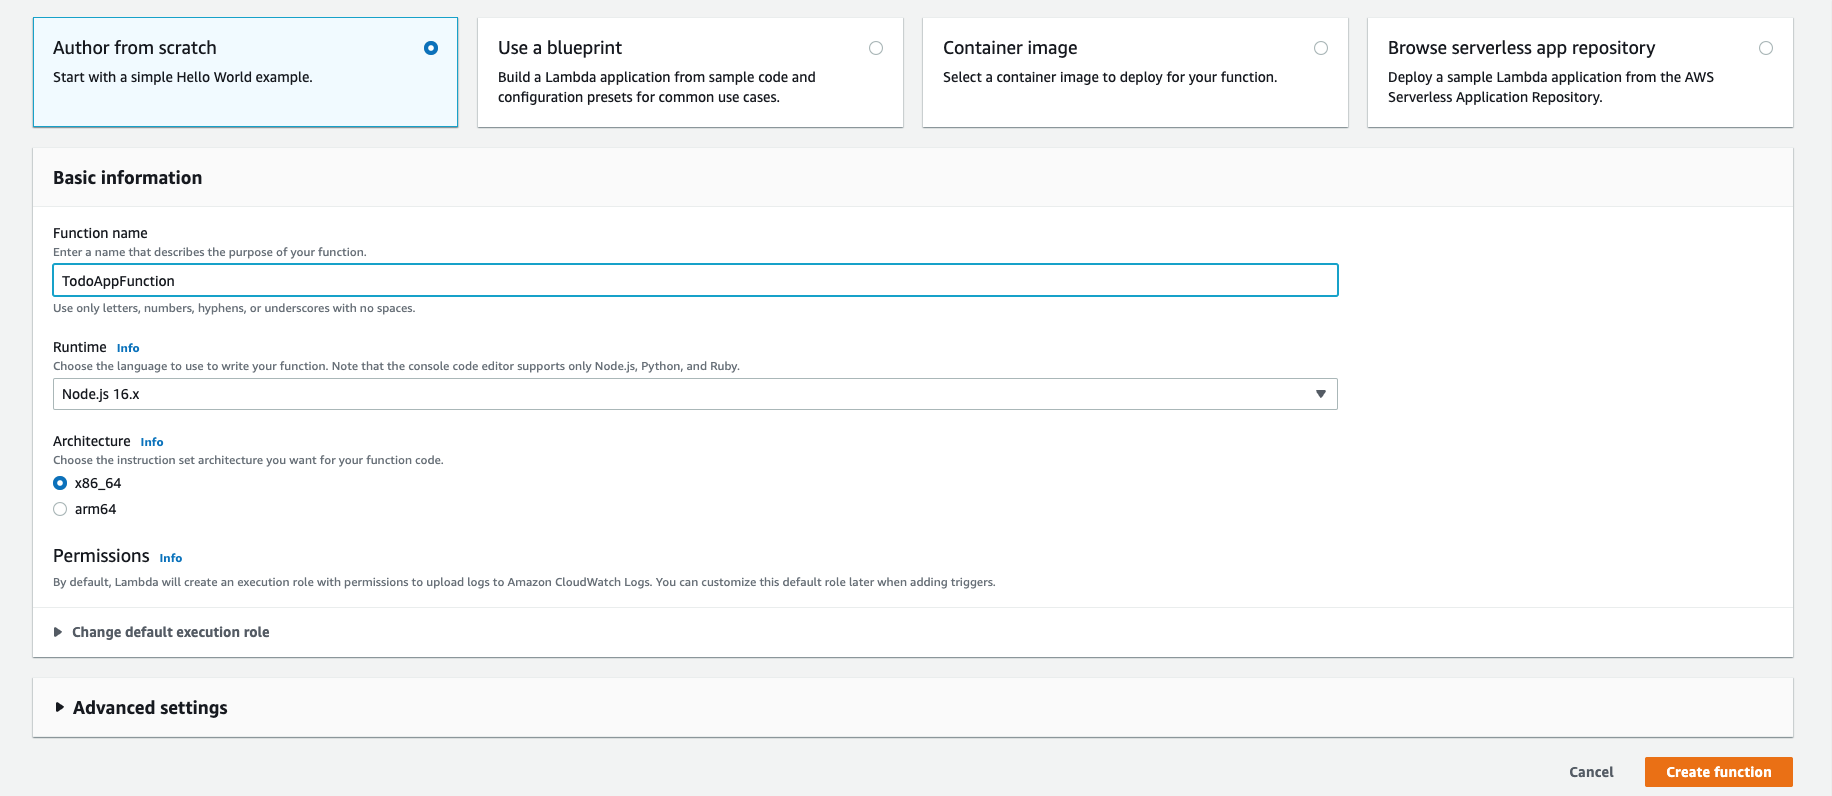
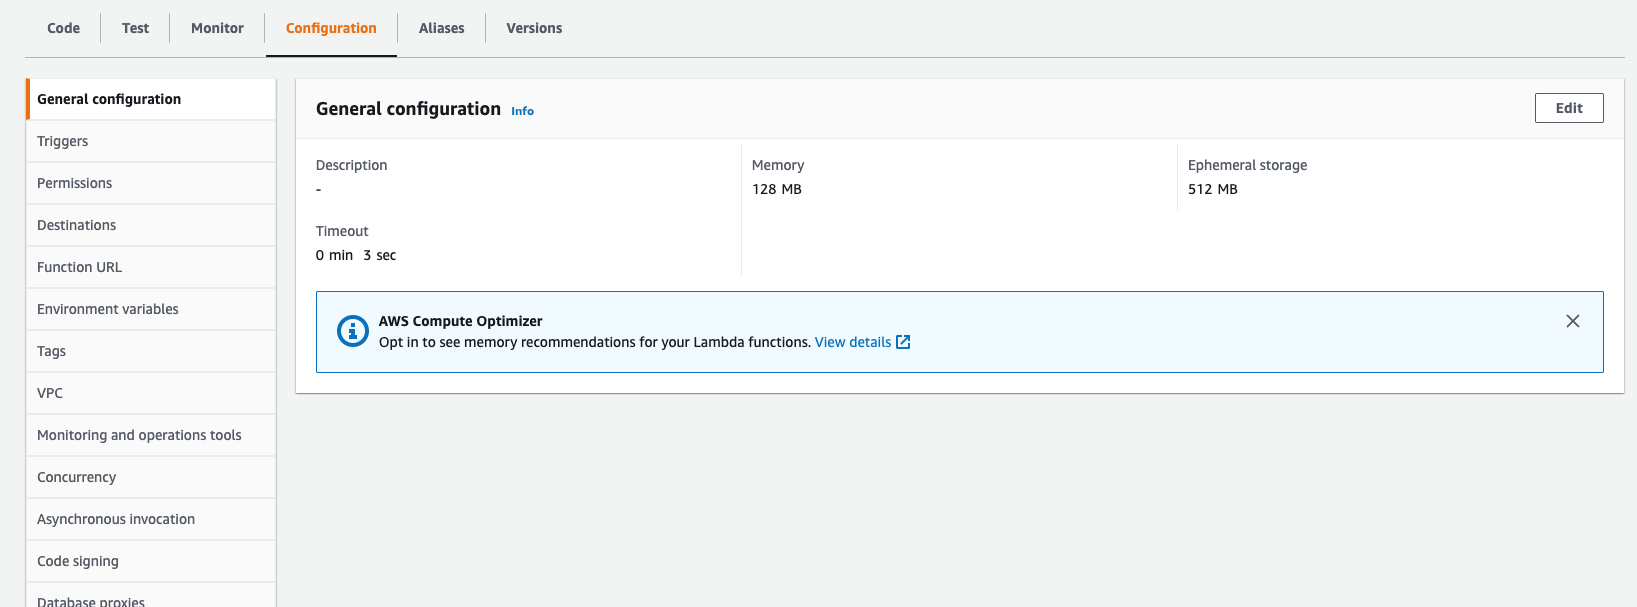
Ensure you have selected ‘Author from scratch’, enter a name for your function, leaving the default settings as is, then click ‘Create function’
-
Once your function has been created, scroll down to view the ‘Code source’.
-
Erase the code from index.js. We’re going to replace this with some code I prepared earlier.
The following function takes 4 different types of methods, GET, PUT, POST, and DELETE.
- The first GET method is scanning the table for all the todos, it has endpoint /todos and does not take any arguments.
- The second GET method is querying the table for a specific todo, it has endpoint /todo and takes two arguments which is the todo item’s primary key. As stated previously, the primary key is composed of the parition (id) and the sort key (createdAt).
- The third method is a POST method, this actually creates a todo. It has endpoint /todo and takes all todo attributes as arguments. These being: ‘id’, ‘createdAt’, ‘body’, and ‘done’. As you can see the function automatically assigns a date/time stamp to the ‘createdAt’ field when the todo is created. The ‘id’ field also assigned a unique value which uses the ‘awsRequestId’ value. Attributes ‘body’ and ‘done’ are passed in from the frontend in the fetch request.
- The fourth method is a PUT method, this updates a todo, it has an endpoint of /todo and takes in all attributes of the todo as arguments.
-
The fifth and final method is a DELETE method, this deletes a todo, it has an endpoint of /todo and it requires the primary key of the todo as arguments.
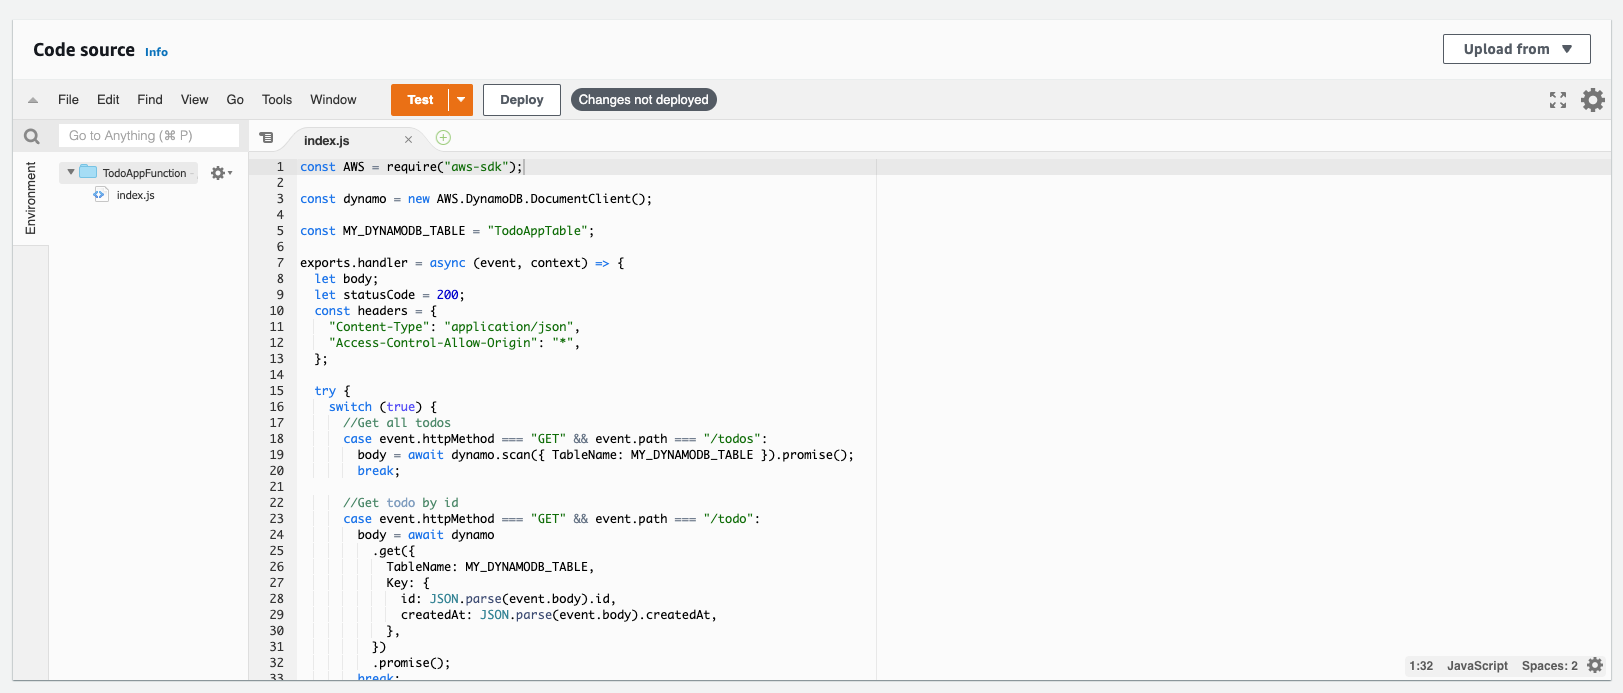
const AWS = require("aws-sdk");

const dynamo = new AWS.DynamoDB.DocumentClient();

const MY_DYNAMODB_TABLE = "Enter-Your-DynamoDB-Table-Name-Here";

exports.handler = async (event, context) => {
  let body;
  let statusCode = 200;
  const headers = {
    "Content-Type": "application/json",
    "Access-Control-Allow-Origin": "*",
  };

  try {
    switch (true) {
      //Get all todos
      case event.httpMethod === "GET" && event.path === "/todos":
        body = await dynamo
          .scan({ TableName: MY_DYNAMODB_TABLE })
          .promise();
        break;

      //Get todo by id
      case event.httpMethod === "GET" && event.path === "/todo":
        body = await dynamo
          .get({
            TableName: MY_DYNAMODB_TABLE,
            Key: {
              id: JSON.parse(event.body).id,
              createdAt: JSON.parse(event.body).createdAt,
            },
          })
          .promise();
        break;

      //Create a new todo
      case event.httpMethod === "POST" && event.path === "/todo":
        await dynamo
          .put({
            TableName: MY_DYNAMODB_TABLE,
            Item: {
              id: context.awsRequestId,
              body: JSON.parse(event.body).body,
              createdAt: new Date().toISOString(),
              done: JSON.parse(event.body).done,
            },
          })
          .promise();
        body = `Todo created`;
        break;

      //Edit an existing todo
      case event.httpMethod === "PUT" && event.path === "/todo":
        await dynamo
          .put({
            TableName: MY_DYNAMODB_TABLE,
            Item: {
              id: JSON.parse(event.body).id,
              body: JSON.parse(event.body).body,
              createdAt: JSON.parse(event.body).createdAt,
              done: JSON.parse(event.body).done,
            },
          })
          .promise();
        body = `Changed Todo`;
        break;

      //Delete a todo
      case event.httpMethod === "DELETE" && event.path === "/todo":
        await dynamo
          .delete({
            TableName: MY_DYNAMODB_TABLE,
            Key: {
              id: JSON.parse(event.body).id,
              createdAt: JSON.parse(event.body).createdAt,
            },
          })
          .promise();
        body = `Deleted`;
        break;
      //If request doesn't meet any of the above methods & path combindations, then return 'unsupported path' with path name.
      default:
        throw new Error(`Unsupported path: "${event.path}"`);
    }
  } catch (err) {
    //Return any caught errors
    statusCode = 400;
    body = err.message;
  } finally {
    body = JSON.stringify(body);
  }

  return {
    statusCode,
    body,
    headers,
  };
};
-
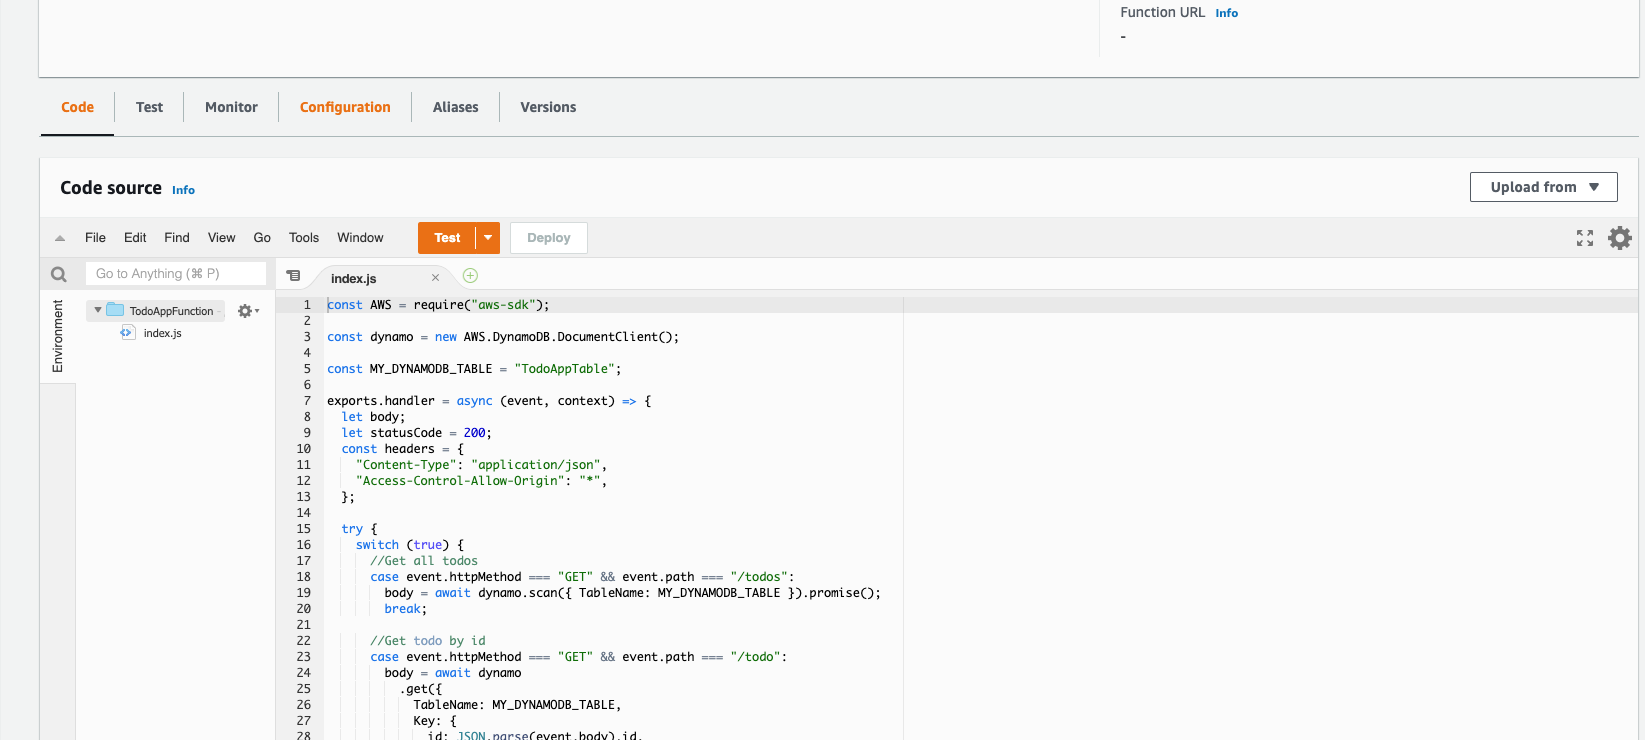
Now copy the code snippet above and past it into the index.js of your Lambda function. Enter the name of your DynamoDB table we previously created where it says “Enter-Your-DynamoDB-Table-Name-Here” value, then click ‘Deploy’.
-
We now have to give the Lambda permission to access the DynamoDB table. Select ‘Configuration’.
-
Using the side panal select ‘Permissions’.
-
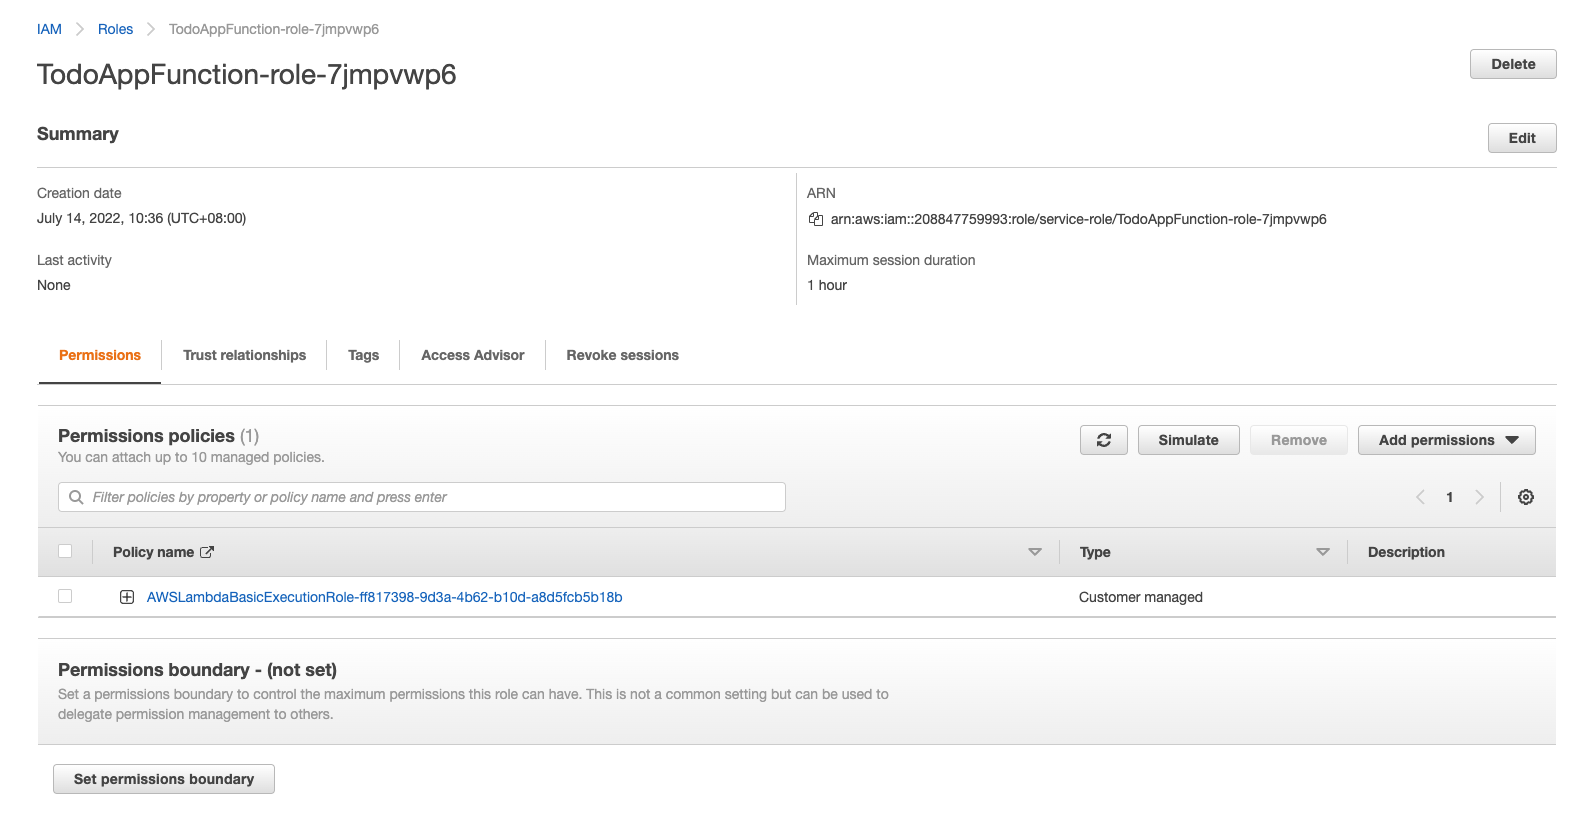
Under ‘Execution role’ click the ‘Role name’.

-
You will be redirected to the Identity and Access Management (IAM) page for the Lambda role.
-
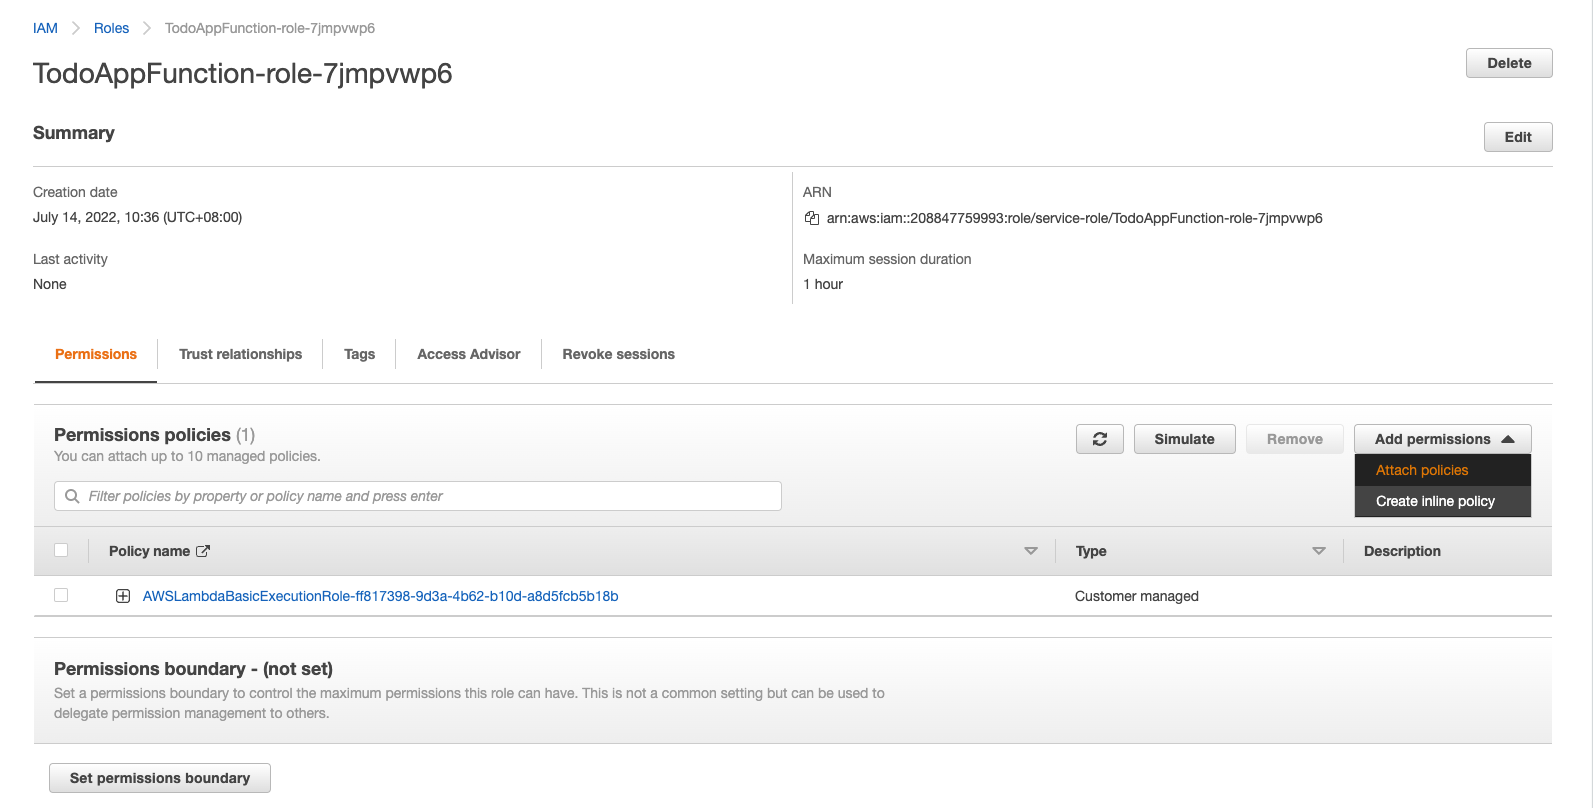
On the center right hand side of the page click the ‘Add permissions’ drop down then click ‘Attach policies’.
-
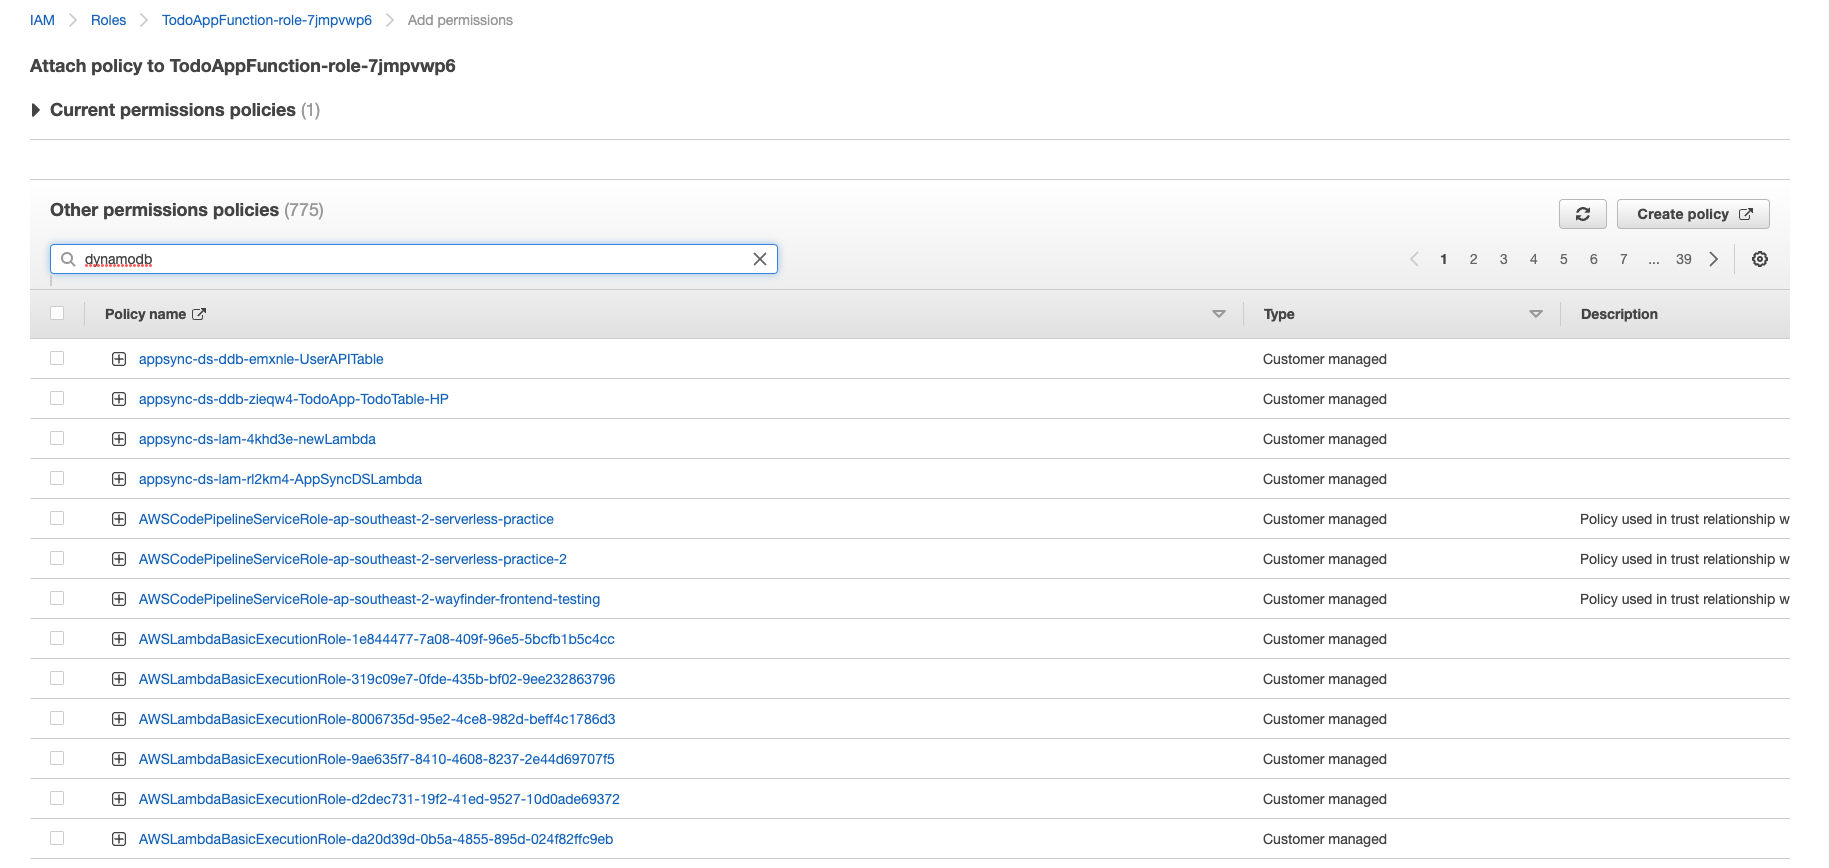
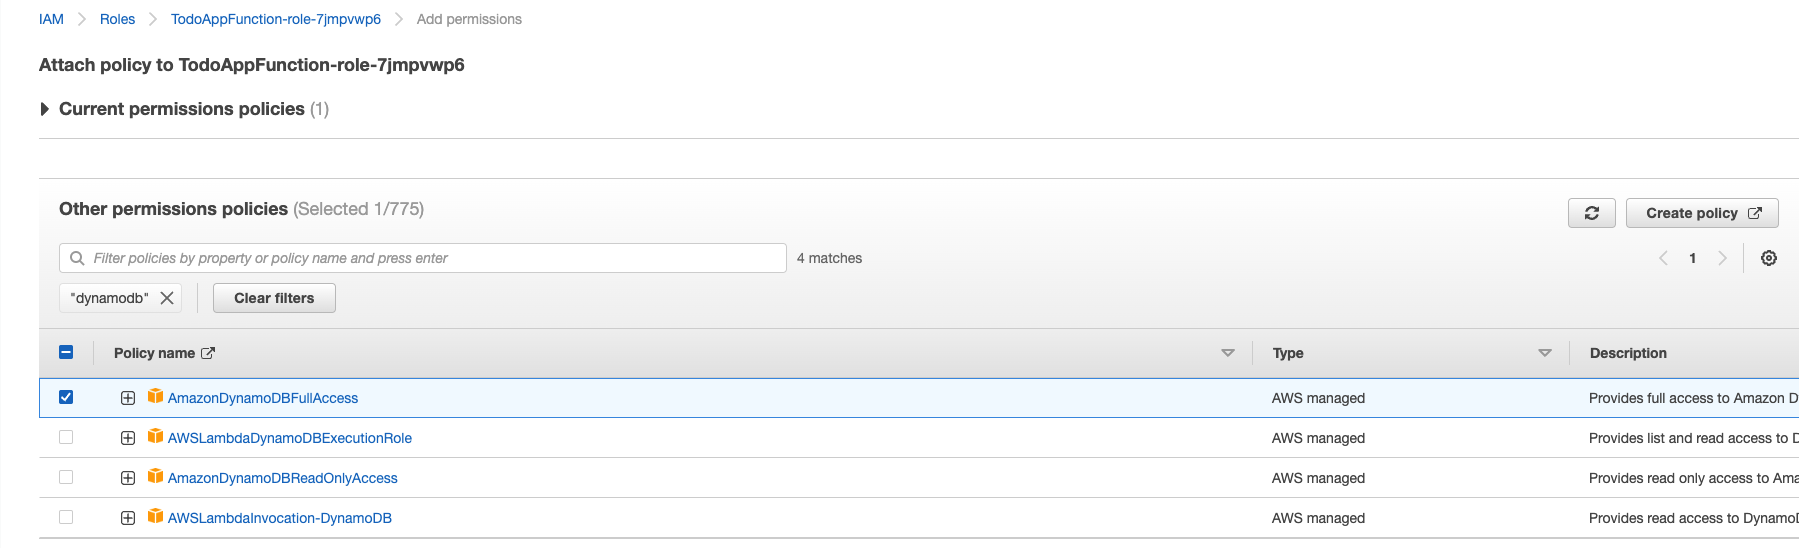
You will then be brought to this screen, in the search bar type ‘dynamodb’ then hit enter.
-
‘AmazonDynamoDBFullAccess’ is the policy that gives our Lambda function full CRUD access to our DynamoDB table. Check the box next to the policy then click ‘Attach policies’.
That’s the Lambda done! Now time to configure API gateway.
Create a REST API with API Gateway
AWS API Gateway is a managed service that makes it easy to create APIs at scale. We are going to use it to create a REST API for our app.
-
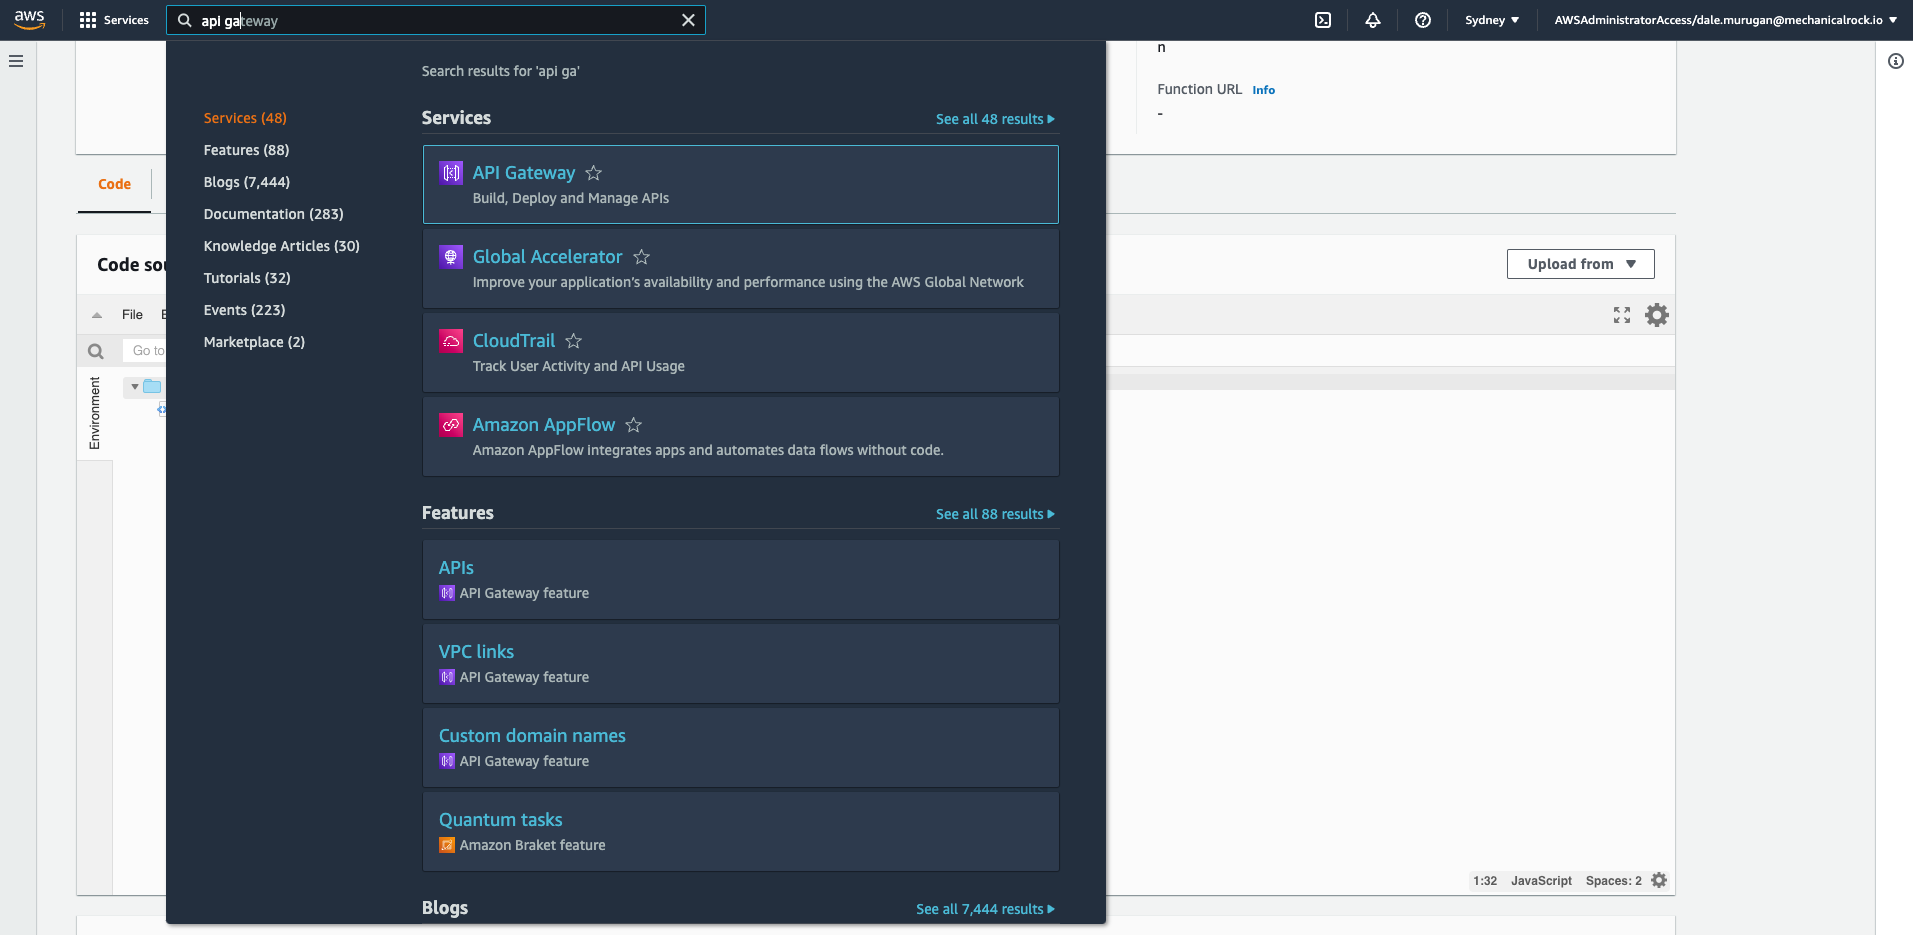
Search for API gateway in the search bar.
-
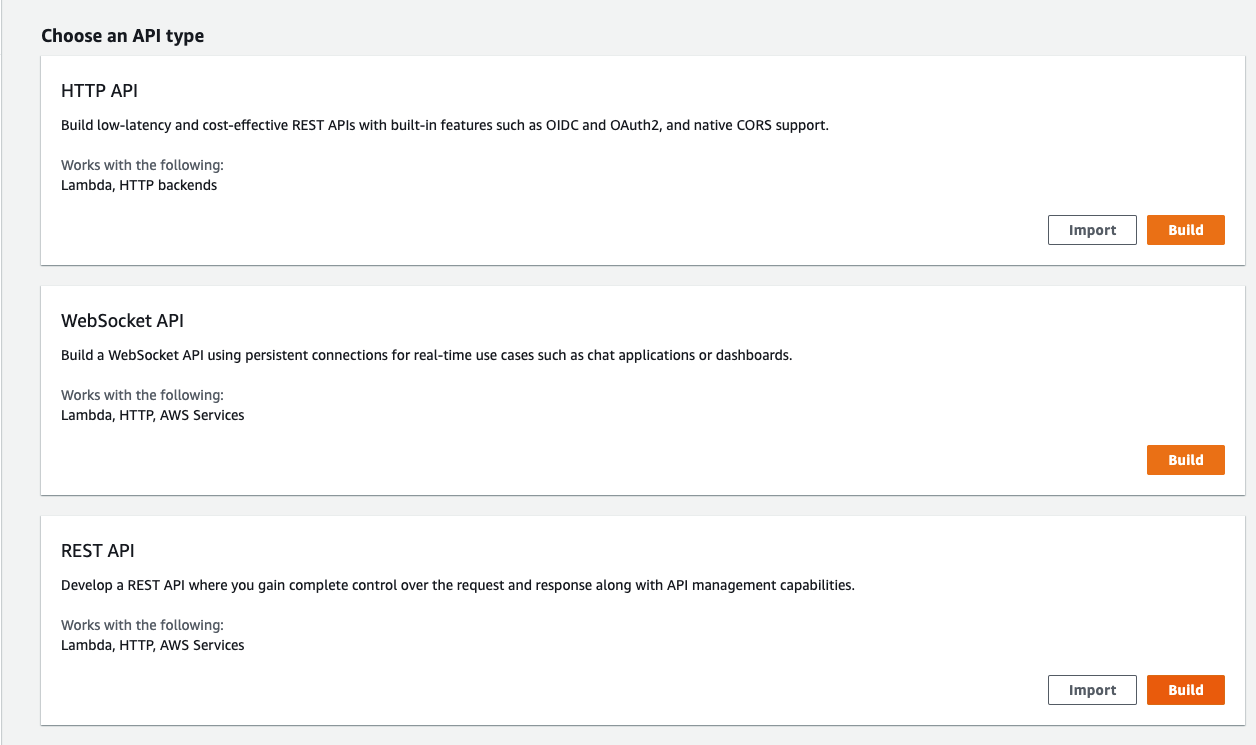
On the top right corner of your screen click ‘Create API’.
-
Scroll down to REST API and click ‘Build’.
-
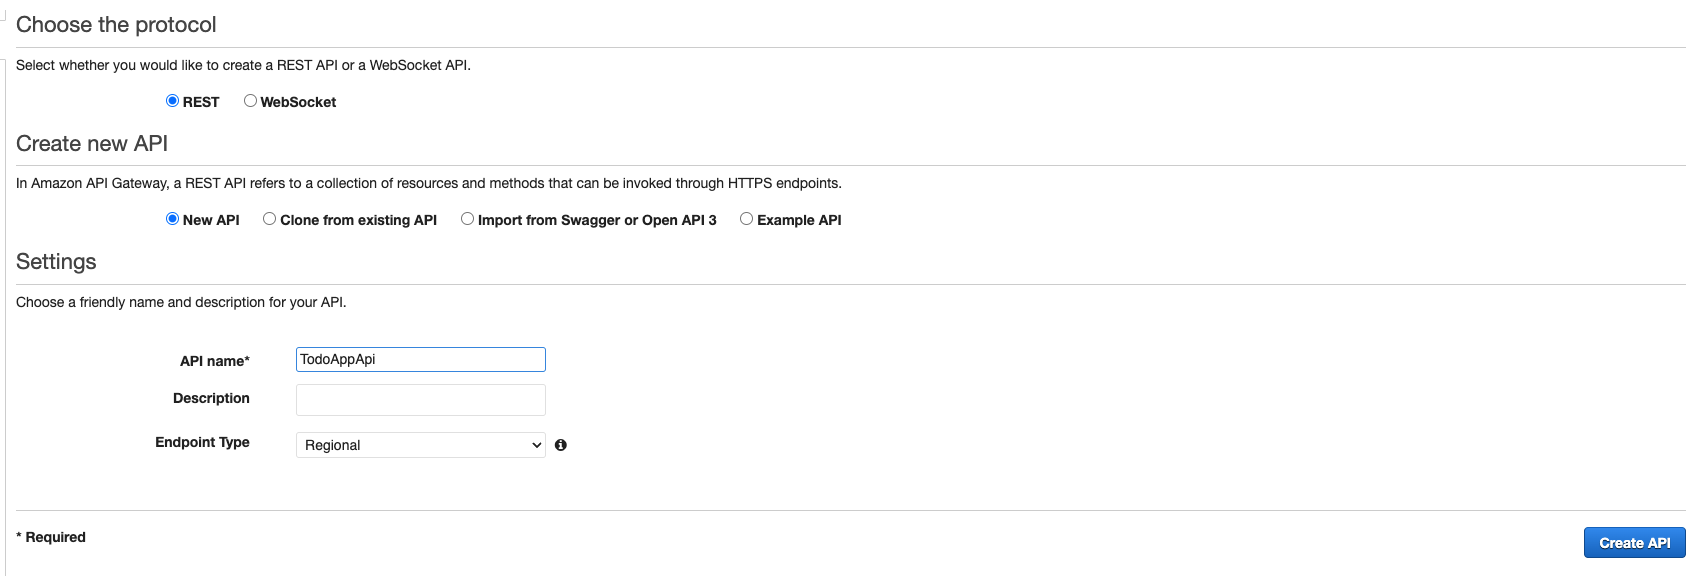
Leave the settings as default, create a name for your API, then click ‘Create API’.
-
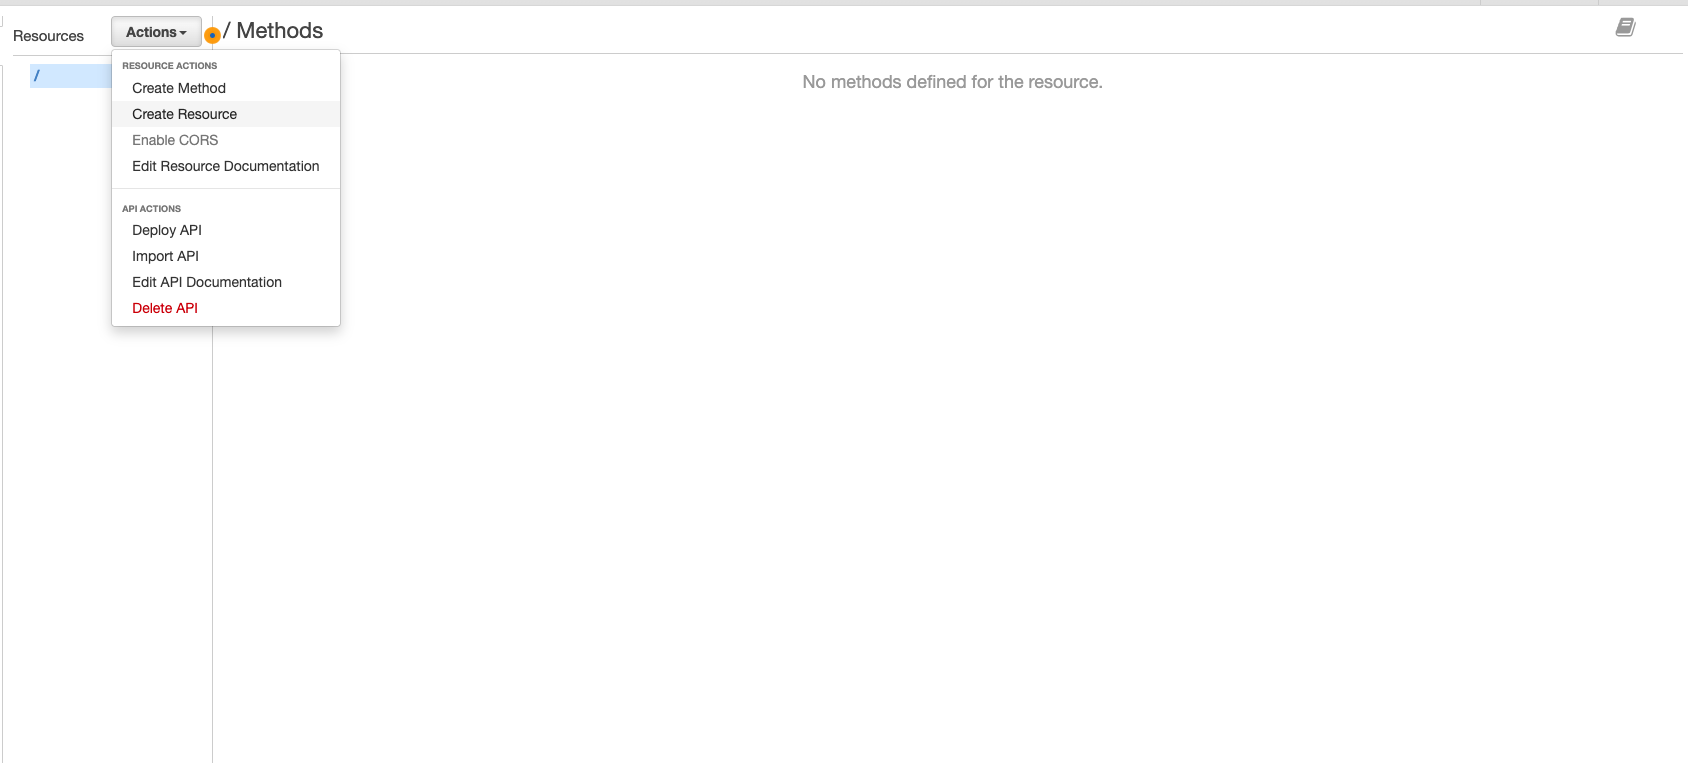
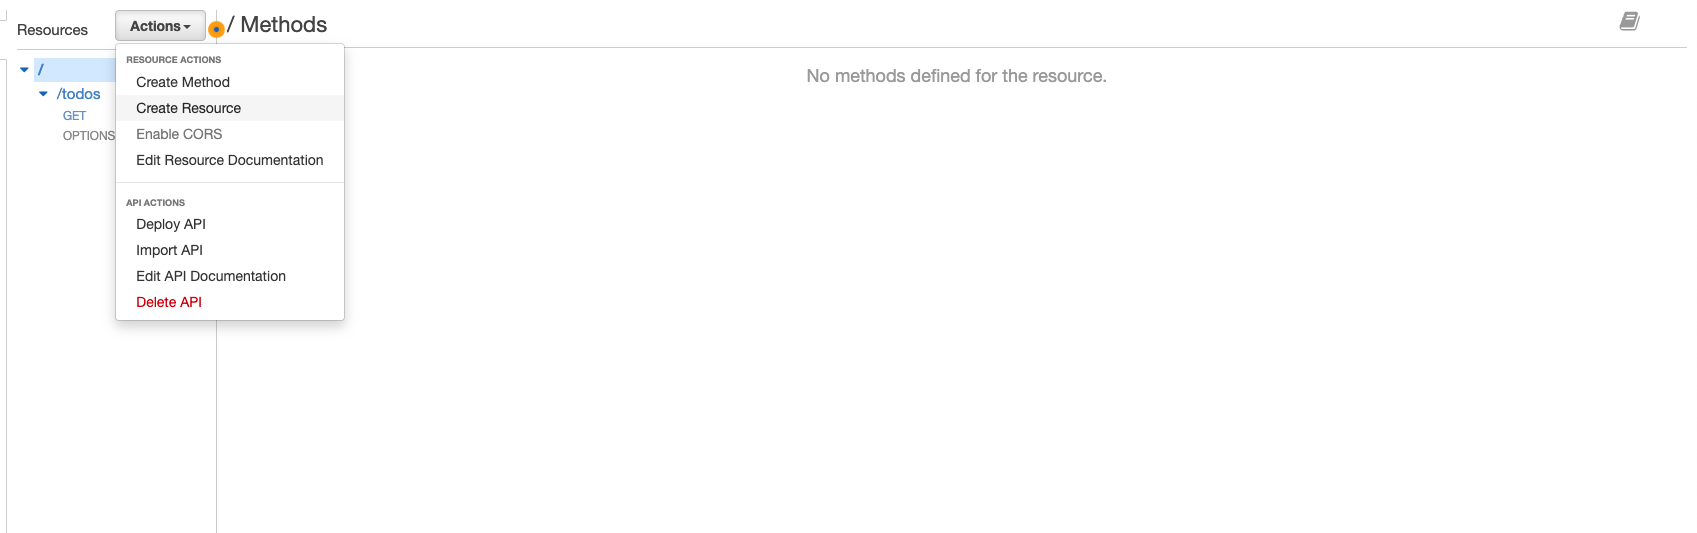
You will then be brought to this screen. Click ‘Actions’ => ‘Create Resource’.
-
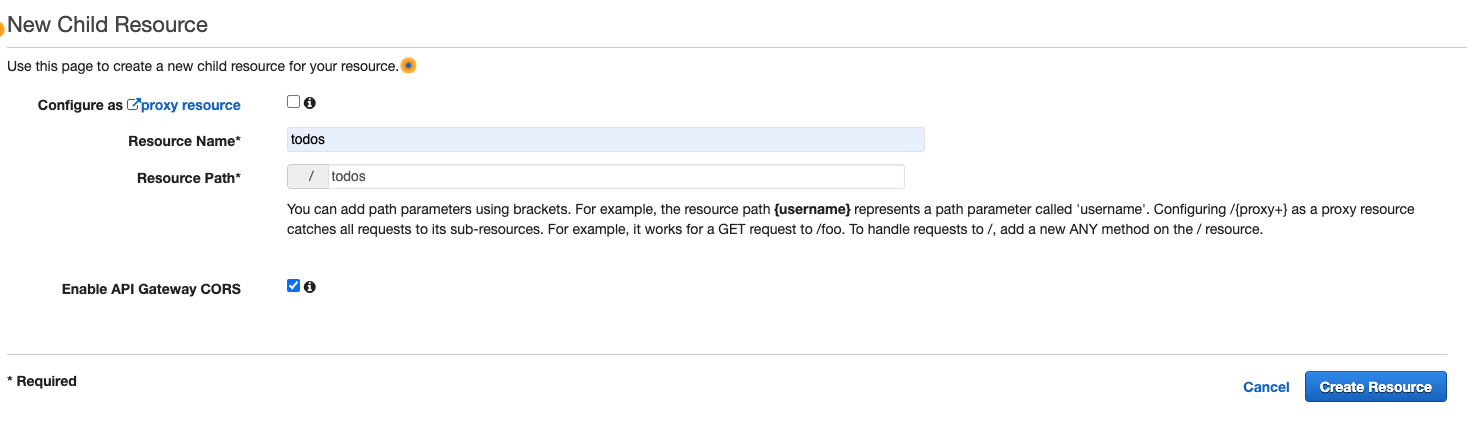
We will first create the ‘todos’ resource. Give it a name of ‘todos’ and resource path of ‘todos’. Ensure that ‘Enable API Gateway CORS’ is checked then click ‘Create Resource’.
-
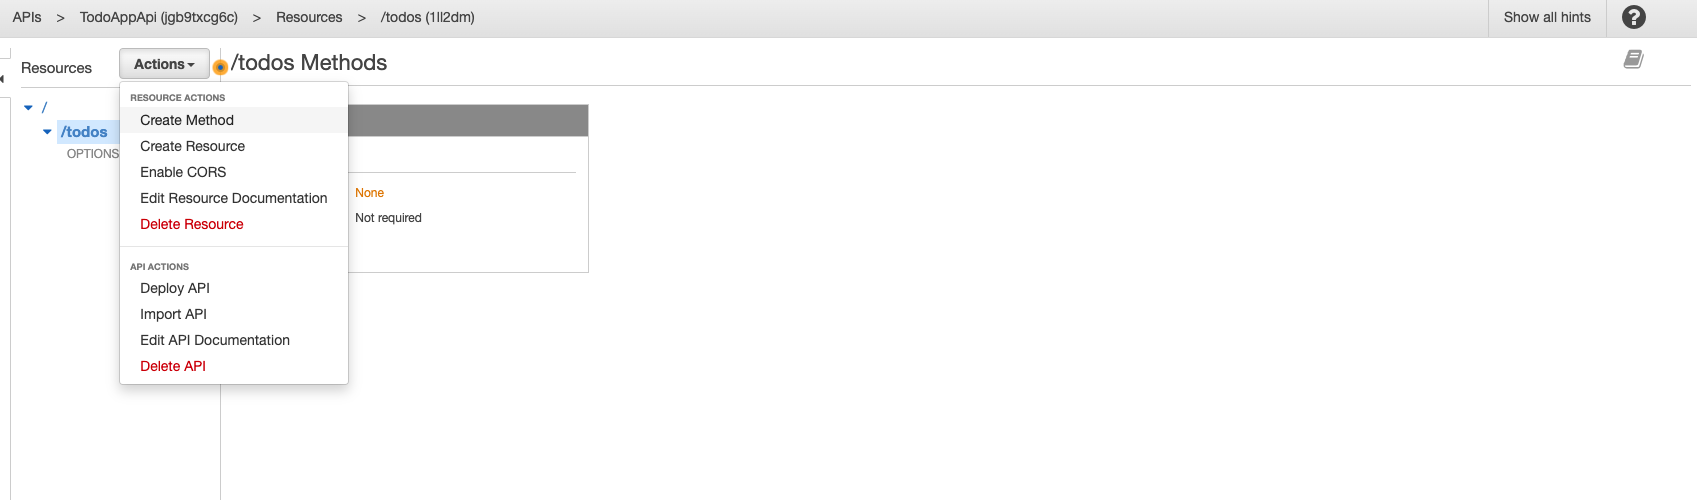
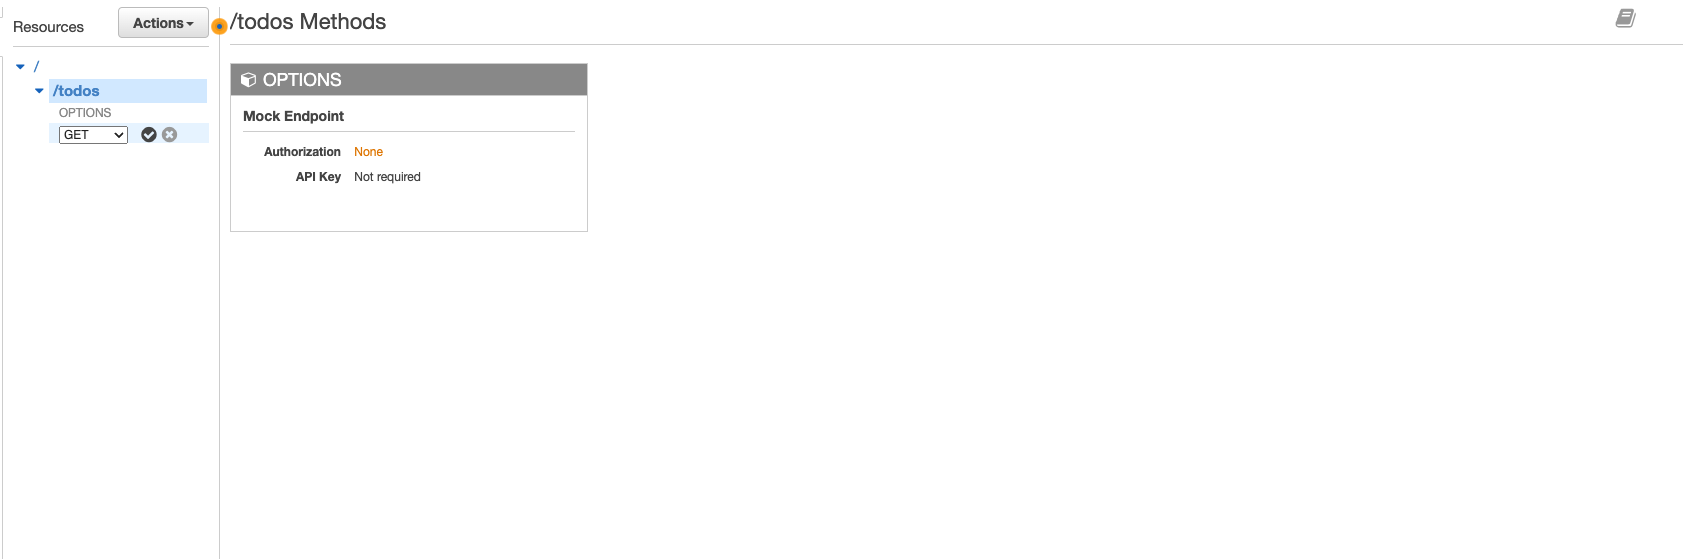
Now select the ‘/todos’ resource endpoint, click ‘Actions’ => ‘Create Method’.
-
You will see an empty drop down box appear below OPTIONS of your /todos endpoint, click it and select ‘GET’. Then click the check to confirm.
-
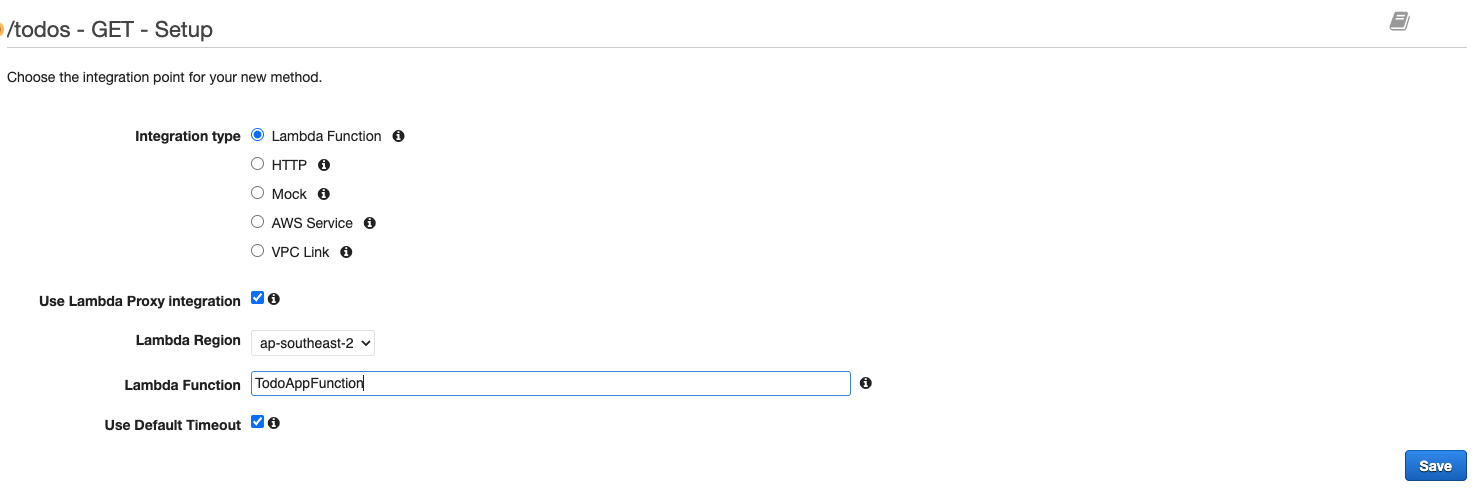
You will then see this screen, ensure that ‘Integration type’ is ‘Lambda function’, click the checkbox to ‘Use Lambda Proxy Integration’, ensure the ‘Lambda Region’ is the same that we provisioned the function in earlier, then enter your Lambda function name - it should show a drop down with your Lambdas in the given region, select your function then click ‘Save’.
-
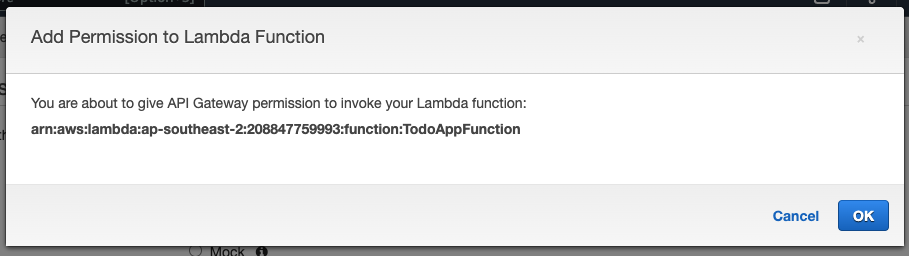
You will then see this message ‘Add Permission to Lambda Function’, click ‘OK’.
-
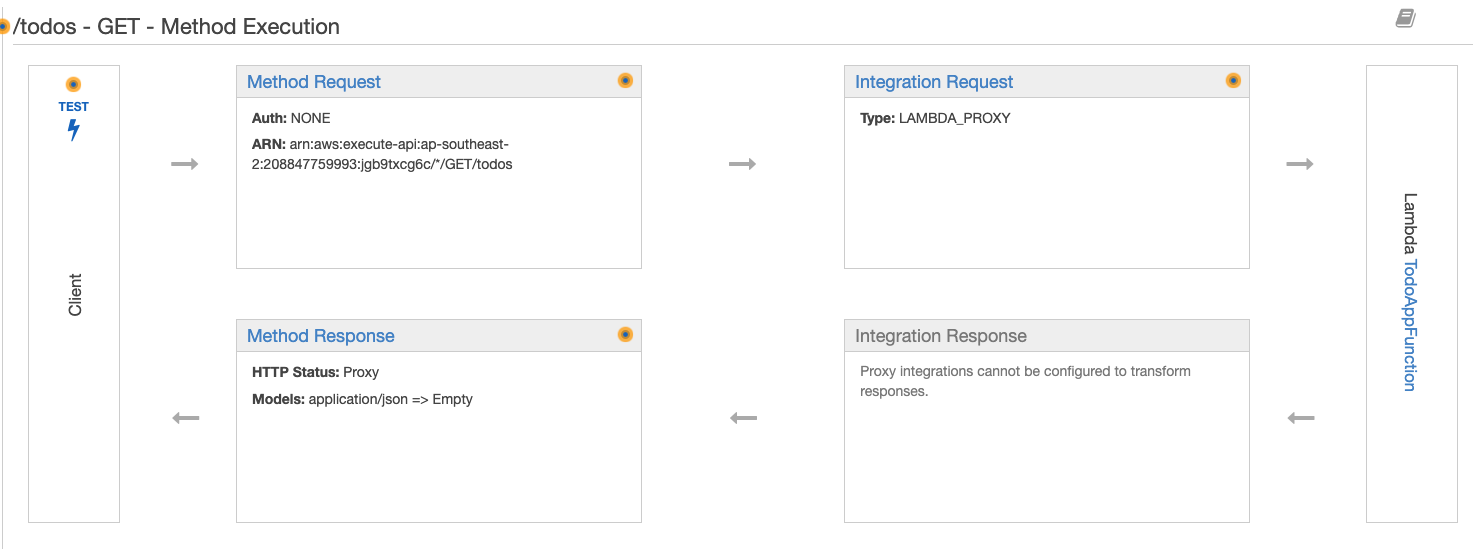
You should now see this screen. As the illustration shows, a fetch from the frontend hits the method request, the request is forward to the Lambda, the Lambda does it’s thing (in this case gets todos from the DynamoDB table) and returns the response to API gateway, API gateway then returns the response to the frontend.
-
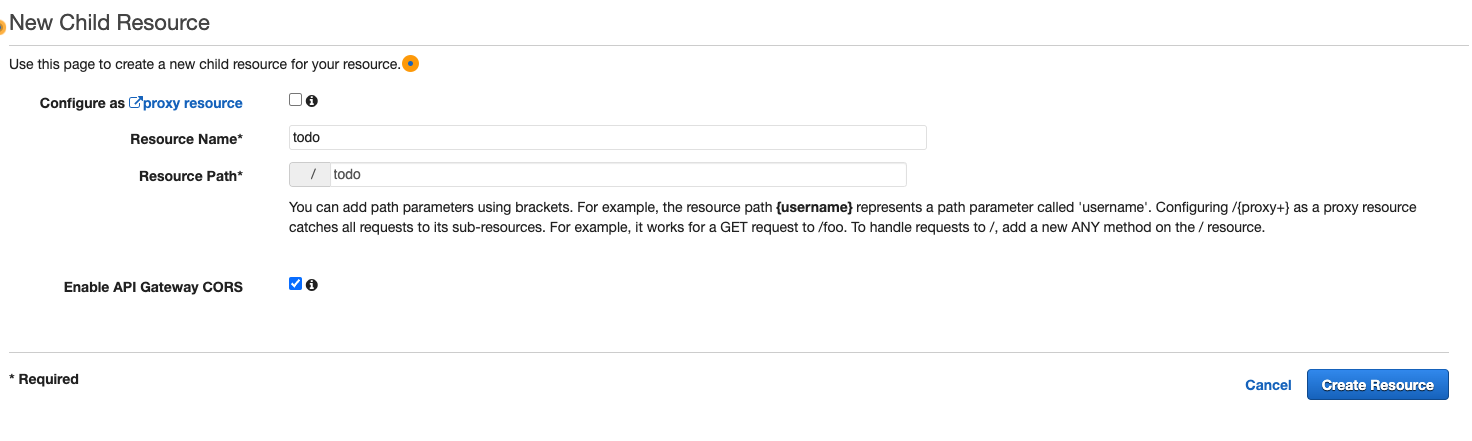
If you remember from configuring the Lambda, there are two endpoints /todos and /todo. We’ve just configured the /todos endpoint with the GET todos method. Now we need to configure the /todo endpoint with the GET, PUT, POST, and DELETE todo methods. To do this we need to create a resource for /todo, click the top level ‘/’ then click ‘Actions’ => ‘Create Resource’.
-
We are now creating the /todo resource endpoint so enter ‘todo’ as the Resource Name and Resource Path. Ensure that you click the checkbox ‘Enable API Gateway CORS’, then click ‘Create Resource’.
-
Click the newly created ‘/todo’ endpoint then click ‘Actions’ => ‘Create Method’. Like before, an empty drop-down list will appear select the ‘GET’ method then click the check icon. You will then be brought to this screen, the configuration for the method is the exact same: Lambda integration type, check ‘Use Proxy Integration’, select the same Lambda region and function name then click save.

-
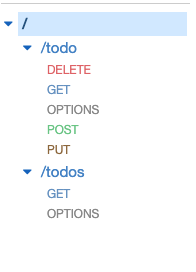
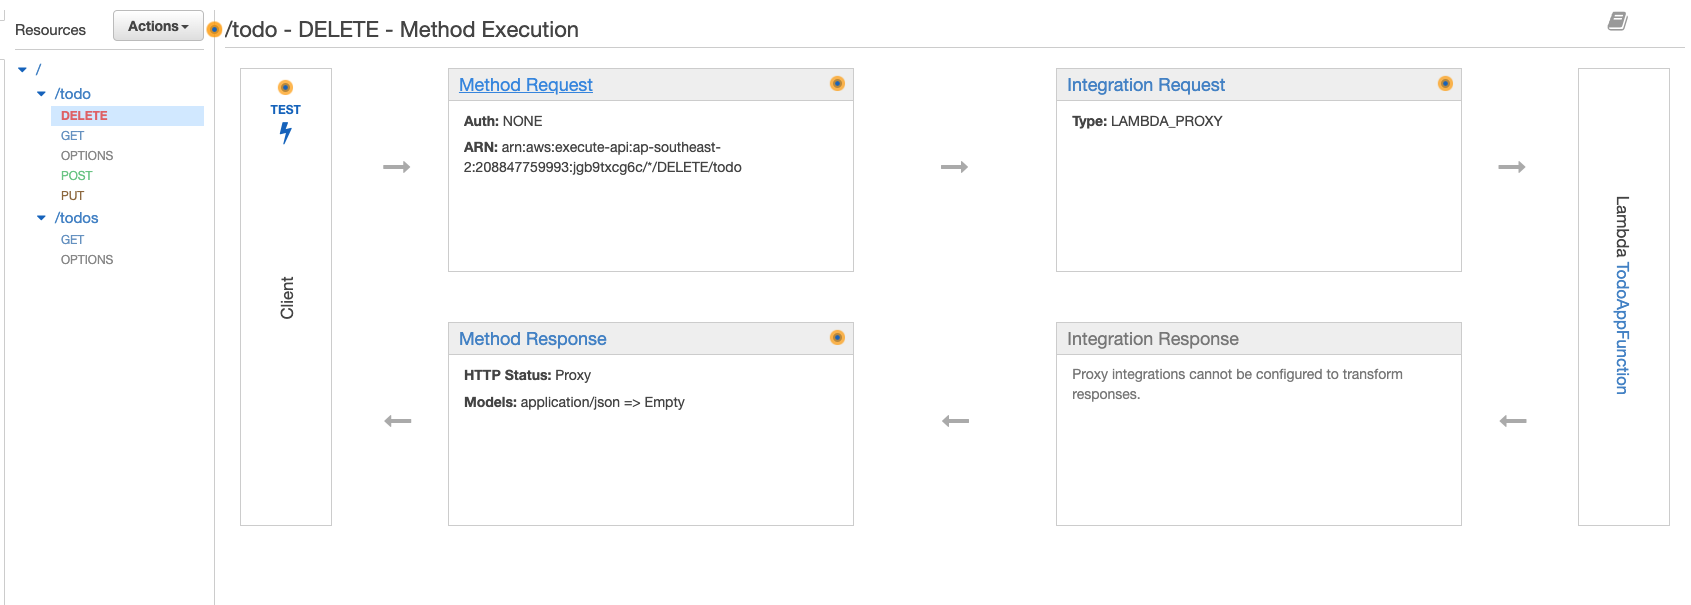
Repeat step 14, for method POST, PUT and DELETE. The exact same Lambda integration is used each time. Remember to always check the ‘Use Lambda Proxy Integration’ checkbox. After you have finished configuring those methods the /todo resource endpoint should have DELETE, GET, OPTIONS, POST and PUT methods and the /todos resource endpoint should just have GET and OPTIONS methods.
-
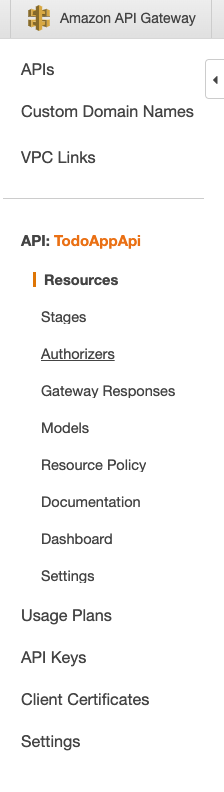
We now need to setup our authorizer, this will ensure that only authenticated users in our application can make calls to our API and hence interact with our database. Click ‘Authorizers’ in the side panel.
-
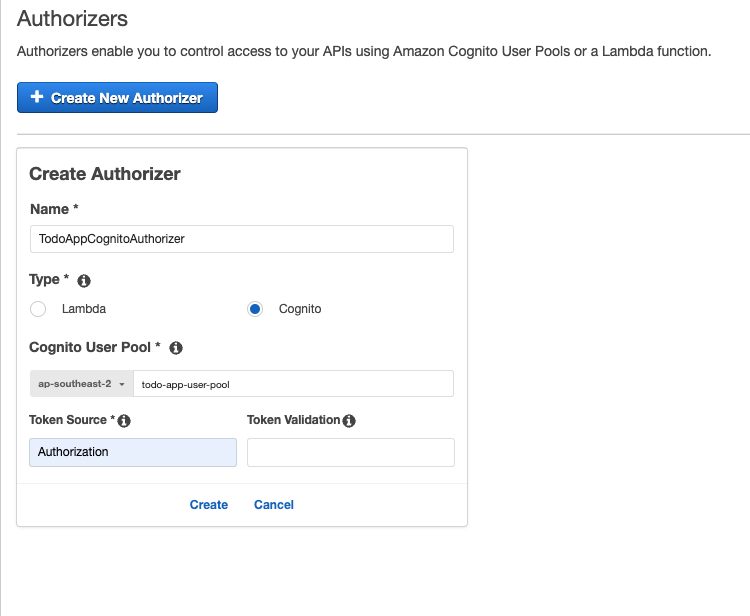
Click ‘Create New Authorizer’.

-
Give your authorizer a name, select ‘Cognito’ as the ‘Type’, ensure you have selected the same region that you provisioned your cognito user pool in earlier, then click the box and select the user pool you created earlier. Enter ‘Authorization’ into the ‘Token Source’ and leave ‘Token Validation’ empty. Click ‘Create’.
-
Using the side panel, navigate back to ‘Resources’.
-
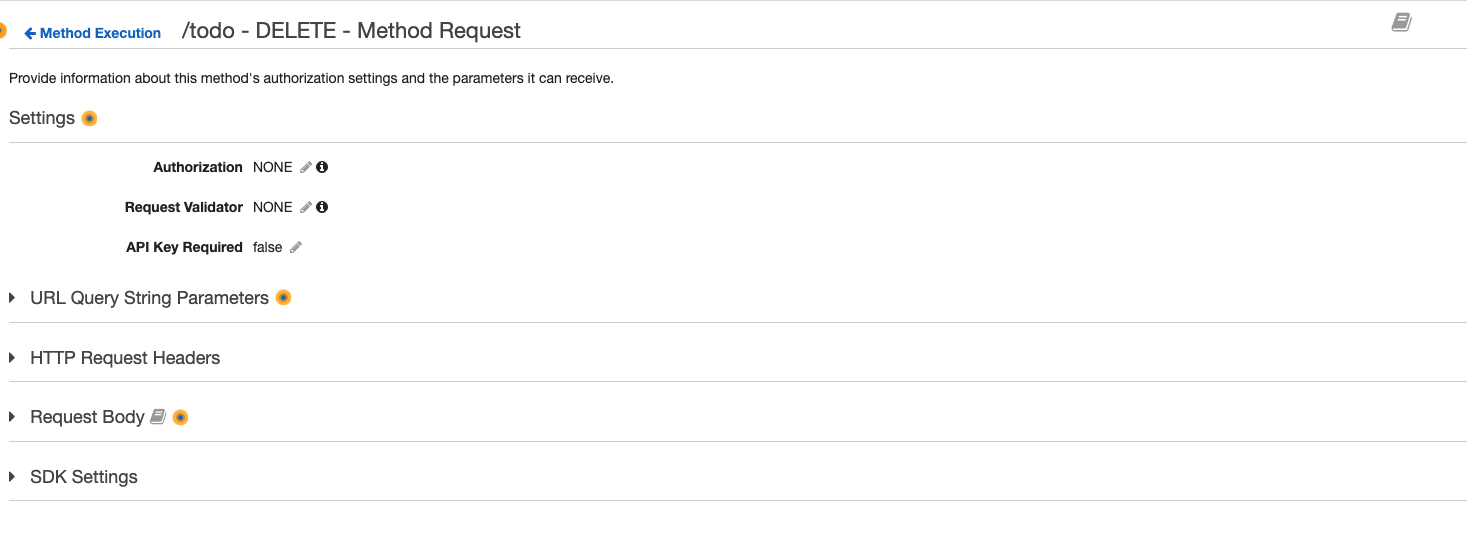
Click the ‘DELETE’ method, then click ‘Method Request’.
-
Click the pencil icon next to ‘Authorization’.
-
Click the box and a drop down list will appear, select the cognito authorizer we just created, then click the check icon to confirm.
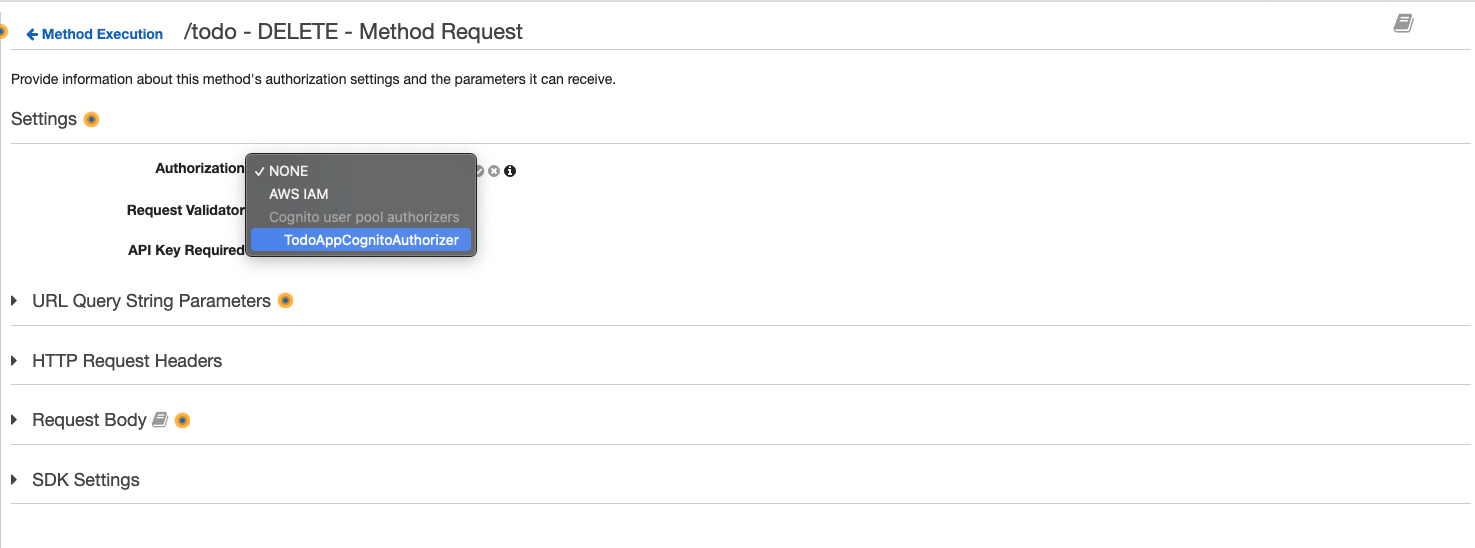
-
Repeat steps 20 to 22 for methods: GET, POST, and PUT under resource endpoint ‘/todo’, then the GET method under resource endpoint ‘/todos’ (DO NOT ATTACH AN AUTHORIZER TO THE OPTIONS METHODS). Once the relevant method requests have the authorizers attached click ‘Actions’ => ‘Deploy API’.

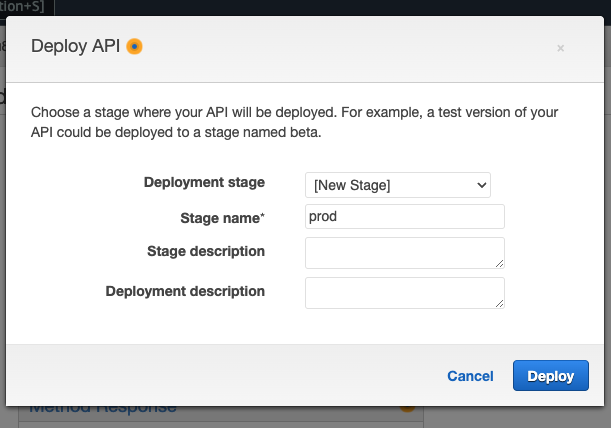
-
You will then see this window. For ‘Deployment stage’ select ‘[New Stage]’, give your stage a name, then click ‘Deploy’.
-
You will then be brought to this page. Copy your “invoke URL”.
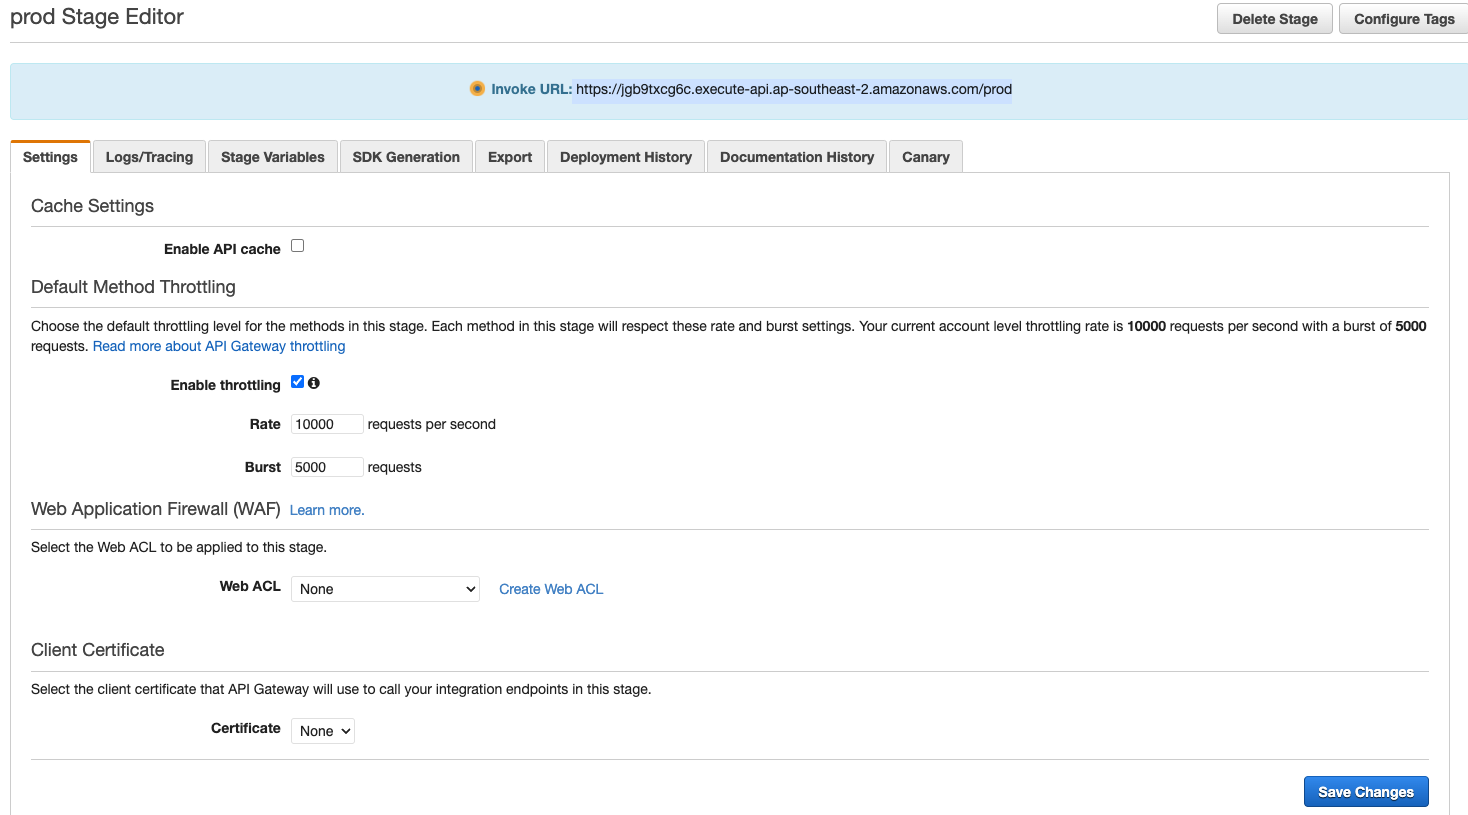
Now open constants.ts (todo-app > src > constants > constants.ts). Paste your invoke URL in both the TODOS_API and TODO_API values. You will also need to add the relevant endpoints to each API. So add ‘/todos’ to the end of the invoke URL in TODOS_API and add ‘/todo’ to the end of your invoke URL for TODO_API. At this point your API variables should look like this.
export const TODOS_API = "https://jgb9txcg6c.execute-api.ap-southeast-2.amazonaws.com/prod/todos"; export const TODO_API = "https://jgb9txcg6c.execute-api.ap-southeast-2.amazonaws.com/prod/todo"; -
Launch the app locally by running ‘npm start’ and login. The create, edit and delete functions should be working now, if not, you’ve done something wrong, try and retrace your steps.
Now time to get the app off localhost and onto an actual domain. Let’s upload our app to an S3 bucket in the next stage.
Upload the React App to S3.
AWS S3 is a an object storage service, the perfect place to store a react app.
-
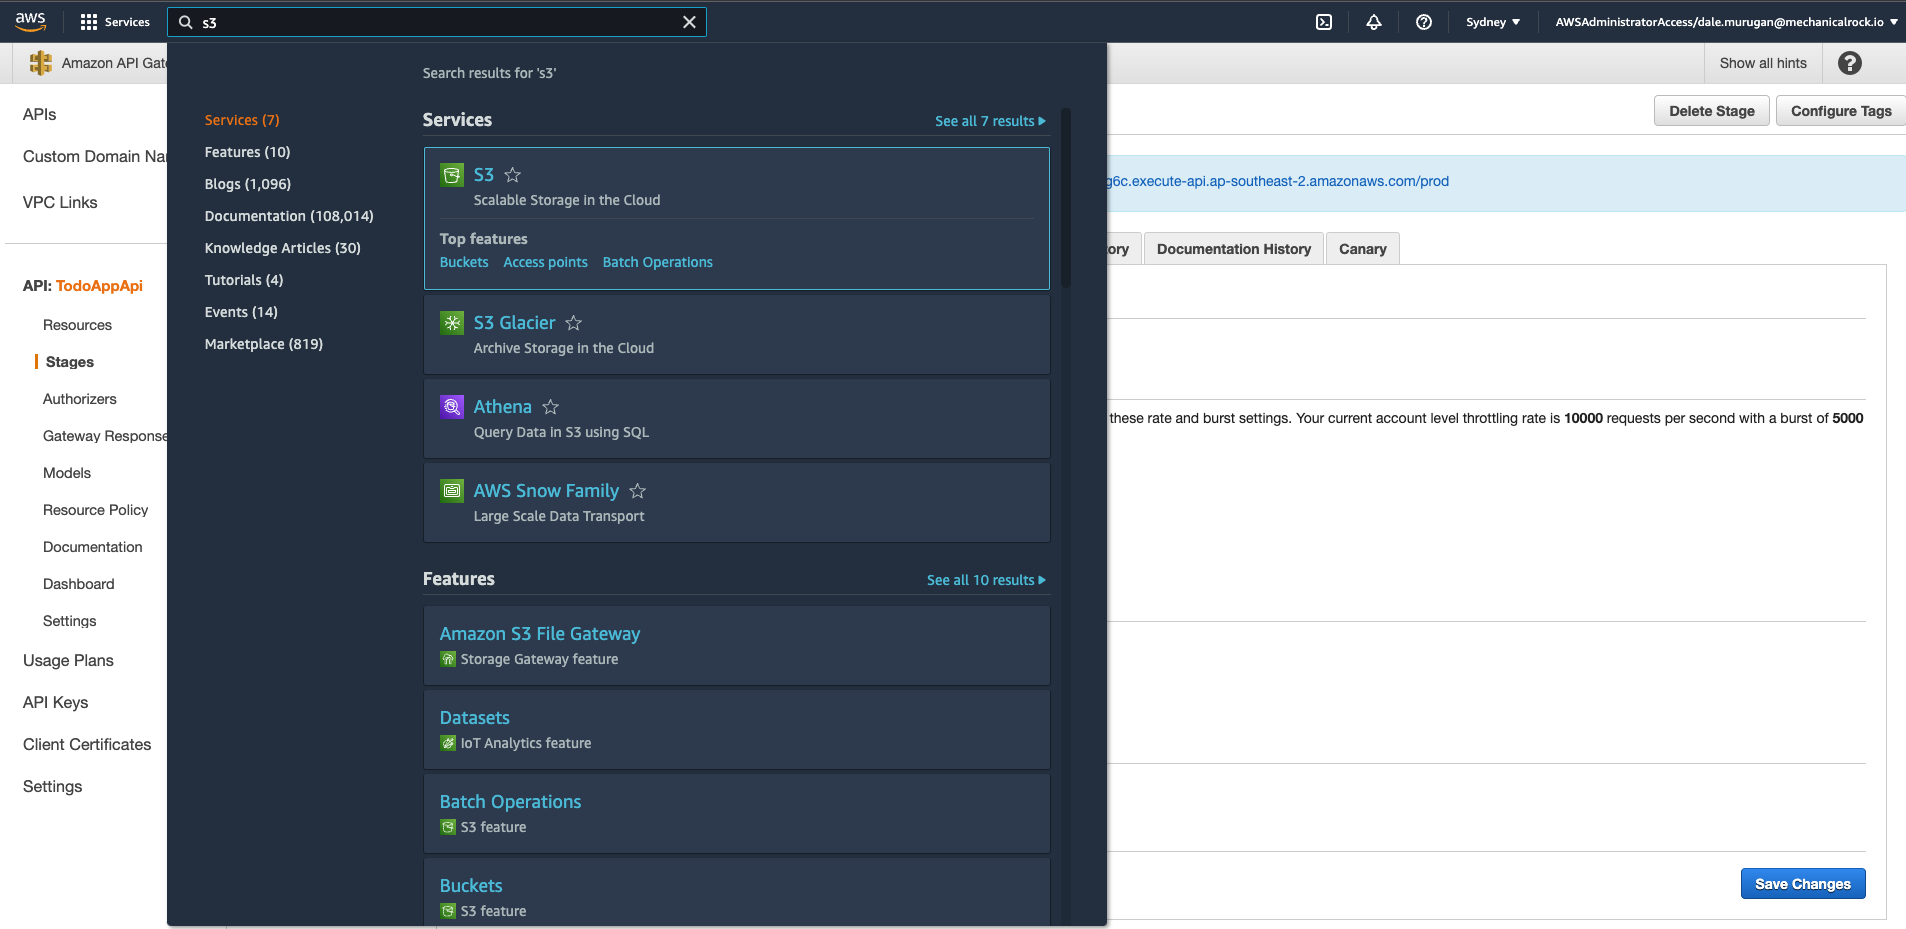
Search for S3 using the search bar.
-
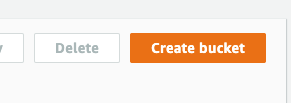
Click ‘Create bucket’ on the right side of your screen.
-
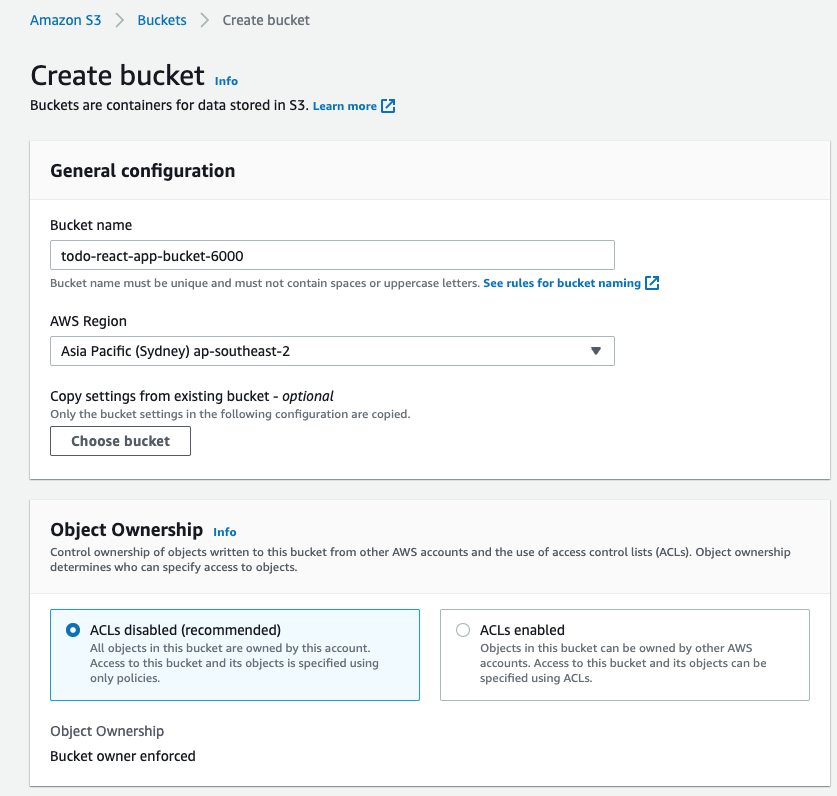
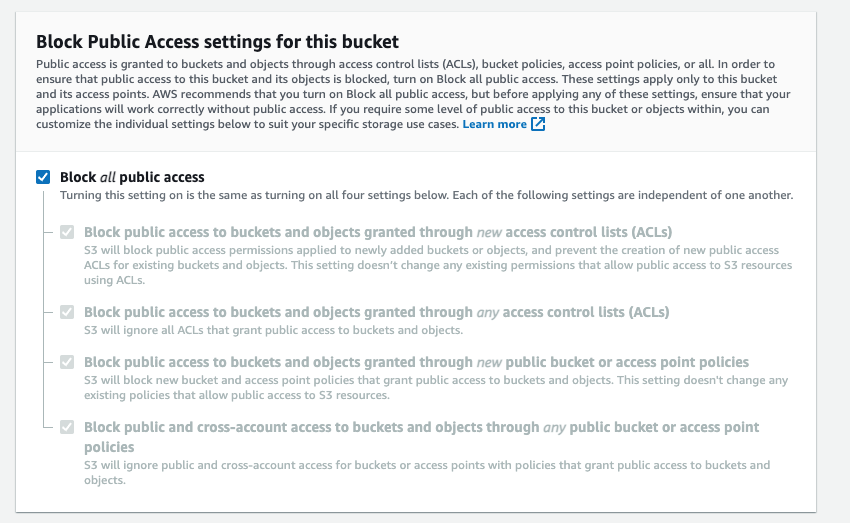
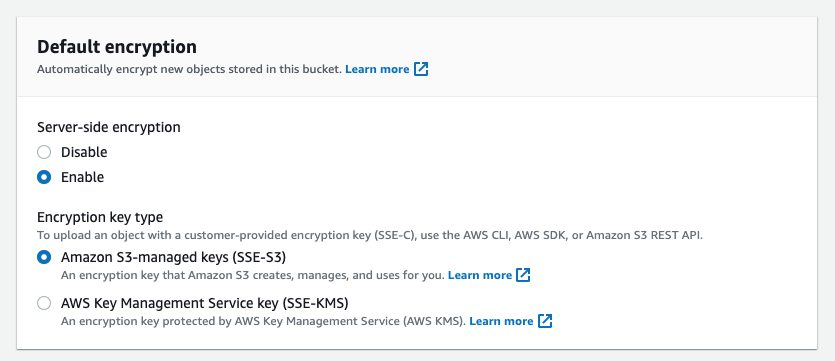
Create a unique name for your bucket, and ensure all public access is blocked. Enable default encryption to use Amazon S3-managed keys (SSE-S3).
-
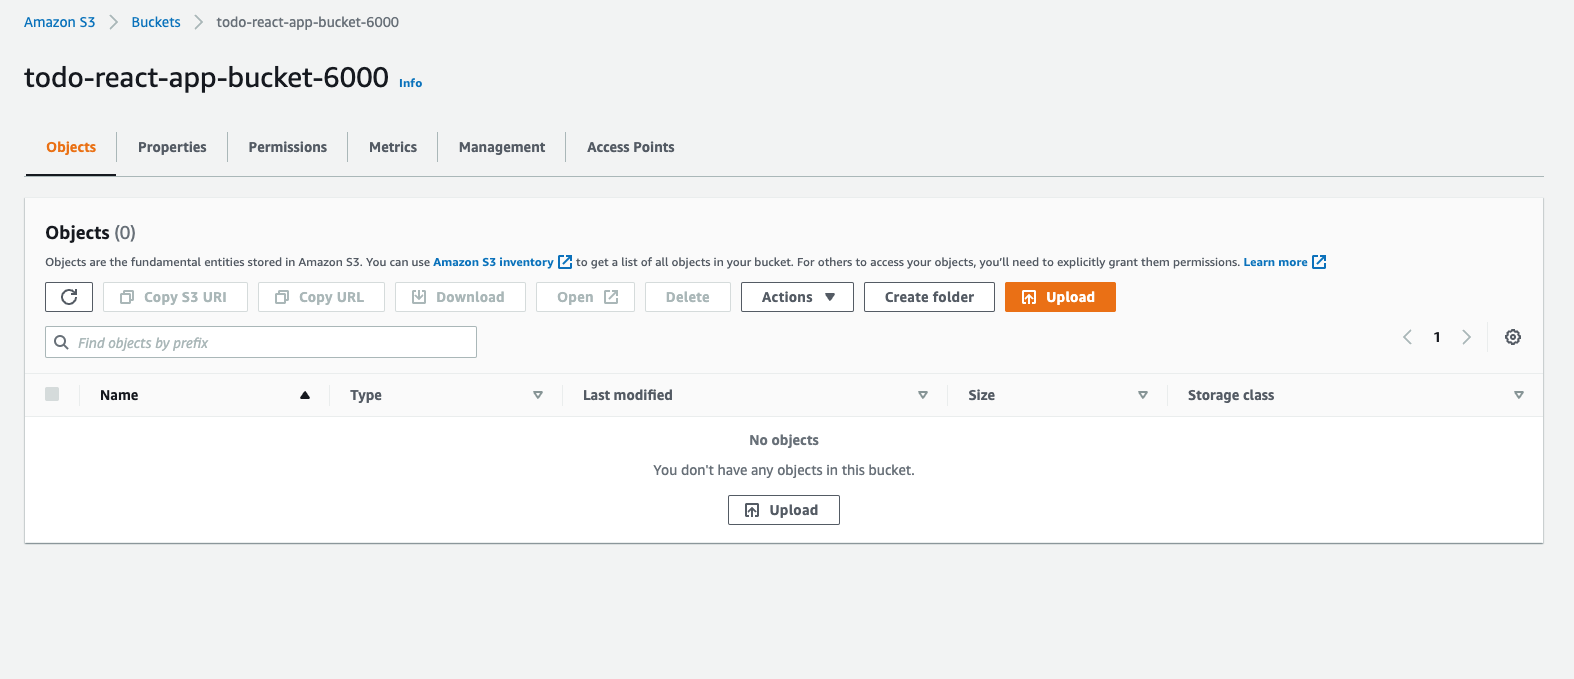
You will then be brought back to the buckets screen, select the bucket you just created.

-
Your bucket will be empty, click ‘Upload’.
-
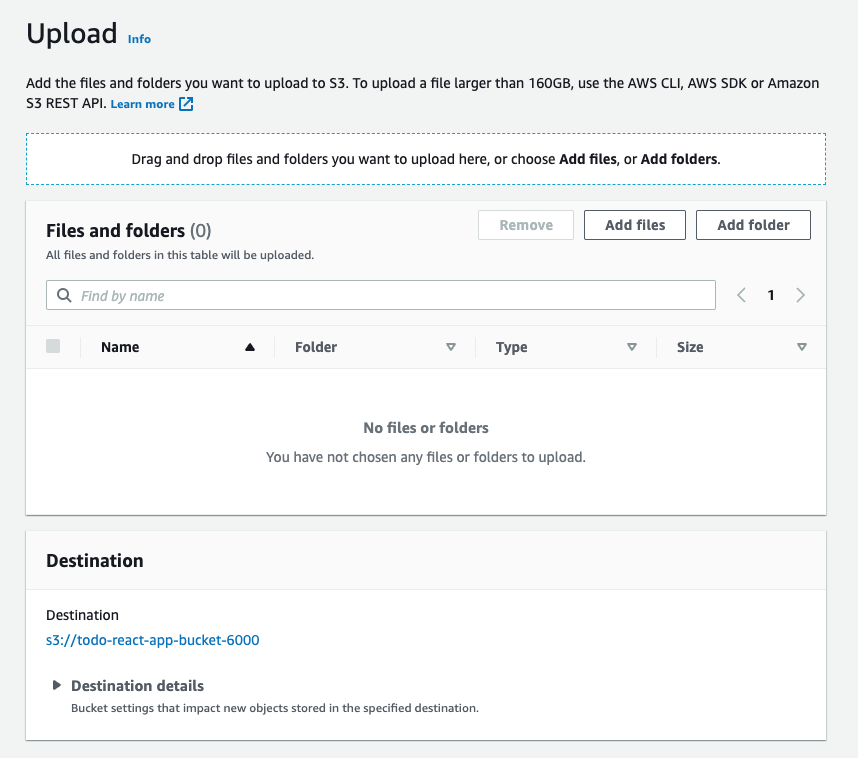
You will then reach this screen that asks you to drag and drop files you wish to upload.
-
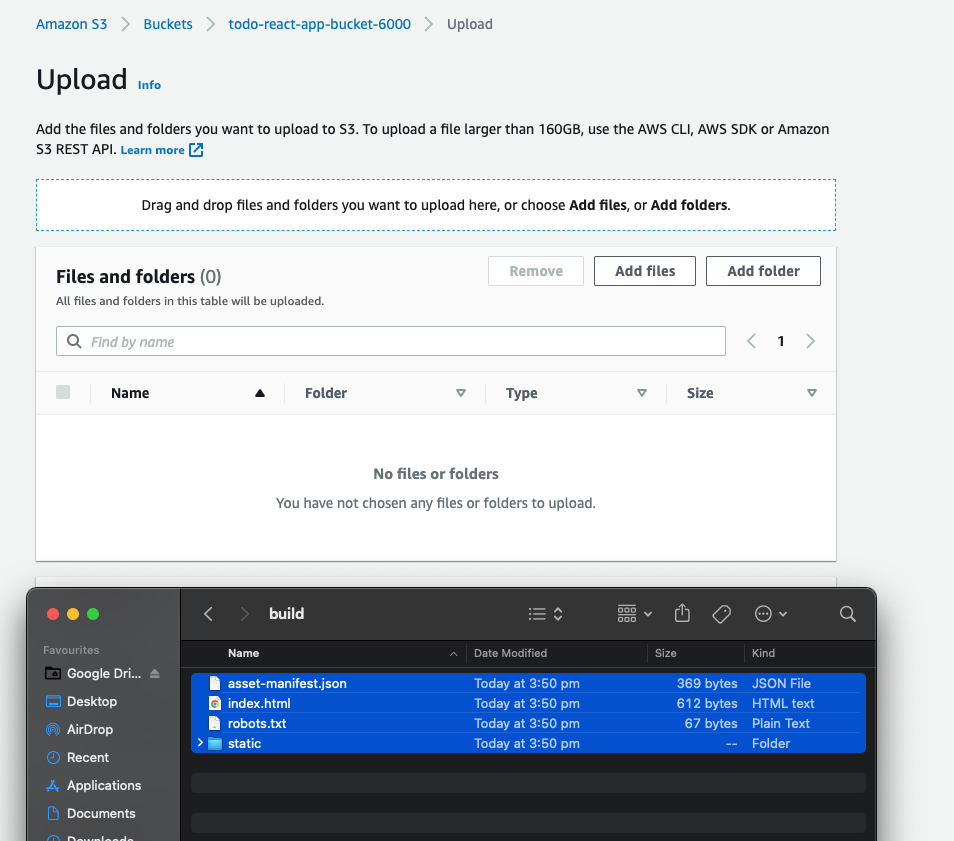
Leave the S3 bucket upload window open and open the todo-app repo with your editor. Run command ‘npm run build’. Once the build has completed open the build folder in your project and drag it’s contents into the S3 upload window, then scroll down and click ‘Upload’.

-
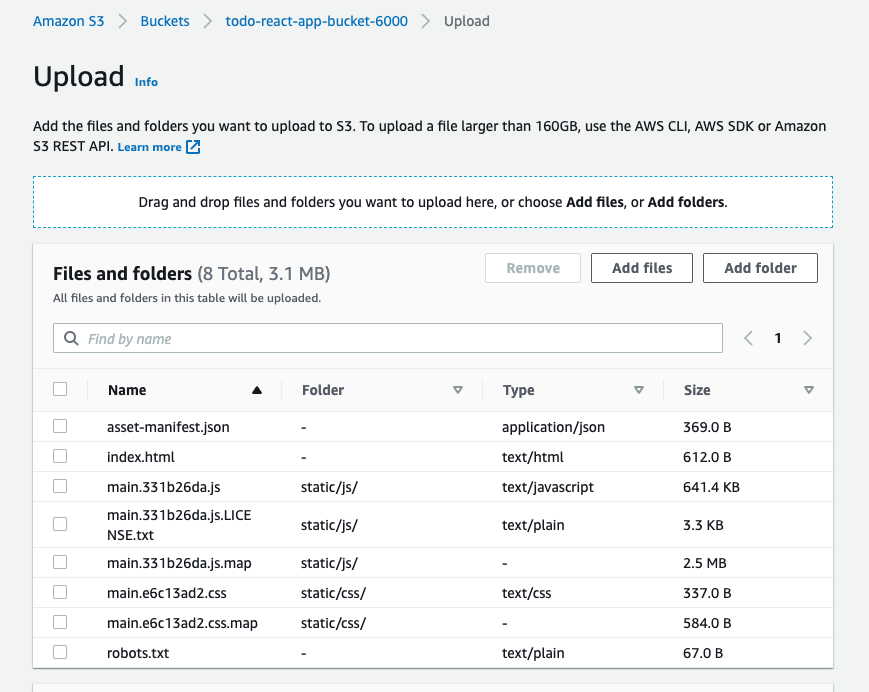
You will see something like this once the upload has succeeded.
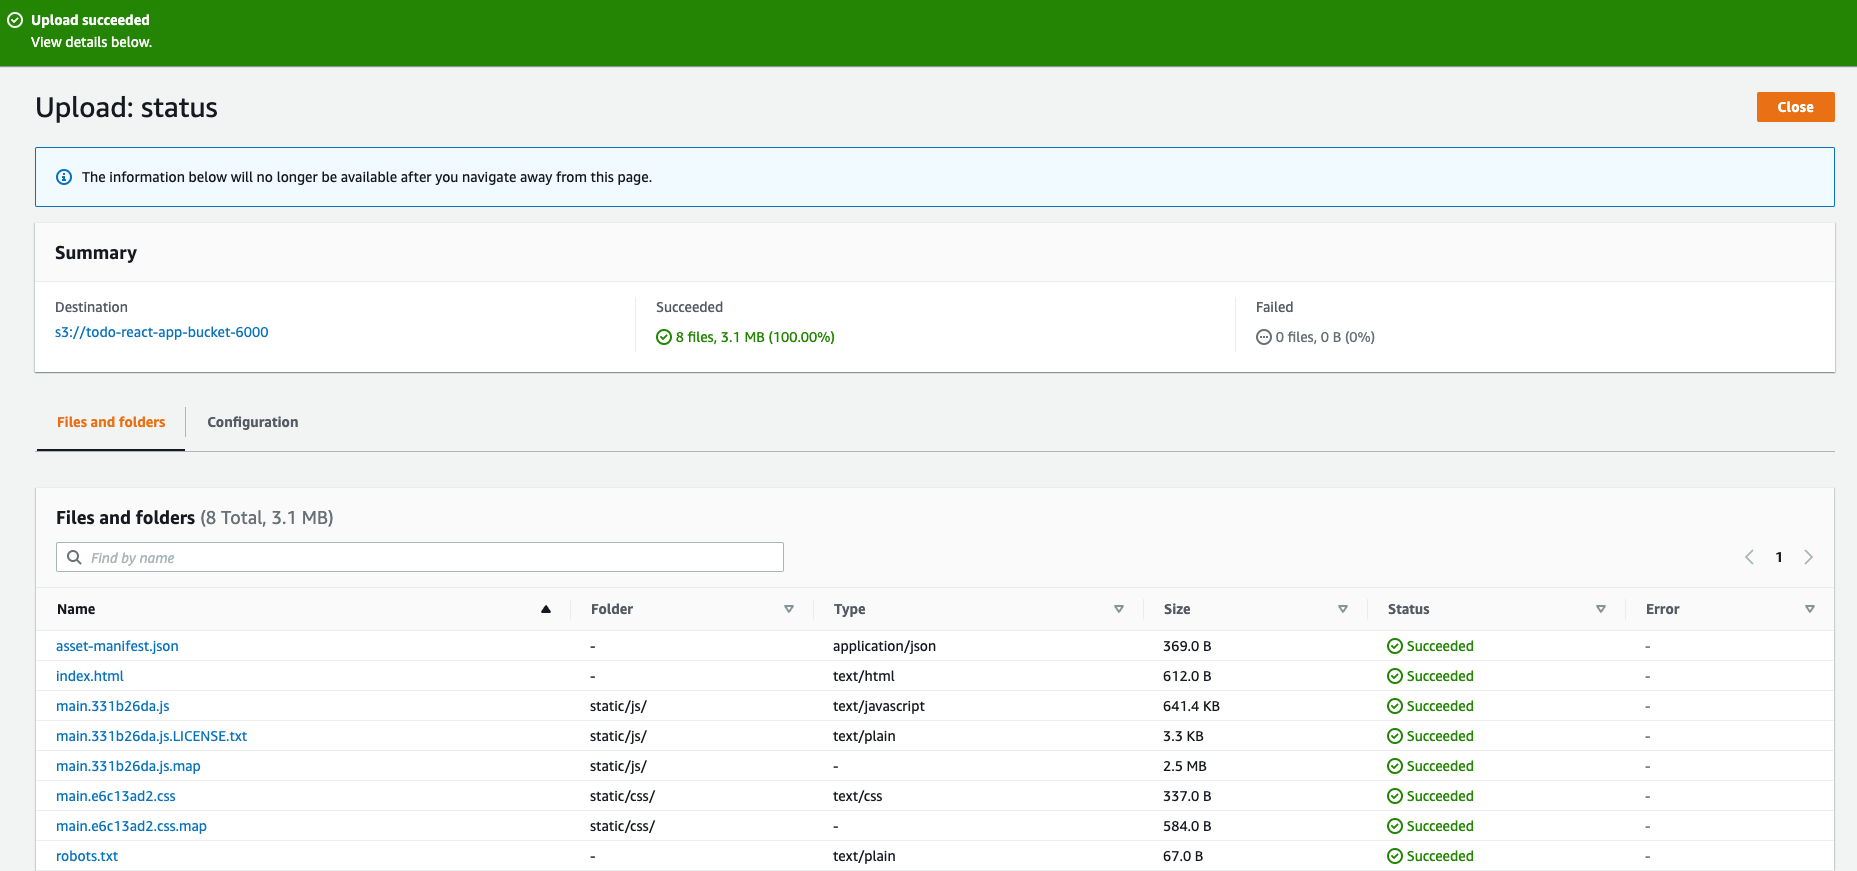
That’s the S3 part done, our app is now securely stored in the cloud, now to configure Cloudfront to distribute it.
Create a cloudfront distribution
AWS Cloudfront is a content delivery network (CDN) that will serve your application to your end users.
-
Search for cloudfront using the search bar.
-
On the right side of your screen click ‘Create distribution’.
-
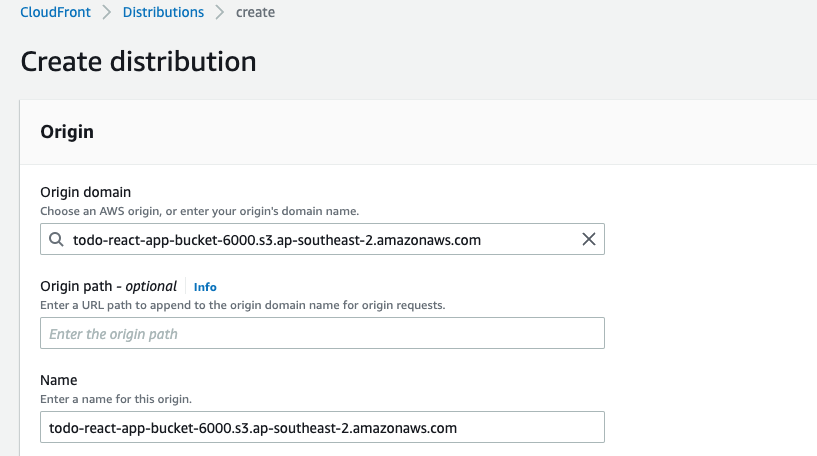
Under ‘Origin domain’ select the S3 bucket we created in the previous stage, leave the origin path blank.
-
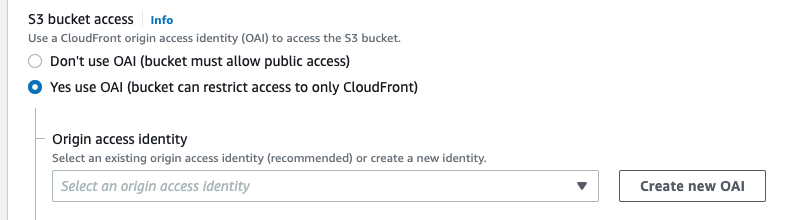
Under ‘S3 bucket access’ click ‘Yes use OAI (bucket can restrict access to only CloudFront)’, then click ‘Create new OAI’.
-
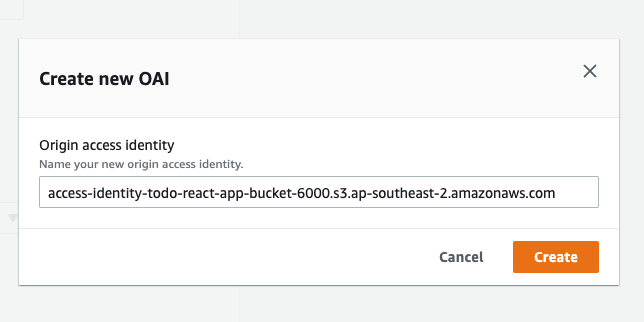
You will then see this pop-up giving you the option to create a custom name for your OAI, leave it as the default and click ‘Create’.
-
Then under ‘Bucket policy’ select ‘Yes, update the bucket policy’.

-
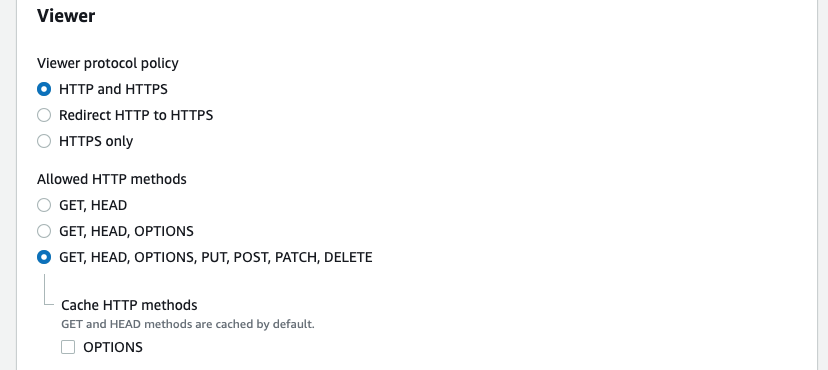
Scroll down to ‘Viewer’ and select allowed HTTP methods to be GET, HEAD, OPTIONS, PUT, POST, PATCH, DELETE.
-
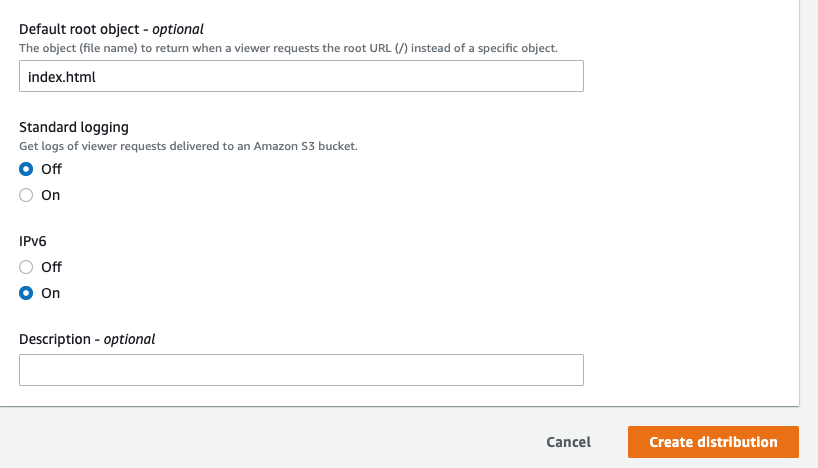
Scroll down to the bottom and set the ‘Default root object’ as index.html, leave everything else as default, then click ‘Create distribution’.
-
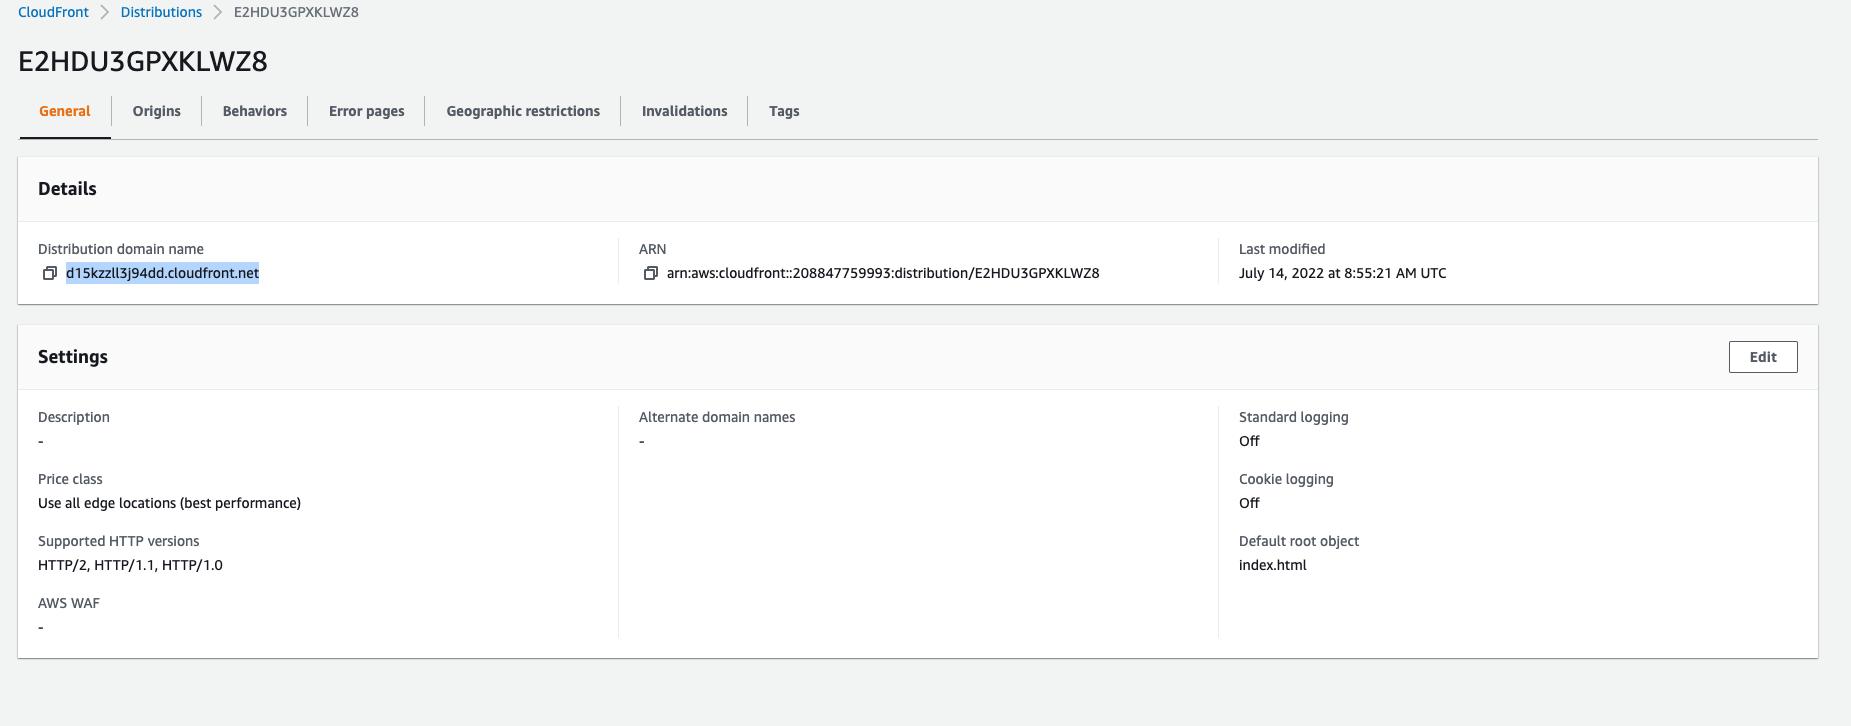
It will take a few minutes for the Cloudfront distribution to deploy, once it does you will see this screen, copy the distributed domain name.
-
Open a new browser window, paste the distributed domain name you just copied, and viola your app is live and hosted. Go ahead, login and play around with it.

Conclusion
There is a lot more that should be done to have the app ready for production. These being, configuring a web application firewall (WAF) for security and maybe a more user-friendly domain name, with AWS having services tailored for both of these requirements. I challenge you to try and integrate these features yourself.
Experiment, break stuff, and keep learning, that’s the only way you will grow. I hope this tutorial was useful and gives you an idea of the base infrastructure required to create a full stack cloud native serverless web application.
As you may have noticed, using the console requires a lot of steps, with very specific configuration at times. It can be very easy to forget a step, as I am sure you may have found out if you followed this tutorial. Here at Mechanical Rock, we rarely use the console, as all our infrastructrue is provisioned as code. In my next tutorial I will show you how to provision the same infrastructure and host the app without touching the the console at all, it will all be done as code. Stay tuned for the sequel in this series.
If you have any questions or need a cloud native web application developed, feel free to get in touch.