Building a Serverless RPC API on AWS: Emulating & Testing Locally
Tags: rpc go twirp aws middleware
Today we are going to look at how to test our API, but we are going to a step further than simple unit tests. In this installment, we are going to look at standing up our entire stack locally, and test it using DynamoDB Local and SAM. Seeing as we are using Go, I’ll also show how to produce a binary that can reused across our local testing environment, as well as a real production environment. Such a binary could be used as part of a deployment phase in a pipeline to verify that everything is working post-deployment.
Getting Ready
You will need to perform the following prerequisites, in addition to those in a preceding article.
- Install Docker.
You can follow the instructions here to get Docker for your particular OS.
- Pull the DynamoDB local container. This will let you interact with a local instance of a database that is API-compatible with DynamoDB.
docker pull amazon/dynamodb-local
- Install the NoSQL Workbench for DynamoDB. Instructions here.
This isn’t strictly necessary but we are going to use it to build up some intuition via ClickOps before we perform some test automation.
Invoke using SAM Local
First we need to start up the DynamoDB local container.
docker run -p 8000:8000 amazon/dynamodb-local
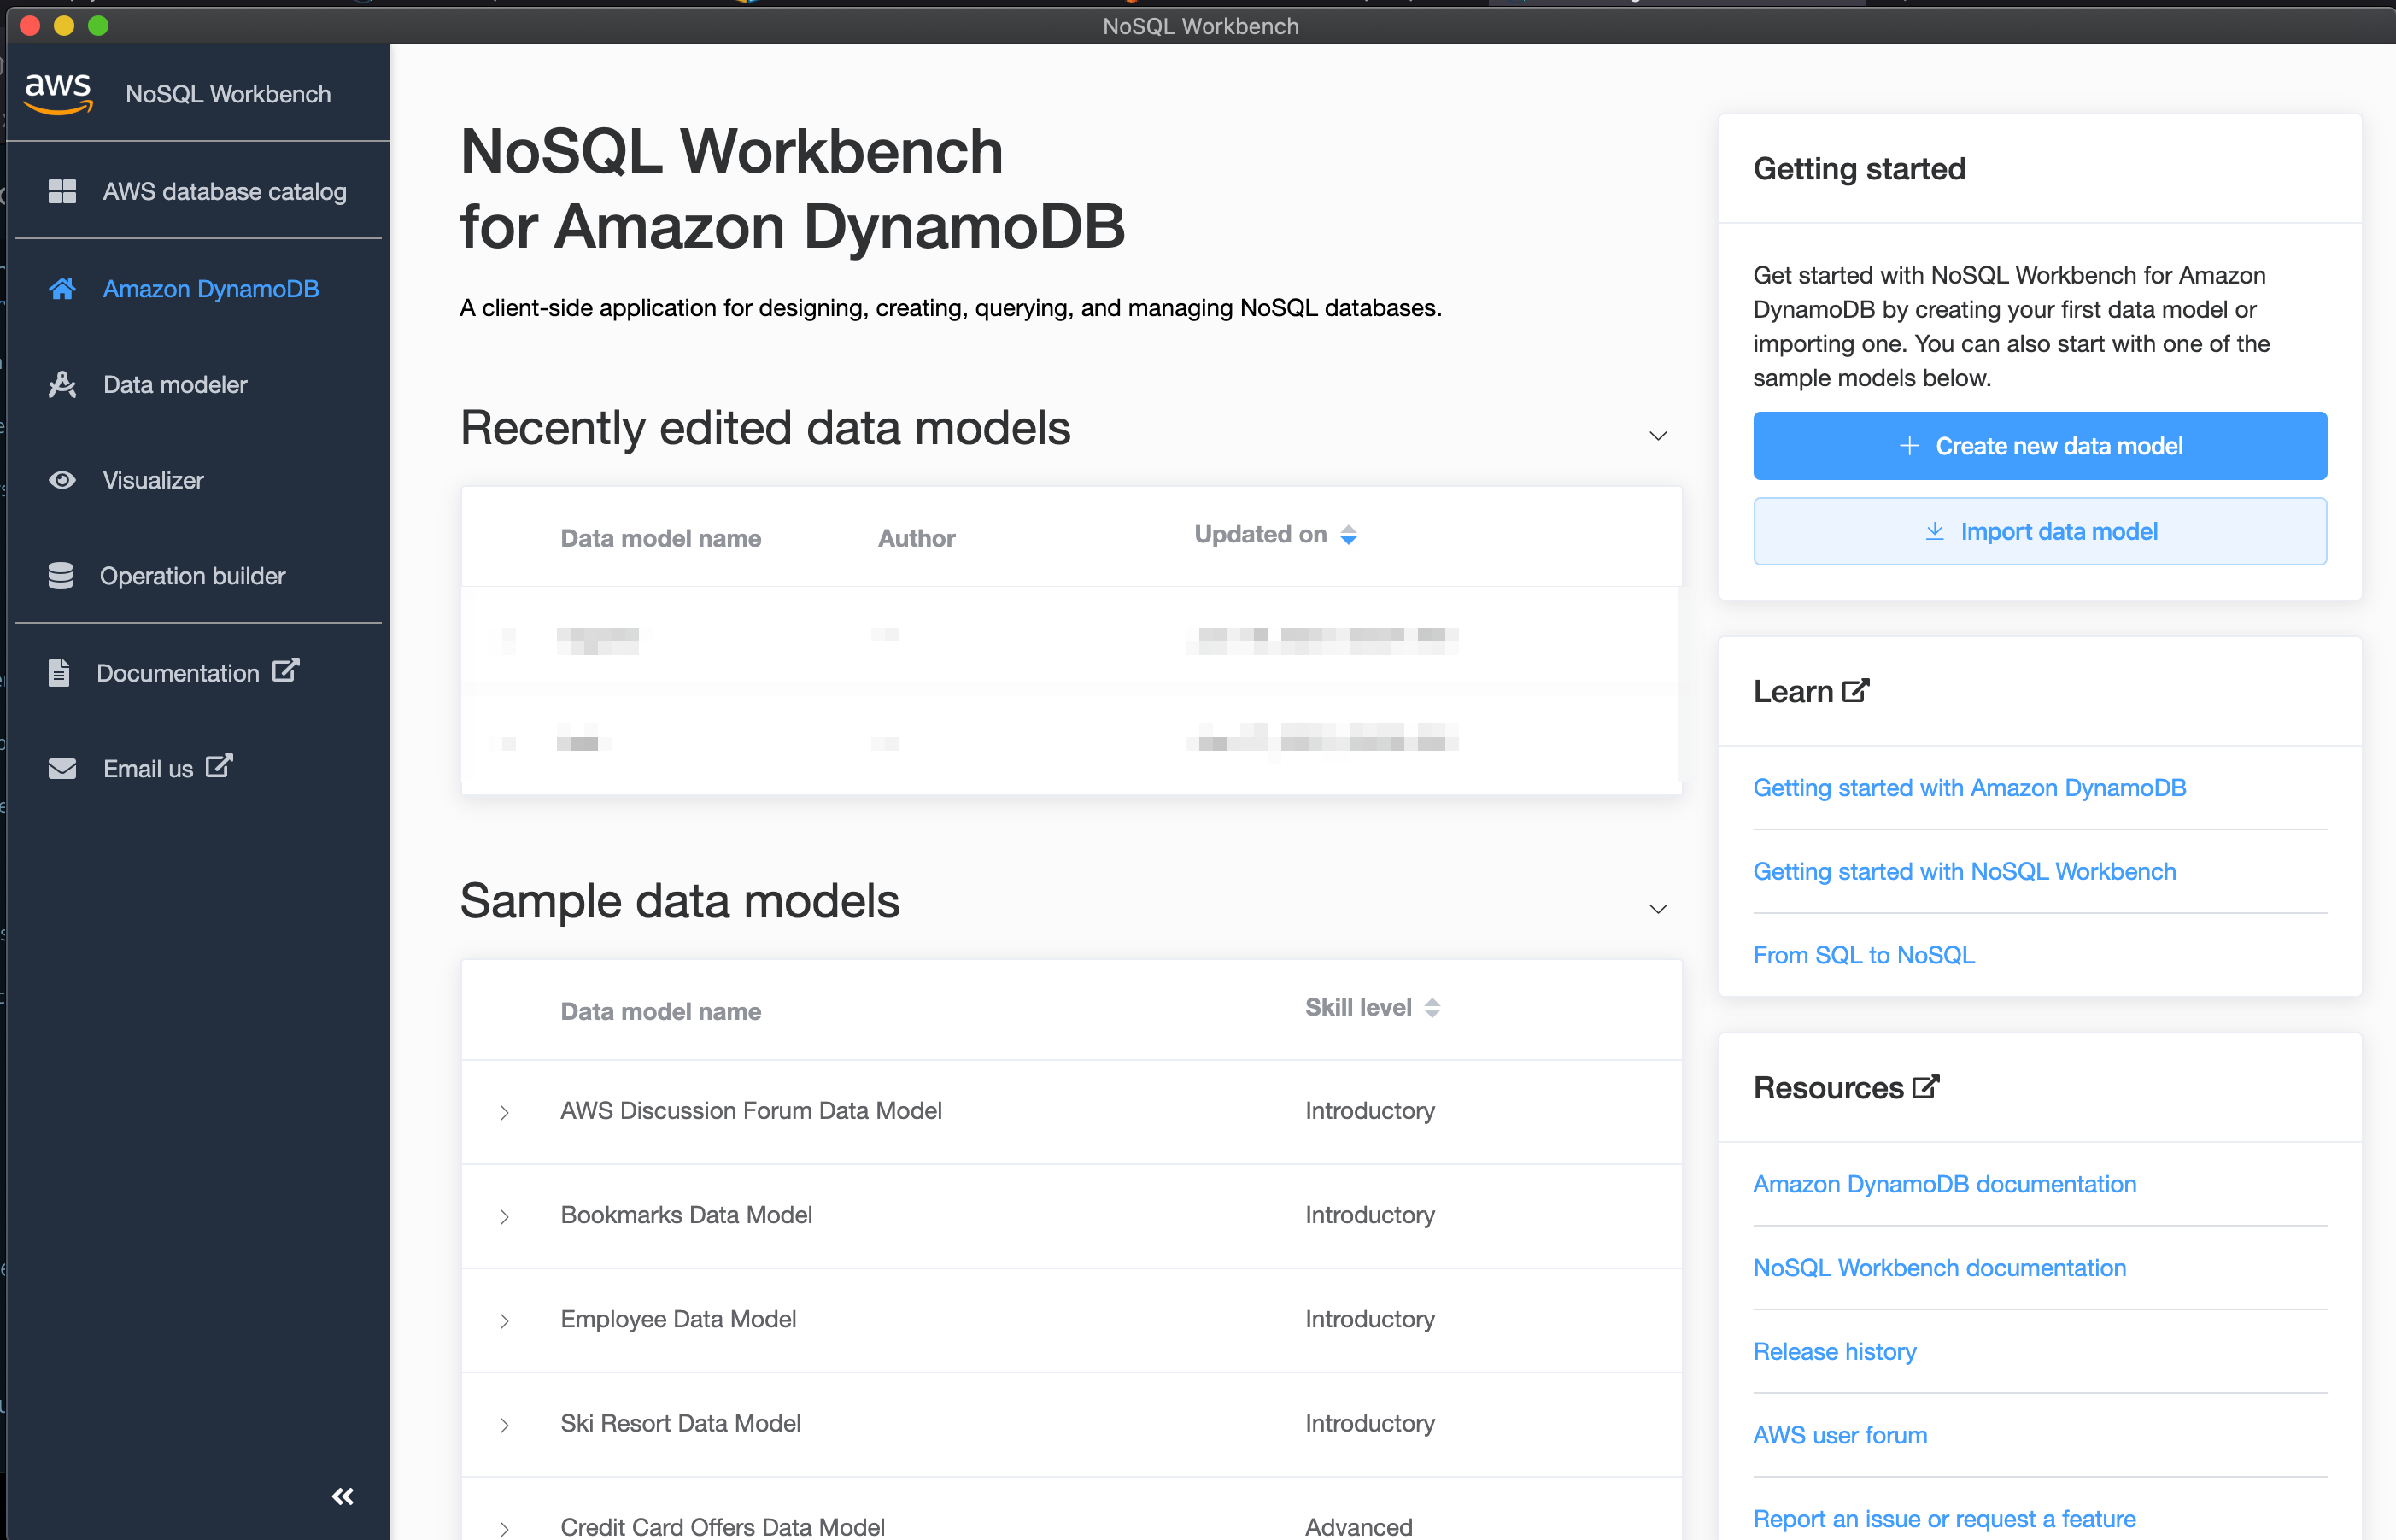
Then we can open up the workbench - which should look like the following.
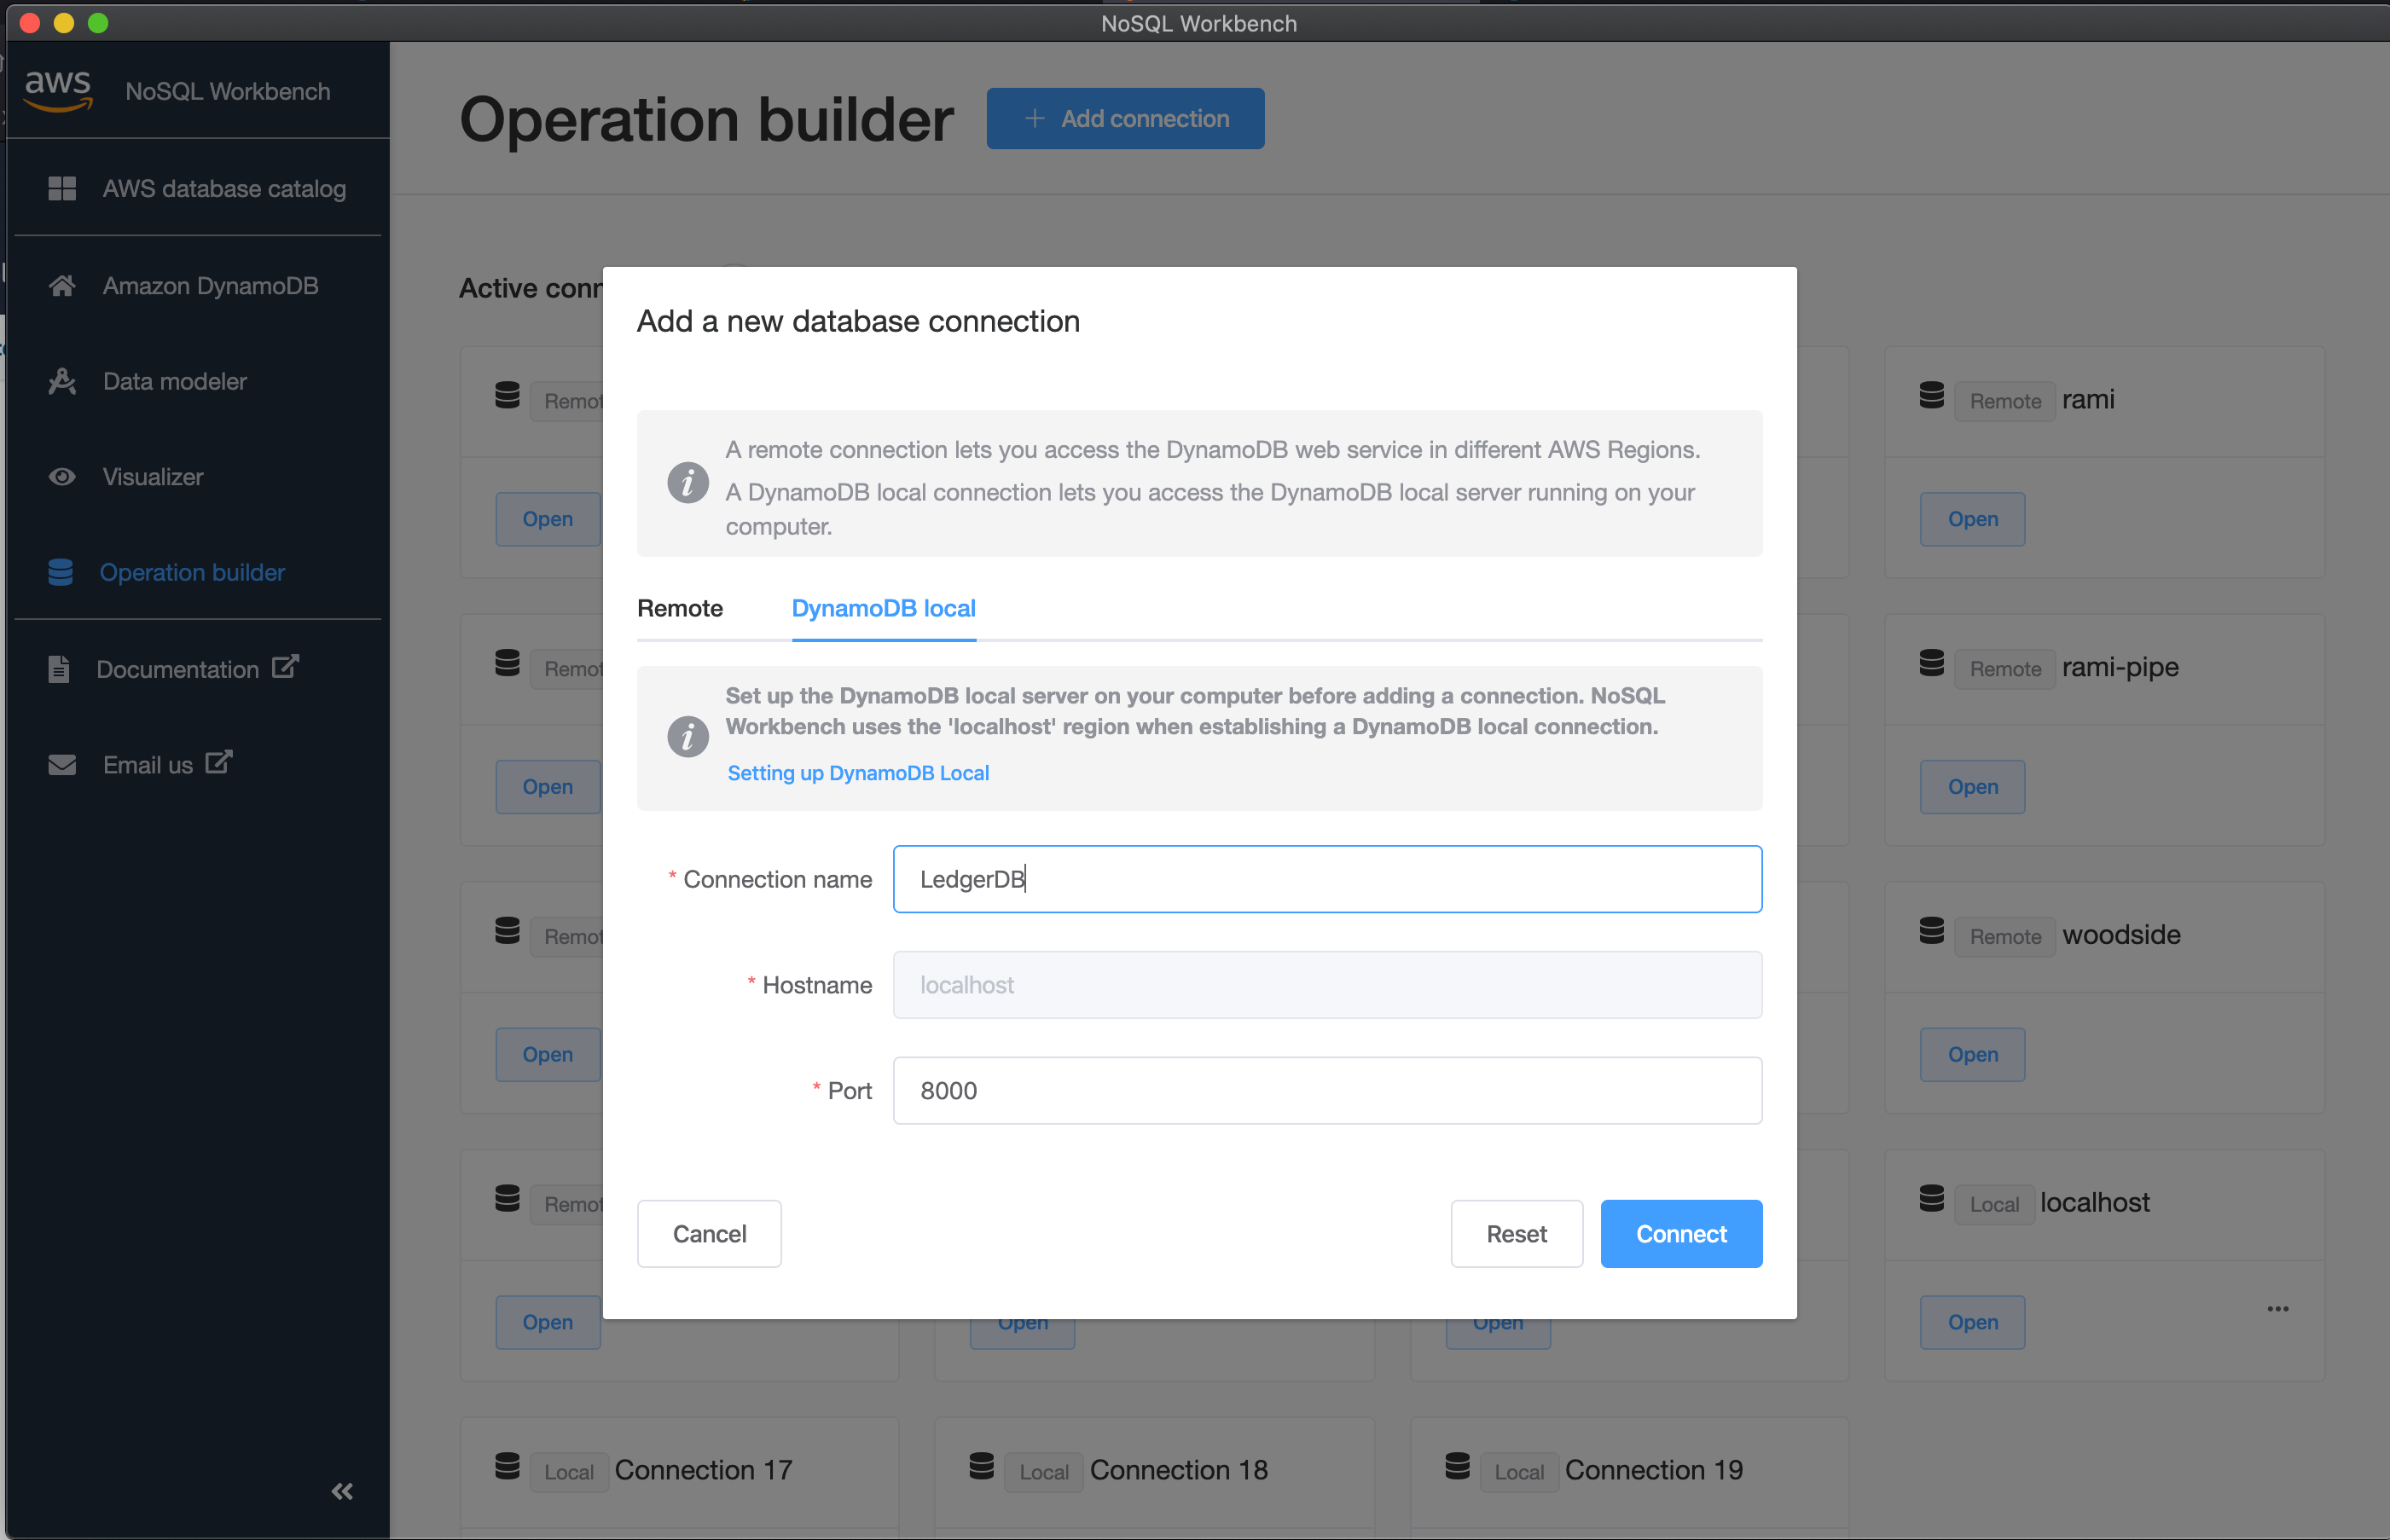
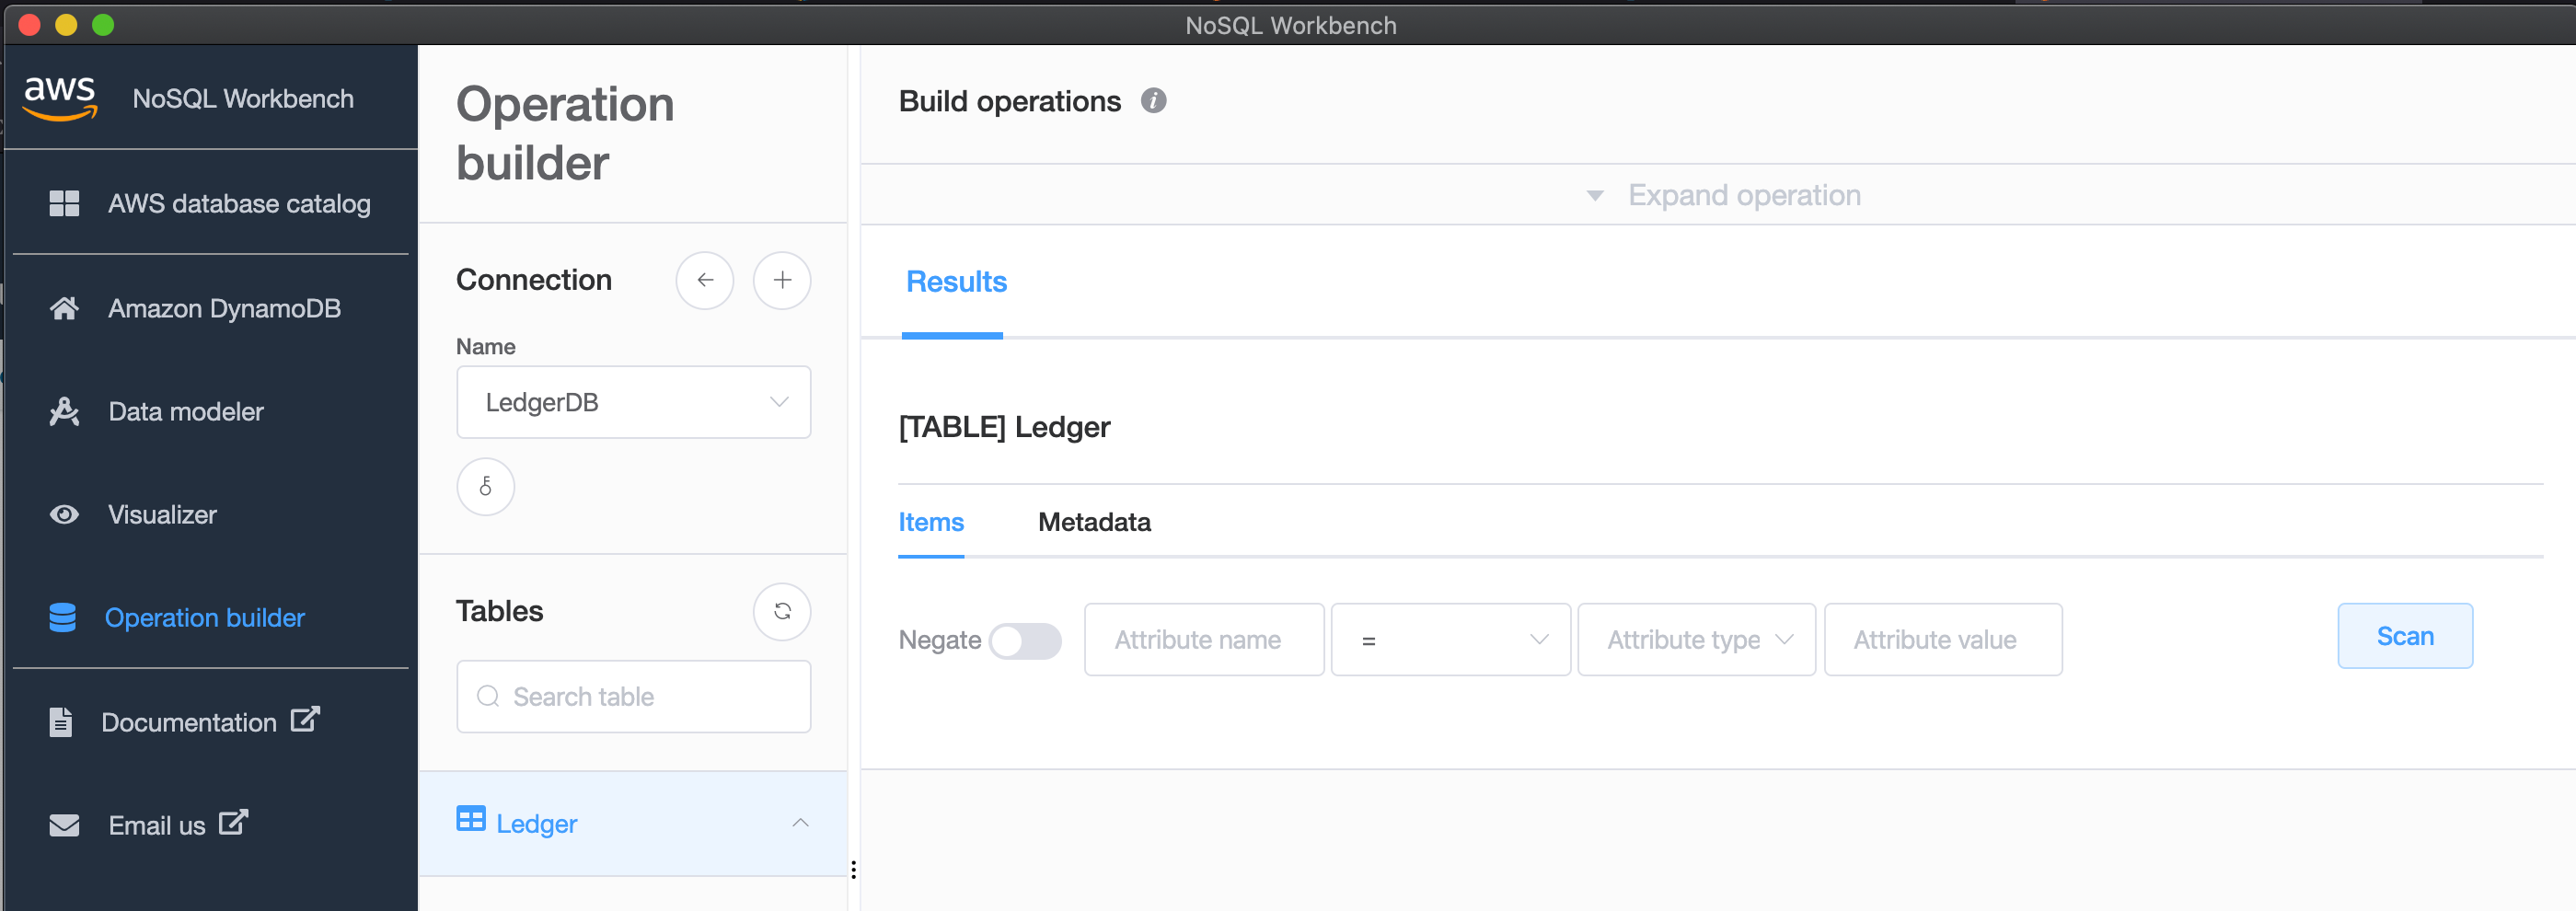
Then you will need to click on operation builder & click to add ‘New Connection’; select ‘DyamoDB’ local, and copy the following details from the screenshot.
After selecting the connect, it will open this pane up. Note that we do not have any tables yet. We need to rectify this.
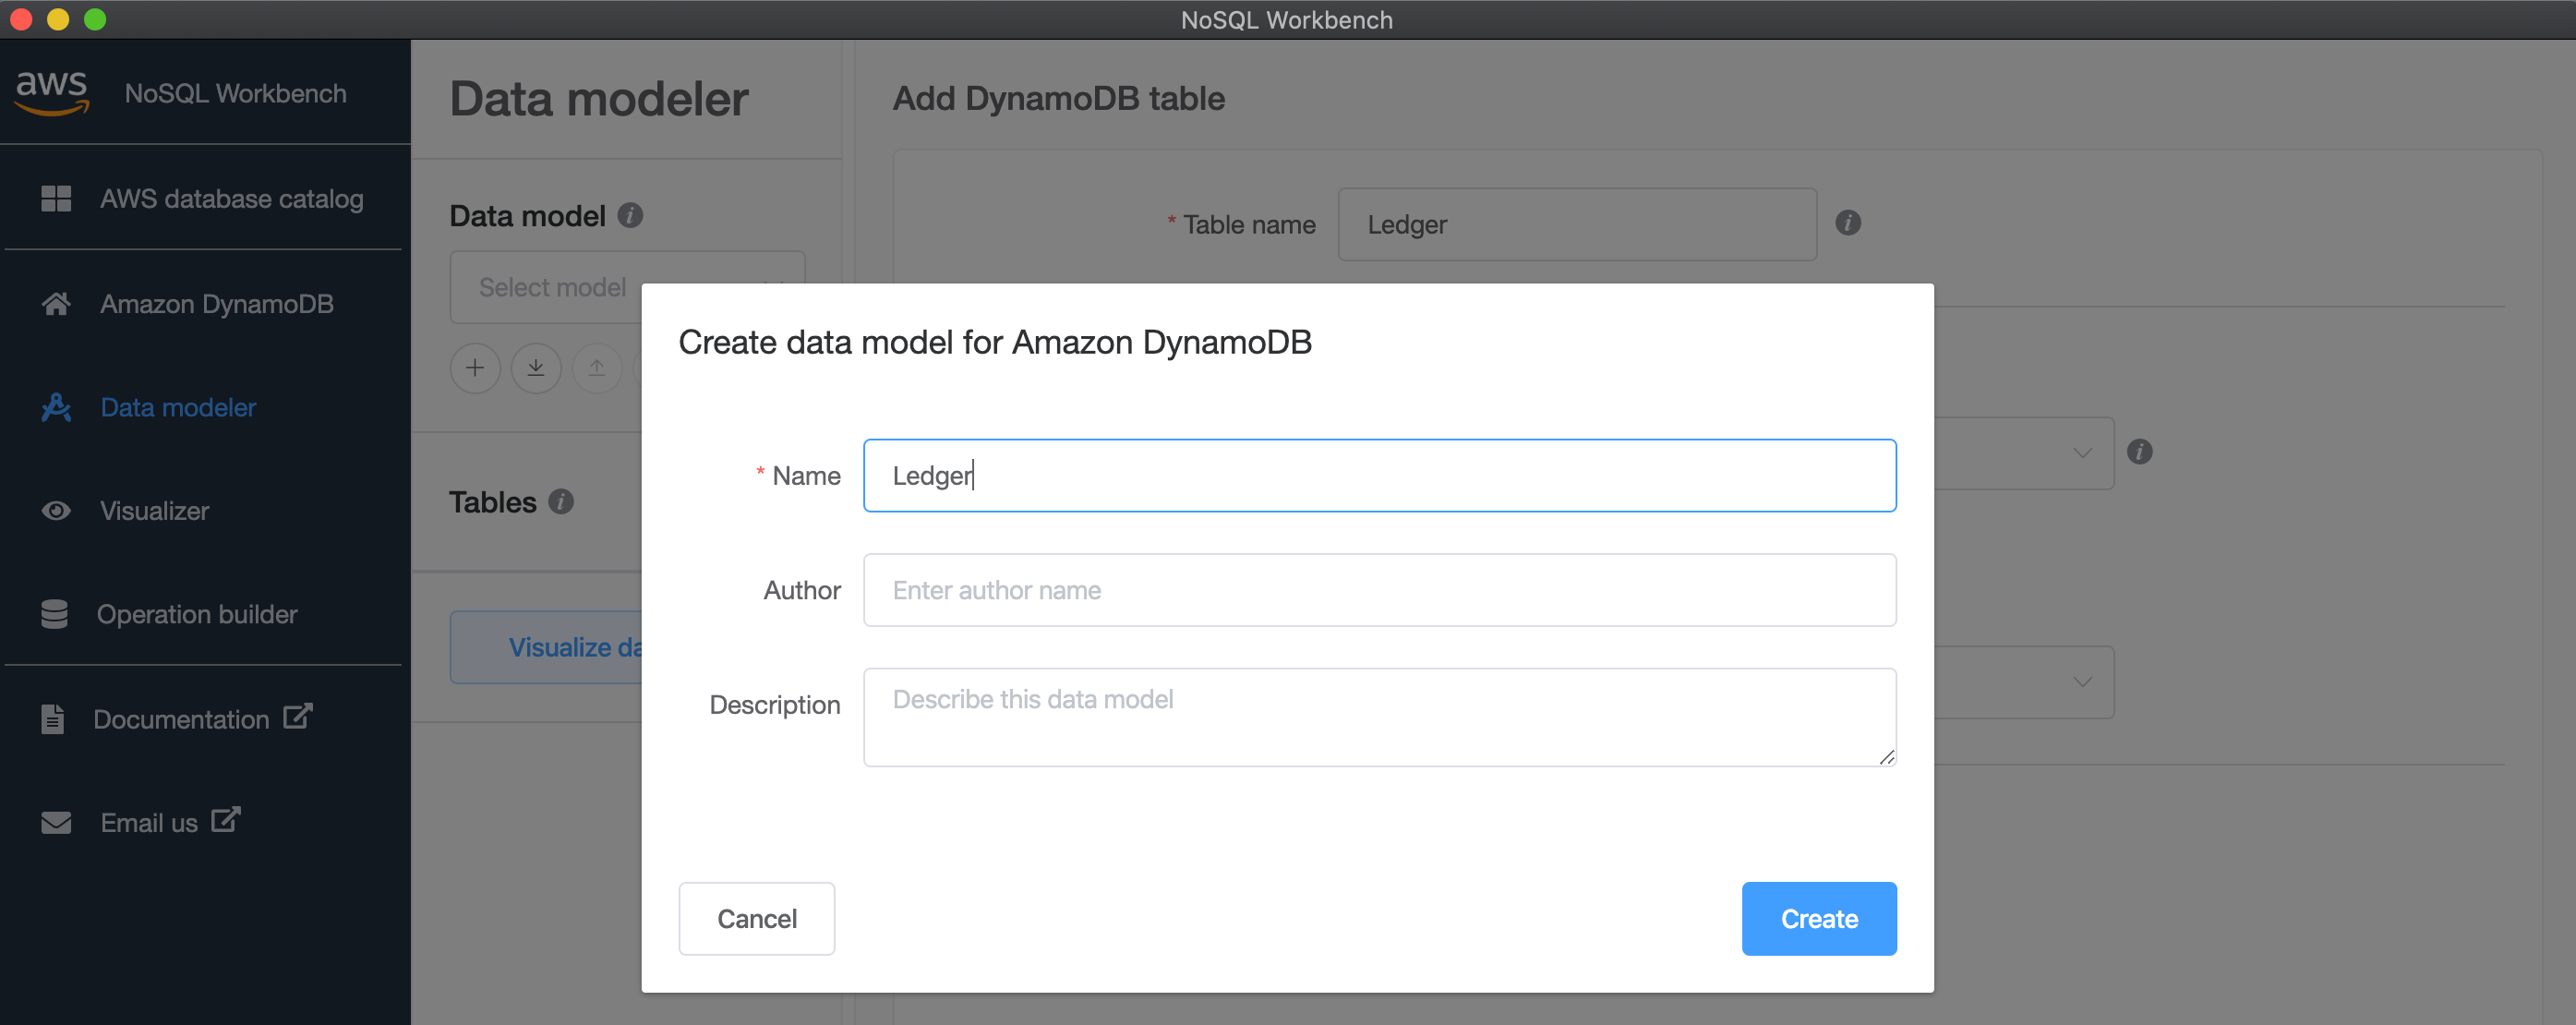
- Click
Data Modelerand add new data model -Ledger
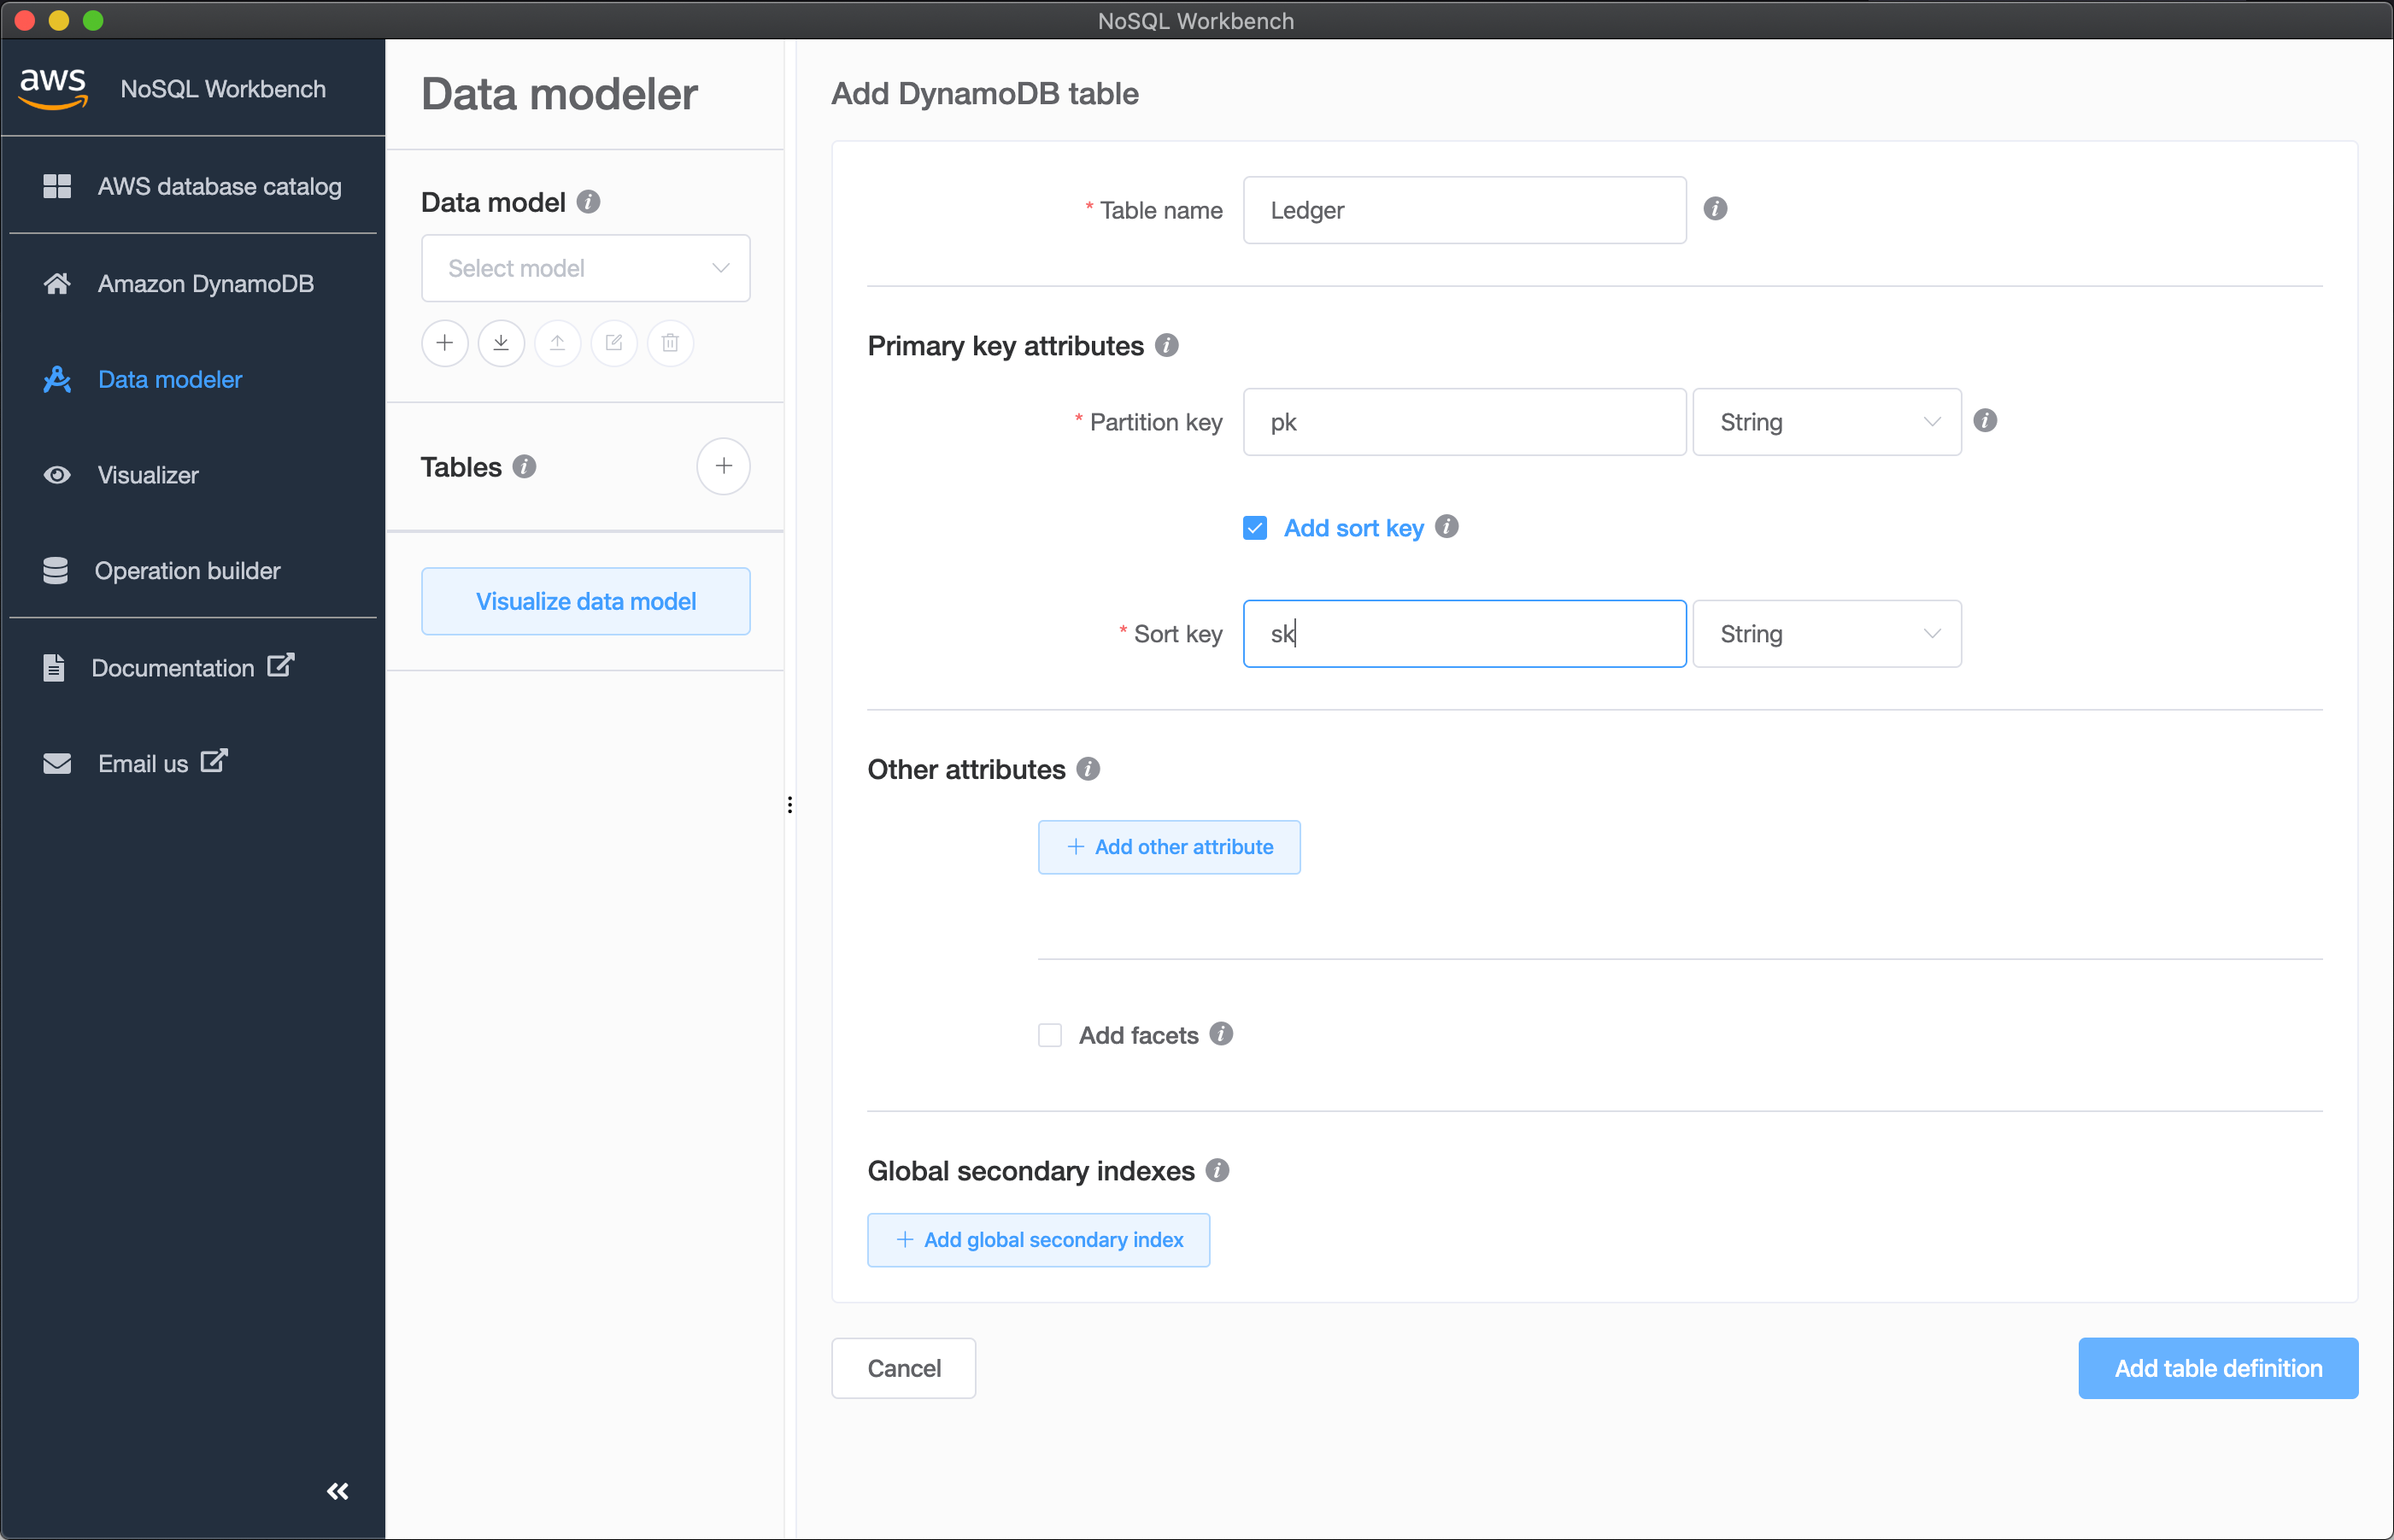
- Click to add a new table - which we will call
Ledger. Ensure theLedgertable has a partition key of typestringand namepk, as well as sort of typestringand namesk.
- Click
Visualizerand then clickcommit. You will need to select theLedgerDBconnection we set-up earlier.
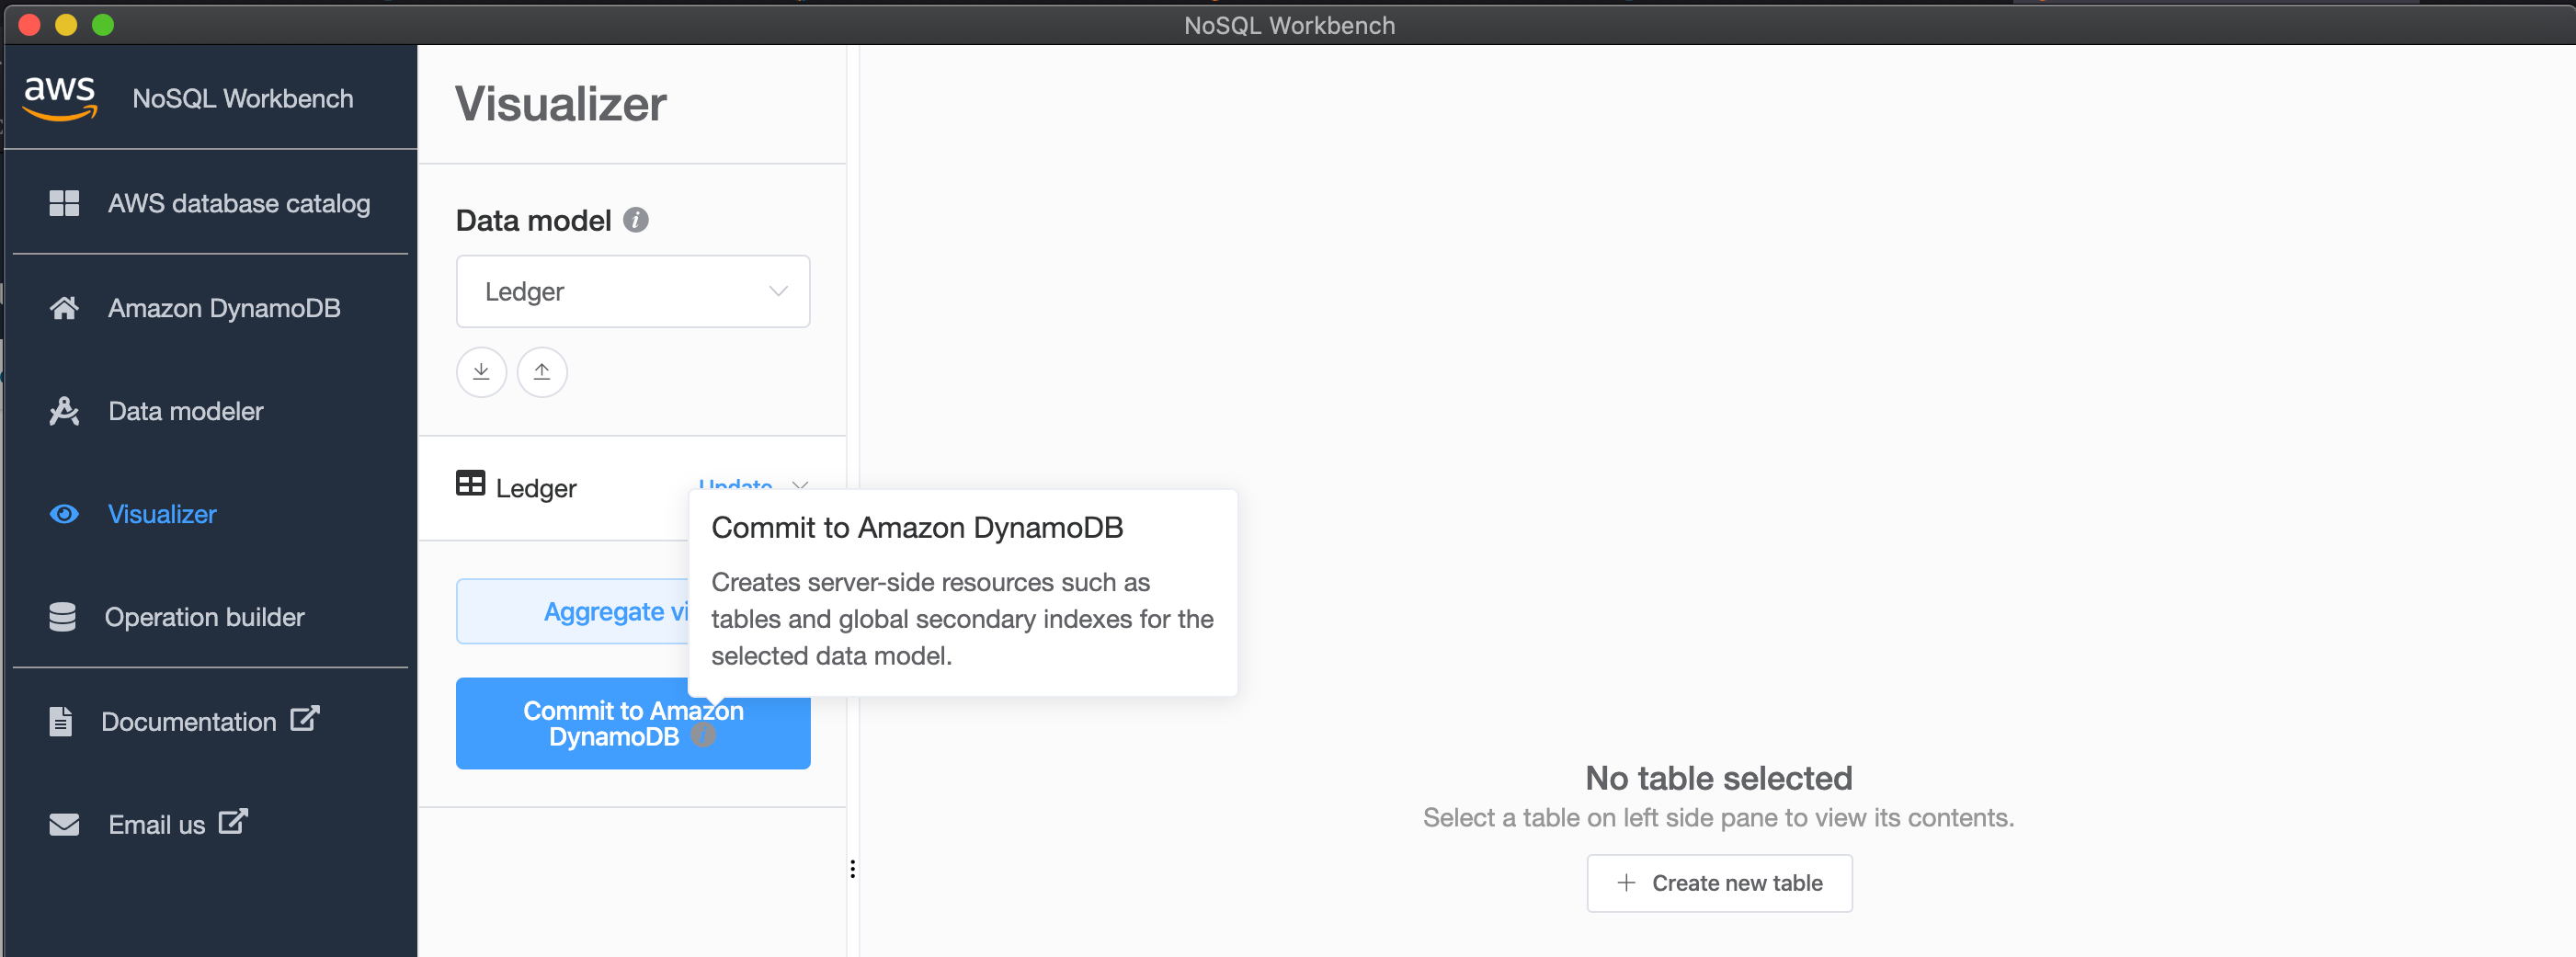
- Click back to
Operation Builderand you will now see that we have a table calledLedgeravailable.
NB: Note the credentials down for the connection as well.
We then need to configure our profile; add the following to ~/.aws/credentials (substituting the credentials you received, of course).
[local]
aws_access_key_id=<whatever-your-access-key-id-was>
aws_secret_access_key=<whatever-your-secret-access-key-was>
Then create a new profile in ~/.aws/config.
[profile local]
region=localhost
output=json
Once this is done we can start looking at how to invoke our application using SAM.
First we need a file that we can use to override the environment variables that our function uses. I created the following file;
{
  "Backend": {
    "TABLE_NAME": "Ledger",
    "DDB_ENDPOINT": "http://host.docker.internal:8000"
  }
}
This ensures we can target the ledger table that is being exposed via the DynamoDB local container.
We will also need to invoke the function using an event - so I will create the following file which represents the payload that we would send to API Gateway.
{
	"Root": "example.com",
	"Subdomain": "myapp"
}
Next we need to start up the gateway. Use the following command to do so. The first time you do this, it may take a little while for SAm to build the emulation container for API Gateway.
sam local start-api --profile local \
	--port 8080 \
	--env-vars ./local/env.json \
	--warm-containers EAGER
Once it starts, you will be able to send requests to it.
> curl -H "Content-Type: application/json" -d @./local/event.json http://localhost:8080/twirp/ledger.Ledger/ClaimDomain
> {"Domain":{"Root":"example.com","Subdomain":"myapp"}}%
The table should have the result in it…
Cool! So taking stock we were able to -
- Get DynamoDB local running,
- Start our API up locally with our lambda code,
- Send an event to the API, and,
- Have our custom code connect to the local database to perform it’s function.
OK - but most of us aren’t going to test our code like that, right? It would be a lot better if we had some sort of test program that we could execute against some API endpoint, that way it would work on our local instance, or something running in the cloud. So let’s try to do that now!
We are going to start by creating somewhere to place our code for performing end-to-end testing of the API layer, and create the file where we will place our testing logic…
mkdir -p ./test/e2e
touch ./test/e2e/e2e_test.go
And then we will add a TestMain function. This allows us to do perform some global setup tasks - in our case it will be parsing a command line flag that will tell the client where to send commands to.
var urlFlag = flag.String("h", "http://localhost:8080", "url")

func TestMain(m *testing.M) {
	flag.Parse()
	fmt.Println("im here", *urlFlag)
	os.Exit(m.Run())
}
When we generated the code in our earlier installments, it also created client code. We can reuse that now to make it easier to send a request to the endpoint. We are now diverging from curl’ing the endpoint with raw HTTP requests for the sake of convenience.
func TestApi(t *testing.T) {
	// create the protobuf client
	client := pb.NewLedgerProtobufClient(*urlFlag, &http.Client{})

	// create the expected output
	expected := &pb.ClaimDomainOutput{
		Domain: &pb.Domain{
			Root:      "example.cm",
			Subdomain: "myapp",
		},
	}

	// send the command
	result, err := client.ClaimDomain(context.Background(), &pb.ClaimDomainInput{
		Root:      "example.com",
		Subdomain: "myapp",
	})

	// Error out if the command failed
	if err != nil {
		t.Error("Failed to create domain: ", err.Error())
	}

	// Otherwise diff the result with the expected output
	diff := cmp.Diff(result.Domain, expected.Domain, protocmp.Transform())
	if diff != "" {
		// print out the diff if they are not the same
		t.Error("Unexpected result: ", diff)
	}
}
Running the test can be done with go test ./test/e2e.
I’ve deliberately made the test fail - in which case I receive the following output.
--- FAIL: TestXxx (0.03s)
    e2e_test.go:45: Unexpected result:    (*ledger.Domain)(Inverse(protocmp.Transform, protocmp.Message{
                "@type":     s"ledger.Domain",
        -       "Root":      string("example.com"),
        +       "Root":      string("example.cm"),
                "Subdomain": string("myapp"),
          }))

FAIL
FAIL    github.com/matt-tyler/ledger-one/test/e2e       0.352s
FAIL
If I fix the error, the output I receive is -
ok github.com/matt-tyler/ledger-one/test/e2e 0.508s
As an alternative to running the test with go test command, I could also do this
go test ./test/e2e -c -o ./bin/e2e
Which will create a binary called ./bin/e2e. I can then execute it like so…
./bin/e2e
Which will generate the same output. Compiling a test binary like this can be useful because it can then be run against any endpoint to see if it is compatible with the interface that is described by the tests. This could be useful for seeing if different stages or versions of an API are compatible with each other. Pretty cool!
Conclusion
We covered a lot of ground here! To begin with, we installed the NoSQL Workbench and the DynamoDB local docker container. Then we learned how to instantiate a DynamoDB-compatible database locally. We then learned how to configure AWS SAM to run our function logic locally, while also configuring it to interact with our DynamoDB-local database. We then were able to excercise our local API with curl on the command line. Then once that was done, we worked out how to create a test binary that we could use to perform end-to-end interactions against our API, whether it is local or not.
Until next time!
Don’t be shy, get in touch with us!
![]()