Trusted Web Activities
Tags: tutorial pwa PWA webapps spa android react
One of the promises of building apps on the web is the realisation of cross-platform app development — write once, run anywhere. A single development team can deliver a solution to customers that works on any device or platform they use.
With the rise of Progressive Web Apps over the last few years, that promise is being fulfilled. One of the last remaining hurdles for uptake on mobile devices is distribution of web apps in the native mobile app stores. These stores ease discoverability and installation for users, but have been exclusive to apps built natively for each platform.
There has been a few previous attempts to integrate web apps into native app stores. Mozilla’s Firefox OS comes to mind, as well as webOS and Apple’s original intention to focus on web apps instead of native apps. But, up until now there hasn’t been an offering on either of the two major platforms — iOS and Android.
The time is now ripe for that to change.
In this post we’ll learn about a new feature in Android called Trusted Web Activities, which enables publishing of web apps to the Google Play Store. We’ll also work through an example of setting one up for an existing web app.
Let’s get started!
Background
What is a Trusted Web Activity?
A Trusted Web Activity (TWA) is a way to make your Progressive Web App (PWA) a first-class citizen on Android. It enables you to bundle your web app in an Android package and publish it to the Google Play Store.
You don’t need to make any drastic changes to your existing web app. You also don’t need to install native development tools such as Android Studio, or write any native code.
For example, let’s say you have built an app that works well on mobile devices due to responsive web design. You can create an Android Package for that app via PWA Builder and then publish that app to the Google Play Store.
You have been able to integrate web apps with native apps for a while, but doing so has always been arduous. The previous approach was to create a wrapping native app and deal with the complexities of updating it separately to your web app.
TWA’s solve this problem by serving your app from the web with an actual browser, but without the address bar at the top or status bar at the bottom. This is like adding web app to your home screen from the in-browser feature, but with some differences that we will soon discover.
What is a Progressive Web App (PWA)?
I mentioned before that TWAs integrate with Progressive Web Apps (PWAs), so let’s discover what they are.
A PWA is a normal web app with specific attributes:
- A Service Worker that helps provide offline support and caching. You can use tools such as workbox to help with this.
- Usage of modern web capabilities such as the Push API and Geolocation API to provide user experiences that were previously exclusive to native apps.
- A Web App Manifest to provide additional metadata to consuming platforms.
- Responsive Web Design to ensure a good user experience across a variety of devices.
This makes PWAs well suited for integration with native mobile platforms via features such as TWAs.
For a more information on PWAs, I highly recommend PWA: Cache me if you can and our PWA Capability Report.
If I have a PWA or native app, why do I need a TWA?
Now that we know what a TWA is, you may be wondering why you would need to use one if users can access your web app in the browser. The answer is that you may not need one, it depends on how you want your users to discover and access your app.
Here are some situations where they could be beneficial to you:
- You want to leverage the Google Play Store as a marketing channel, or for acquiring user feedback. For example, if you have created a real estate web app and you want to appear in the search results of the Play Store “real estate” category.
- You want “add to home-screen” behaviour by default. For example; apps used persistently, such as a messaging app.
- You have an existing native application that you want to mix or augment with cross-platform web capabilities. For example; if you have created a racing game using Android native code, but the menu and leaderboard is cross platform web code.
You’ll need to assess whether publishing to the store via a TWA is beneficial in your situation.
Let’s create a TWA!
Now that we understand what a TWA is, we can go through the steps of creating one and publishing to the Play Store.
To get started, you will need an existing PWA hosted at a HTTPS web address. If you don’t have one, you could use a third party one such as svgomg and host it with a managed provider such as AWS.
If you don’t want to host a PWA right now, you could use one that’s already on the web or even PWABuilder itself, but you won’t be able to add the asset link. That’s not a big issue, but there will be an extra header in the app, since untrusted TWAs appear as “custom tabs” instead of dedicated apps in Android.
Generating the package
The first step of creating a TWA is to generate an APK — an Android specific package.
PWA Builder is a fantastic service founded by Microsoft as an open source project to encourage PWA adoption. It fills the gap of creating an Android-specific package from our multi-platform PWA. This avoids the need for us to use the platform-specific tools such as Android Studio.
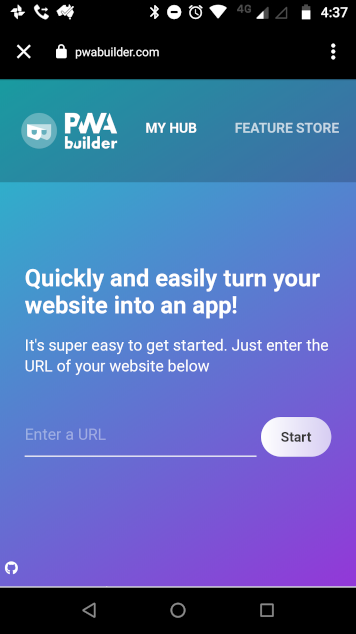
Upon loading the site, there is a space to enter a URL. Enter the address for your PWA and select “Start”. Tests will run against your app to assess its suitability.
For example, I received the following scores:
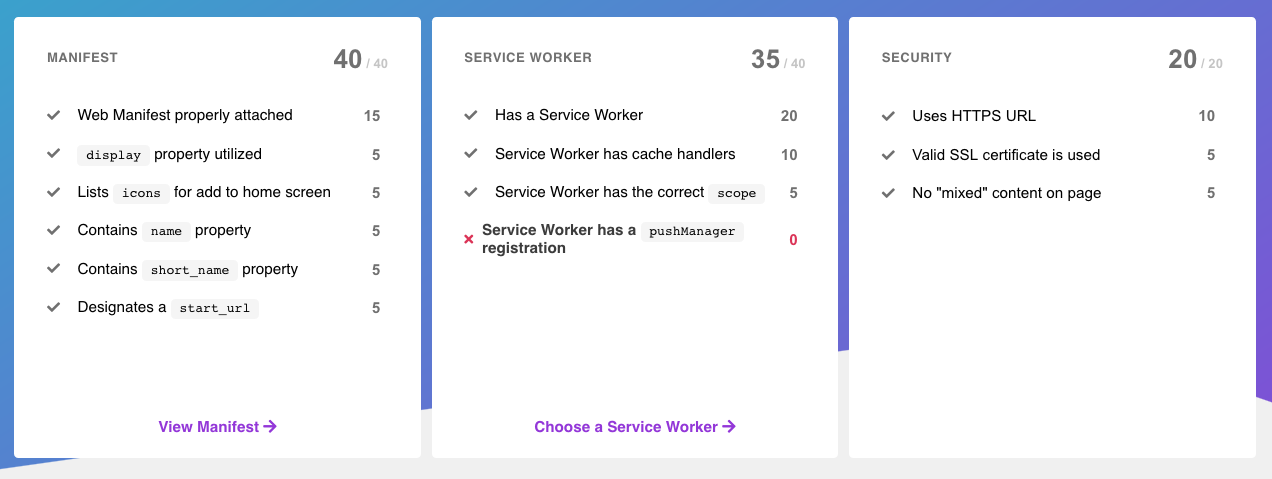
The feedback here may prompt you to make further changes to your web app. If not then you can go ahead and select “Build my PWA”.
Upon doing so you will see many platform options. Selecting the arrow in the corner of the Android box starts the process of generating the TWA package.
A prompt will appear, and in small print at the bottom will be the text:
Your PWA will be a Trusted Web Activity.
If this is the case, continue to Download. This will download a zip file containing the generated APK.
Testing the app
In the previous section we generated an APK. We recommend testing the package on an Android device before publishing it to the Play Store to catch any issues before it can impact your users. This section outlines the steps for doing that.
The APK file downloaded in the previous section is install-able on any Android device, but first we need to transfer it.
There are many ways to transfer the file to the device. You could store it in the cloud, or plug your device into a laptop. Feel free to use your preferred method.
Open the APK file on the device to start the install.
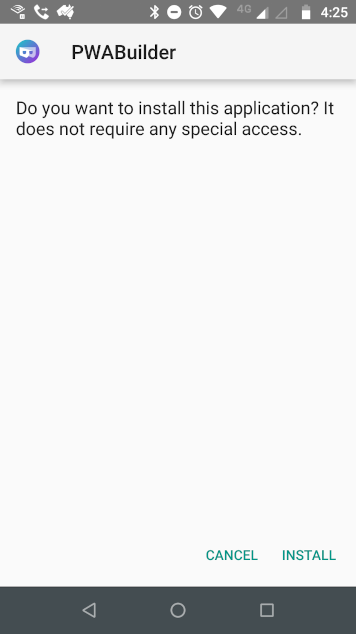
You may get a message that Play Protect has blocked the install, choose Install Anyway to continue.
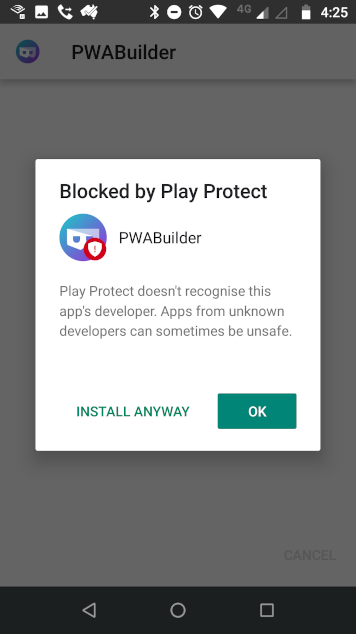
Once installed, you can now open the app and start some testing.
Setting up the asset link for verification
You may have noticed during testing that there is an added address bar header at the top of the app. This is the default behaviour when the TWA is not verified. Before we publish to the Play Store, we’ll want to verify our app to maximise the use of screen space.
To verify the app we need to generate an asset link and host it with our web app so that Android knows that the TWA is endorsed by the hosted web app.
This sections assumes that you are creating a TWA for a web app that you host, if that’s not the case then feel free to skip to the next section.
Using the Asset Links Tool from the Play Store is the easiest way to generate the asset link. Install it on the same device that you installed the APK and then open it.
It will ask you for the qualified package name of your TWA (e.g. com.mytwa). Upon selecting your package, you will see the signature and Digital Asset Link.
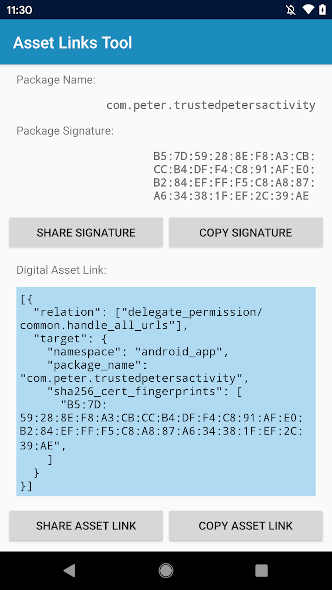
Copy the asset link into a file named assetlink.json, and host it under the /.well-known folder of your site. Once that’s deployed, restart the app on your phone and the header bar should disappear, resulting in a glorious full screen web app!
Publishing to the Play Store
If you’ve tested the app on your device and you learned how to setup the asset link in the previous section, then you’re ready to publish the app to the Google Play Store.
If you don’t already have a developer account for the Google Play Console, you will need to create one. At the time of writing this involves a one-time $25 USD fee.
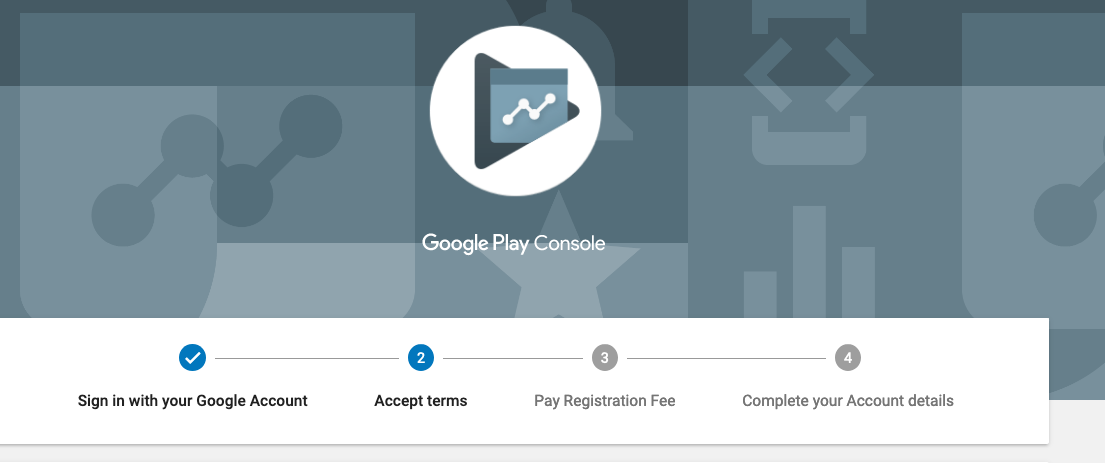
Once you’re signed into the Play Console, it’s time to upload the app. Navigate to All applications and then Create application. Enter a name for your application and the language of choice.
Proceed to creating your app’s store listing, enter a description of what it does, some screenshots and other marketing material. Take the content rating questionnaire and set up pricing and distribution.
Under Release management, upload the generated APK to the artifact library. I recommend using the app signing by Google Play, as this is a managed signing service and voids the need to manage the signing yourself.
To submit your app for review, you need to roll out a release under App releases. Walk through the steps of the wizard, select Review, Review and roll out release and then Confirm the rollout.
At this point it may take a few or several days before the app is published to the store. Later updates are not required, as the TWA will always serve the latest version of your app from the web.
Once your app is published, you may need to repeat the steps in the previous asset link section, as the published APK will have a different signature. After that, your users will be able to install your app via the Play Store.
Conclusion
In this post we’ve learned what a TWA is, how we can create one with PWABuilder and how to publish it to the Play Store.
This is a big step forward for publication of web apps to the native app stores of the popular mobile platforms, as it eliminates the complexity of creating a native wrapper. I’m hoping that this sets a precedent that Apple will soon follow with their iOS App Store.
If you need help with building Progressive Web Apps, or TWAs, please get in touch with us.
