Build & Release Serverless Apps with Github Actions
Tags: serverless github cicd
I was lucky enough to get invited to the Github Actions Beta programme. I have also been doing a lot of work with AWS SAM, and had been looking to publish some common serverless patterns to the Serverless Application Repository. As a proponent of all things serverless, I was wondering how Github Actions could be configured to enable publishing to the AWS Serverless Application Repository,
What is the Serverless Application Model?
The Serverless Application Model (SAM) is an open source framework provided by AWS. The goal of SAM is to make it easy to build serverless applications using resources in the AWS Cloud. SAM consists of two main components; a super-set specification of CloudFormation, and a CloudFormation macro that converts a SAM template into standard CloudFormation.
What is the Serverless Application Repository?
The Serverless Application Repository (SAR) is a managed repository provided by AWS to host blueprints for serverless applications. If you have a serverless application that would be useful as a reusable component - you can publish it to the SAR and then yourself and others can launch it directly from there. Patterns you create can be shared privately to specific AWS accounts, or you can specify them as public; allowing anyone with an AWS account to discover the pattern and launch it.
What is Github Actions?
Github Actions is a platform for building workflows that integrate with Github events. The obvious use-case is for CI/CD triggered on various actions directly on a Git repository, but you can also execute logic from actions that originate from PRs, comments, raising issues etc. Workflows and individual actions are defined in YAML and executed via containers or javascript. Custom actions can be stored in other repositories to promote reuse. Github actions is currently in beta, with a plan to become generally available in November 2019.
Why not use CodePipeline?
The only issue I take with CodePipeline is that it does not support dynamic detection of git references - you must select a particular reference to track (e.g. a specific branch). I find this makes certain workflows difficult to implement without either cluttering the pipeline with branching logic (i.e. do this if this commit is tagged), or introducing additional infrastruture (e.g. CloudWatch Events and Lambda). That being said, CodePipeline does have a lot of things going for it, native integration with AWS IAM being a prime example. Any third-party solution is going to require storing keys to authenticate with AWS which will require more investment in time and effort to maintain an adequate security posture. Like most things in tech there is a trade-off involved.
My Typical Release Workflow
My typical CI pattern for something contains the following elements;
-
A continuous integration process that builds and tests every push/merge to every branch.
This is to ensure that the branch can be built and tested correctly before pushed to master. If this fails, I want to prevent the code from being merged to master. Once merged, the state of the master branch has changed and therefore I want the tests to be re-executed to ensure the head of master remains in a releasable state.
-
A process that releases an artifact when a tag is pushed to the head of master.
When I’m comfortable to make a new release, I push a tag in semantic version format to the master branch. This should cause an artifact to be released to an appropriate repository e.g. docker hub, serverless application repository, NPM etc. I may reuse an artifact that has already been built and tested when a merge occurred to master, but more often than not it is just simpler to rebuild and release.
This is not dissimilar to the ‘split build and release’ pipeline that Forrest Brazeal mentions on Serverless Chats. It is my preferred pipeline to use when a package repository is a non-negotiable element, either because it is a reusable template (e.g. library code) or the deployment involves needed to pull from a central repository (e.g. container orchestration systems). I’m usually less concerned with splitting build and release for something I expect to continuously releasing off the head of master, like an internal application or SaaS product. In this cases I’m not normally delegating control of what version is used to the client.
I prefer my CI system to have limited git permissions. I’ve seen plenty of pipelines that do auto-tagging and/or create commits. I am generally not a fan of this, as I prefer the flow of data (in this case changes to the repository) to be one way. I personally find it very annoying parsing out auto-generated commits from a repositories history, and at worst I’ve seen teams accidently overwrite history and/or destroy their code bases. For these reasons I try to avoid it.
Creating a Github Actions Workflow
The first step to configuring Github Actions is to create a folder called .github at the base of the repository. The structure typically looks as follows
.github
├── actions
└── workflows
    └── ci.yml
Any custom actions that you want to host within the repository for performing specific actions can be placed in the actions folders. Workflows, which are triggered via various events within github, are defined in the workflow folder.
Let’s take a look at my ci.yml file, which defines my workflow.
name: CI
on:
push:
branches:
- master
tags:
- '*'
jobs:
checkout:
name: Checkout
runs-on: ubuntu-latest
steps:
- name: Checkout
uses: actions/checkout@v1
- name: Prepare Environment
uses: actions/setup-node@v1
with:
node-version: '10.x'
- name: Install
run: npm ci
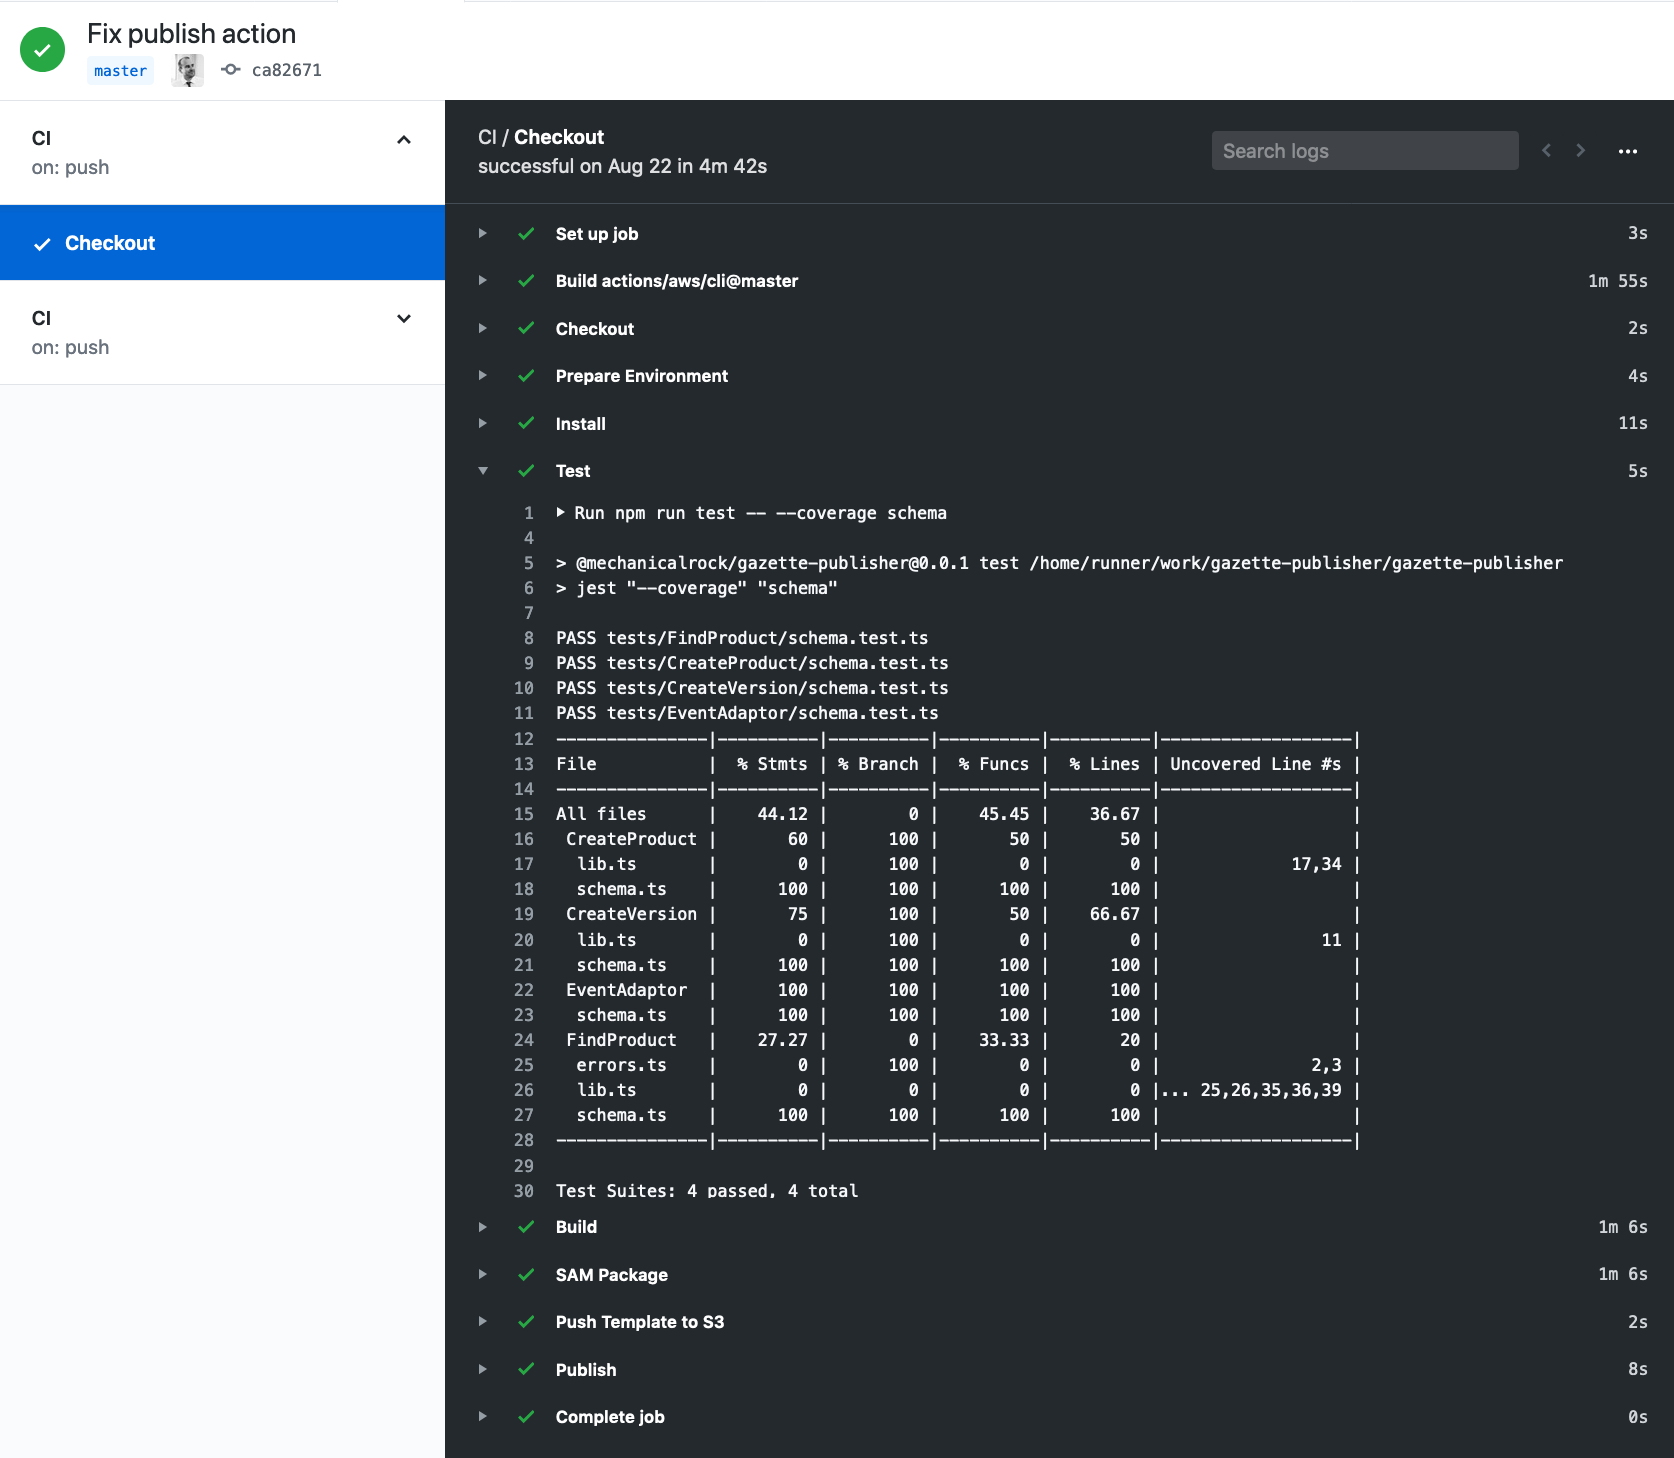
- name: Test
run: npm run test -- --coverage
env:
AWS_ACCESS_KEY_ID: $
AWS_SECRET_ACCESS_KEY: $
- name: Build
run: npm run build
- name: SAM Package
uses: ./.github/actions/sam/package
env:
SAM_CLI_TELEMETRY: 0
AWS_ACCESS_KEY_ID: $
AWS_SECRET_ACCESS_KEY: $
with:
prefix: $/$
bucket: $
template_file: template.yaml
output_template_file: $.yaml
working_directory: ./.aws-sam/build
- name: Push Template to S3
uses: actions/aws/cli@master
env:
AWS_ACCESS_KEY_ID: $
AWS_SECRET_ACCESS_KEY: $
with:
args: >-
s3 cp ./.aws-sam/build/$.yaml
s3://$/$/$/template.yaml
- name: Publish
if: startsWith(github.ref, 'refs/tags')
uses: ./.github/actions/sam/publish
env:
SAM_CLI_TELEMETRY: 0
AWS_ACCESS_KEY_ID: $
AWS_SECRET_ACCESS_KEY: $
with:
TEMPLATE: ./.aws-sam/build/$.yaml
OK, let’s break this down a bit. The first few lines supply some metadata about the workflow itself. We give the workflow the name ‘CI’, and we provide some information as to when the workflow should trigger. In this case, pushing to master or pushing tags will trigger the workflow on the matching commit.
name: CI
on:
  push:
    branches:
    - master
    tags:
      - '*'
From here, we defines ‘jobs’. These determine the actions that take place during the workflow, and in what order. The first couple of steps taken during the workflow are used to checkout the code, and to setup a node environment. The uses statement defines a particular action that we want to use. There are two standard actions in use here - actions/checkout@v1 and actions/setup-node@v1 which are provided by Github. The source for these actions are provided here and here. The runs-on directive specifies the environment to run in - I’m using the latest ubuntu image but Github has images available for Windows and MacOS too.
jobs:
  checkout:
    name: Checkout
    runs-on: ubuntu-latest
    steps:
    - name: Checkout
      uses: actions/checkout@v1
    - name: Prepare Environment
      uses: actions/setup-node@v1
      with:
        node-version: '10.x'
My next few steps are to install, build and test. The only thing of note here is the use of secrets. I have integration tests that require access to resources in an AWS environment - therefore I need to store some credentials. Github provides a way to store secrets on a per-repository basis. Storing secrets in github is one-way: once your secrets are saved you cannot retrieve them, they can only be deleted or replaced. Once stored you can retrieve them via the parameter expansion syntax as displayed in the example.
For more information on using secrets in github, see here.
    - name: Install
      run: npm ci
    - name: Test
      run: npm run test -- --coverage
      env:
        AWS_ACCESS_KEY_ID: $
        AWS_SECRET_ACCESS_KEY: $
    - name: Build
      run: npm run build
Our next step is to create actions that can perform sam package and publish commands. First let’s have a look at the their entries in the workflow file.
    - name: SAM Package
      uses: ./.github/actions/sam/package
      env:
        SAM_CLI_TELEMETRY: 0
        AWS_ACCESS_KEY_ID: $
        AWS_SECRET_ACCESS_KEY: $
      with:
        prefix: $/$
        bucket: $
        template_file: template.yaml
        output_template_file: $.yaml
        working_directory: ./.aws-sam/build
We can see each action defines environment variables that once again point to the AWS credentials. We also specify some paramaters via the with entry. Most importantly, the uses key specifies a path in the repository for a specific action to use. My expanded structure now looks like this:
.github
├── actions
│   └── sam
│       └── package
│           ├── action.yaml
│           ├── dockerfile
│           └── entrypoint.sh
└── workflows
    └── ci.yml
This particular action includes three files, action.yaml, a dockerfile, and an entry-point script for the dockerfile.
The action.yaml file details metadata about the particular action. We can see that the parameters that we specified earlier in the ‘with’ directive of the step are all defined in the action.yaml file. We can see that it also includes other information, like whether the parameter is required and whether there are any default values for a particular parameter.
name: AWS SAM Package
description: Package a SAM application
author: matt.tyler@mechanicalrock.io
runs:
  using: docker
  image: Dockerfile
inputs:
    bucket:
      description: bucket to put artifacts into
      required: true
    template_file:
      description: the template file
      required: false
    prefix:
      description: bucket prefix
      required: false
    output_template_file:
      description: Output file
      required: false
      default: packaged.yaml
    working_directory:
      description: Working directory
      required: false
      default: "."
We’ll skip the dockerfile because there is nothing special in it, but it is worth taking a look at the entrypoint script. It should be reasonably clear that any parameters like ‘working_directory’ are injected as environment variables into the docker environment by capitalising them and prefix them with ‘INPUT_’: ‘working_directory’ therefore becomes ‘INPUT_WORKING_DIRECTORY’. My entrypoint scripts main purpose is to prepare the arguments to the sam package command. I also copy command output to a directory located within the github actions environment - this output can then be parsed and used in actions/steps that executed later.
#!/bin/bash

set -e

cd $INPUT_WORKING_DIRECTORY

# Respect AWS_DEFAULT_REGION if specified
[ -n "$AWS_DEFAULT_REGION" ] || export AWS_DEFAULT_REGION=us-east-1

# Respect AWS_DEFAULT_OUTPUT if specified
[ -n "$AWS_DEFAULT_OUTPUT" ] || export AWS_DEFAULT_OUTPUT=json

ARGS=()

(( -z "$PREFIX" )) && args+=( "--prefix $PREFIX")

ARGS+=( "--s3-bucket $INPUT_BUCKET" )
ARGS+=( "--template-file $INPUT_TEMPLATE_FILE" )
ARGS+=( "--output-template-file $INPUT_OUTPUT_TEMPLATE_FILE" )

CMD="sam package ${ARGS[@]}"

output=$( sh -c "$CMD" )

# Preserve output for consumption by downstream actions
echo "$output" > "${HOME}/${GITHUB_ACTION}.${AWS_DEFAULT_OUTPUT}"

# Write output to STDOUT
echo "$output"
When this action executes it will upload code assets to the bucket I specified in the step definition. It will also rewrite the references in the SAM template to point to the location of these assets - and write it out $.yaml. I usually like to upload this output file to the bucket as well, so I will do this using the following action. This action simply takes the command and feeds it to the aws-cli tool.
    - name: Push Template to S3
      uses: actions/aws/cli@master
      env:
        AWS_ACCESS_KEY_ID: $
        AWS_SECRET_ACCESS_KEY: $
      with:
        args: >-
          s3 cp ./.aws-sam/build/$.yaml
          s3://$/$/$/template.yaml
The last step is to publish the pattern to the serverless application repository. The step definition has an additional directive if. If the command it references evaluates to true, the step is executed. If it does not, the step is skipped.
    - name: Publish
      if: startsWith(github.ref, 'refs/tags')
      uses: ./.github/actions/sam/publish
      env:
        SAM_CLI_TELEMETRY: 0
        AWS_ACCESS_KEY_ID: $
        AWS_SECRET_ACCESS_KEY: $
      with:
        TEMPLATE: ./.aws-sam/build/$.yaml
My action.yaml file is a lot simpler in this case, because I do not need as many parameters.
name: AWS SAM Publish
description: Publish a SAM application
author: matt.tyler@mechanicalrock.io
runs:
  using: docker
  image: Dockerfile
inputs:
    template:
      description: template
      required: false
      default: packaged.yaml
A big reason for this is that most of the metadata I need to publish to the SAR is contained within the template, as can be seen in the below snippet.
AWSTemplateFormatVersion: "2010-09-09"
Transform: AWS::Serverless-2016-10-31
Metadata:
  AWS::ServerlessRepo::Application:
    Name: gazette-publisher
    Description: Publish CloudFormation templates to AWS Service Catalog via S3
    Author: Matt Tyler
    SpdxLicenseId: Apache-2.0
    LicenseUrl: LICENSE.txt
    ReadmeUrl: README.md
    HomePageUrl: https://github.com/MechanicalRock/gazette-publisher
    SourceCodeUrl: https://github.com/MechanicalRock/gazette-publisher
    #... rest of the template
The code within my entrypoint.sh for the publish action is doing all the heavy-lifting. I have a bit of code to determine whether the associated tag is a valid semantic version, but other than it is all about calling sam publish. The publish command is capable of determining whether this a new application, or an update, so I don’t need to do much to get it all working.
#!/bin/bash

set -e

# Respect AWS_DEFAULT_REGION if specified
[ -n "$AWS_DEFAULT_REGION" ] || export AWS_DEFAULT_REGION=us-east-1

# Respect AWS_DEFAULT_OUTPUT if specified
[ -n "$AWS_DEFAULT_OUTPUT" ] || export AWS_DEFAULT_OUTPUT=json

VERSION=$(git describe --exact-match --tags)

if ! [[ $VERSION =~ ^[0-9]+\.[0-9]+\.[0-9]+$ ]]; then
    echo "Tag is not a semantic version: $VERSION"
    exit 1
fi

ARGS=()

ARGS+=( "--template $INPUT_TEMPLATE" )
ARGS+=( "--semantic-version \"$VERSION\"" )

CMD="sam publish ${ARGS[@]}"

output=$( sh -c "$CMD" )

# Preserve output for consumption by downstream actions
echo "$output" > "${HOME}/${GITHUB_ACTION}.${AWS_DEFAULT_OUTPUT}"

# Write output to STDOUT
echo "$output"
If this is the first time the application is published to the serverless application repository it will be set to private mode. To share the pattern to additional accounts or to set it to public, you will need to login to the AWS Console to perform extra configuration.
Conclusion
I hope this has served as a reasonable introduction to github actions, and publishing to the serverless application repository. We saw how to split a pipeline into build and release stages, and when/why you may want to do so. Finally, we saw how to define a workflow, how to use actions provided by github and the community, and how to define our own custom actions in the repository.
Need help managing CI/CD and release processes at your company? Contact Mechanical Rock to Get Started!