Integrating Auth0 Authentication into React
Tags: Auth0 react authentication typescriptAuthentication and Authorization is objectively the most important part of any application, So why is it so often left to the end of development cycles or implemented in a slapdash manner?
It may be due to the difficulty in creating authentication systems and implementing them into our applications, but with the tools and services available to developers it has become easier and easier to create a robust, secure and easy to use system. So let’s not wait and get started on integrating Auth0 into a new React application!
Contents
Why Auth0?
Auth0 is one of the most highly reputed companies working in this space. Why build your own service when you can get the years of experience and knowledge dedicated to making sure your users login data is safe?
Auth0 provides Authentication, Authorization, Social Logins, MFA, Analytics and lots more, And to make it all the sweeter, has amazing developer documentation. All of this is completely free if you have under 7000 users!
But what is OAuth?
To keep it brief, OAuth is a set of open standards for authorization which anyone can use, The standards describe how apps can provide clients with “Secure delegated access” using access tokens instead of credentials.
You can read more about OAuth here
Create Auth0 Application
Let’s start with creating a new Auth0 Application
Login to Auth0 (or create a new account if you haven’t already) and navigate to your Dashboard
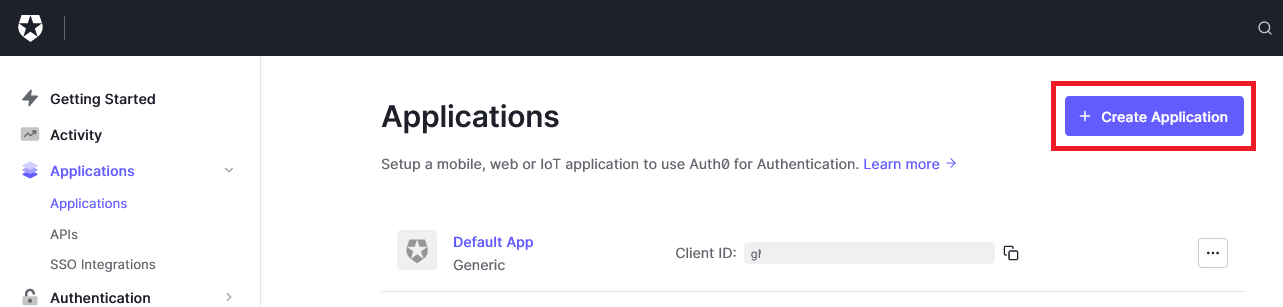
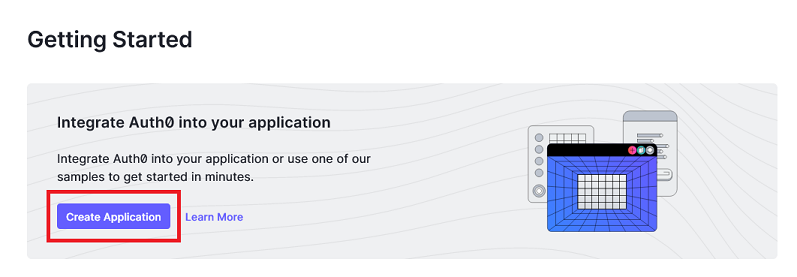
Select Applications > Applications from the side menu (or alternatively the Create Application on the Getting Started page)
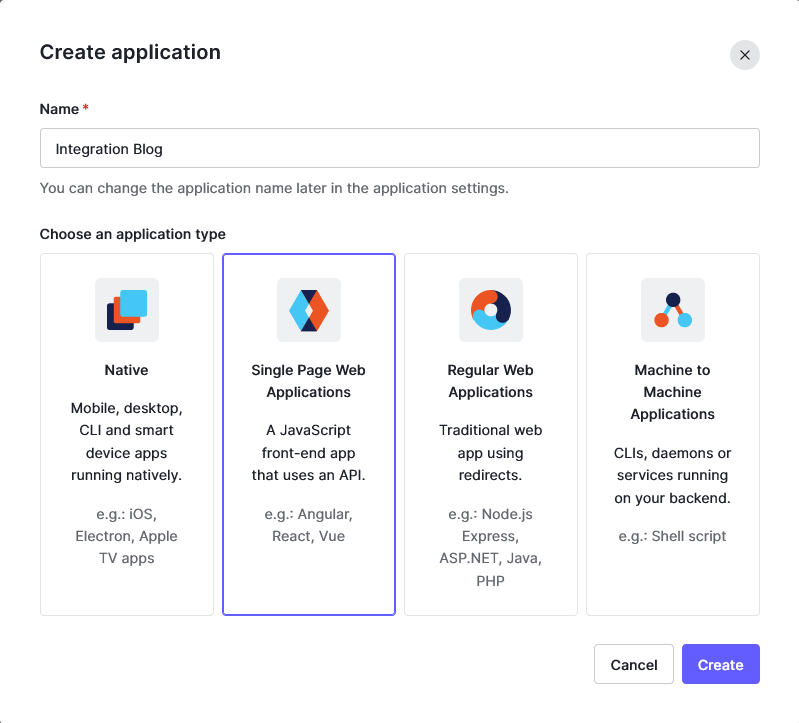
Here we will be able to give our Auth0 Application a name, and a type, In our example, we will select Single Page Web Applications
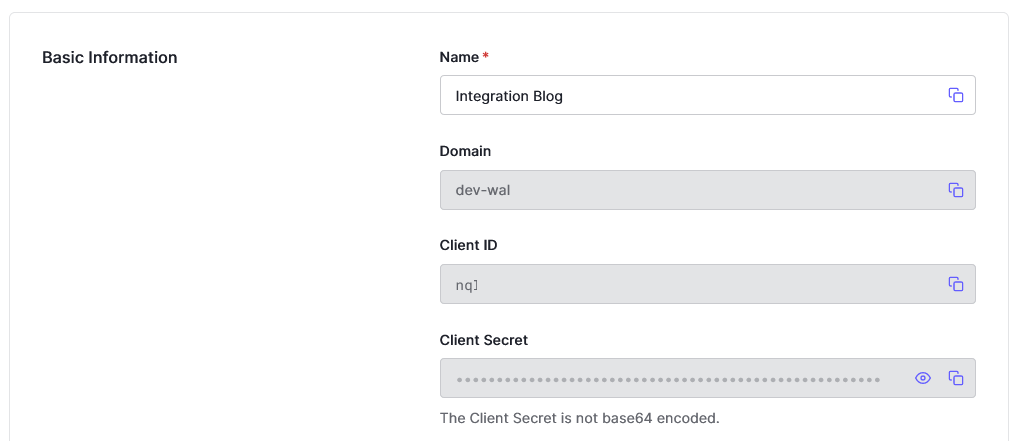
Once the application has been created, Navigate to the Settings and these are the key credentials we will need to integrate Auth0 into our application
One last step before we can begin integrating, We need to let Auth0 know where we are allowed to send users after authentication or logout, These are the Allowed Callback URLs and the Allowed Logout URLs, in addition, if you would like Auth0 to handle refreshing the users token and session persistence, we will need to configure the Allowed Web Origins as well.
We will set all three values here to http://localhost:3000 for now (or whichever port you have configured your local React application runs on), In deployed applications, these values will be the fully qualified address of you applications (i.e. https://example.com)
Remember to Save your changes

Integrate with React
For this post I will be working with create-react-app using the typescript template. The Auth0 SDK has full Typescript support in-built.
Firstly, we will install the Auth0 SDK
npm install @auth0/auth0-react
The SDK has everything you will need to integrate your application with Auth0, Under the hood it uses React Context to keep track of your users state.
The easiest way to integrate Auth0 is by wrapping your entire application with the convenient Auth0Provider
// /src/index.tsx

import React from 'react';
import ReactDOM from 'react-dom/client';
import './index.css';
import App from './App';
import reportWebVitals from './reportWebVitals';

const root = ReactDOM.createRoot(
  document.getElementById('root') as HTMLElement
);
root.render(
  <React.StrictMode>
    <Auth0Provider
      domain='<Your Auth0 domain>'
      clientId='<Your applications Client ID>'
      redirectUri='http://localhost:3000'
    >
      <App />
    </Auth0Provider>
  </React.StrictMode>
);
The Auth0Provider takes in two mandatory values, domain and clientId, Both of these can be found in the Settings for your Auth0 application. In addition, an optional but important parameter is the redirectUri, This will tell Auth0 where to send your users after authenticating successfully.
The Auth0Provider keeps track of your users authenticated state and exposes all the Auth0 integrations to your application via React Context.
Congratulations! You’ve now integrated your Auth0 Application with your React Application!
But wait, How do users login?
I knew we forgot something. OK, let’s give our users a login button.
// /src/components/LoginButton.tsx

import React, { FC } from 'react';
import { useAuth0 } from "@auth0/auth0-react";

const LoginButton: FC = () => {
    const { loginWithRedirect } = useAuth0();

    const style = {width: '200px', height: '50px', margin: '20px'} // Give the button a bit of substance

    return <button style={style} onClick={() => loginWithRedirect()}>Log In with Auth0</button>;
}

export default LoginButton;
// /src/App.tsx
...
import LoginButton from './components/LoginButton';

function App() {
  return (
    <div className="App">
      <header className="App-header">
        ...
        <a
          ...
        >
          Learn React
        </a>
        <LoginButton />
      </header>
    </div>
  );
}
...
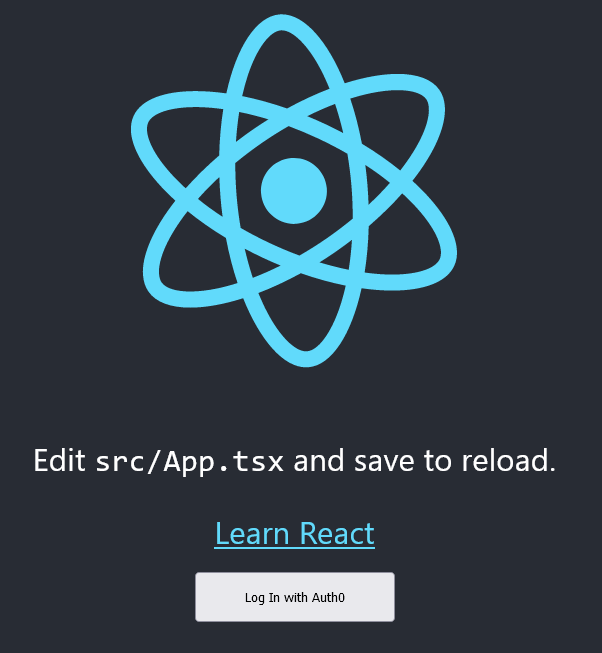
The button itself makes use of one of the amazing Hooks provided by the Auth0 SDK useAuth0
useAuth0 is our go to for a lot of functionality in our integration, But what we are interested in is the loginWithRedirect method.
This function will take our configuration of our Auth0Provider, and once executed will redirect the user to the Auth0 Universal Login Page and after a user has successfully authenticated, redirect them back to our application! Very cool!
Let’s see what happens if we try to login.
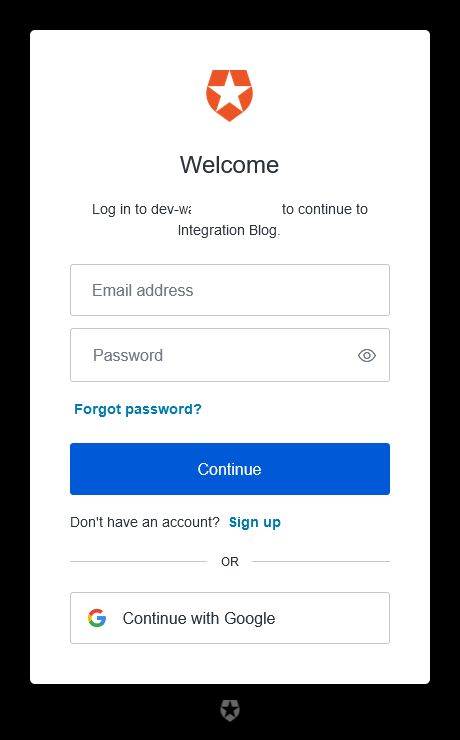
Auth0 by default enabled Google as a social provider for all new applications, this connection uses some basic development credentials, so if you are looking to use Google as a social provider for production you should configure your own provider credentials in the Connections section of the Auth0 Application
Beautiful, Users can now Sign In, Sign Up and perform Password recoveries all with this universal login page.
Great, Now how about logout?
Ready to see them go already?, Well this is just as easy.
Firstly let’s create a new Logout button.
// /src/components/LogoutButton.tsx

import React, { FC } from 'react';
import { useAuth0 } from "@auth0/auth0-react";

const LogoutButton: FC = () => {
    const { logout } = useAuth0();

    const style = {width: '200px', height: '50px', margin: '20px'} // Give the button a bit of substance

    return <button style={style} onClick={() => logout()}>Logout</button>;
}

export default LogoutButton;
Here we will once again utilise the useAuth0 hook this time with the logout method, Pretty straight forward right?
The logout method will direct your users to your Auth0 logout endpoint, and once completed, will redirect them to your root page (i.e. http://localhost:3000).
It can also be configured with an optional parameter returnTo to direct them to another part of your application if you would like.
logout({ returnTo: 'http://localhost:3000/logout' })
Be aware, this returnTo parameter MUST be included in your Allowed Logout URLs that we configured earlier
// /src/App.tsx
...
import LoginButton from './components/LoginButton';
import LogoutButton from './components/LogoutButton';

function App() {
  return (
    <div className="App">
      <header className="App-header">
        ...
        <a
          ...
        >
          Learn React
        </a>
        <LoginButton />
        <LogoutButton />
      </header>
    </div>
  );
}
...
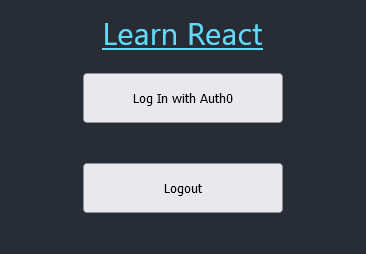
Awesome, we now have User Signup, Login, and Logout!
User information and Profile
Now that our users can login, How do we go about getting their information such as Name, Email address, Profile Picture etc?
Alright, let’s create a new component that will retrieve that for us.
// /src/components/Profile.tsx

import React, { FC } from 'react';
import { useAuth0 } from "@auth0/auth0-react";

const Profile: FC = () => {
    const { user, isAuthenticated, isLoading } = useAuth0();

    if (isLoading) {
        return <div>Loading...</div>
    }

    return (
        <div>
            {isAuthenticated && user && (
                <>
                    <img src={user.picture} alt={user.name} />
                    <h2>{user.name}</h2>
                    <p>{user.email}</p>
                </>
            )}
        </div>
    );
}

export default Profile;
Once again, the useAuth0 hook showing its strengths! We can get the user object, check if they are authenticated, and that everything has been fully loaded before displaying the user profile.
Now we can add that to our homepage
// /src/App.tsx
...
import LoginButton from './components/LoginButton';
import LogoutButton from './components/LogoutButton';
import Profile from './components/Profile';

function App() {
  return (
    <div className="App">
      <header className="App-header">
        <LoginButton />
        <LogoutButton />
        <Profile />
      </header>
    </div>
  );
}

export default App;
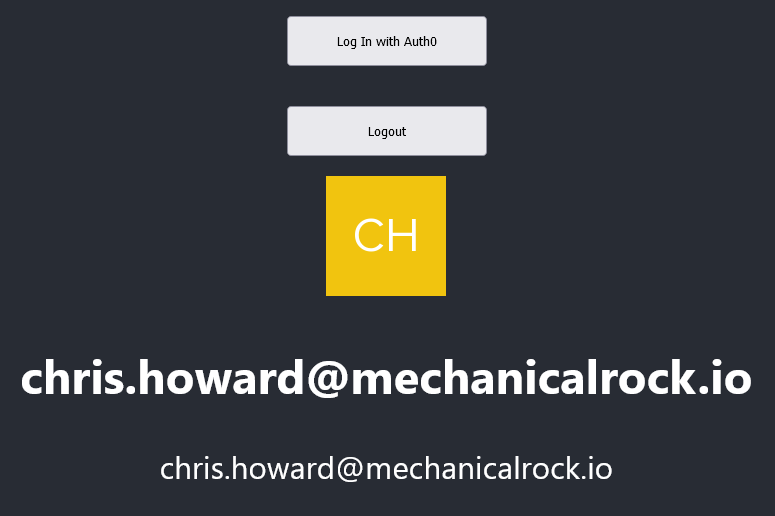
There we go! A fully integrated user Authenticated system and an amazing launch point for all of your Authentication and Authorization needs.
Conclusion
We have just touched the surface of what Auth0 can do by implementing Authentication into our Application. Authorization is another piece of the puzzle that Auth0 can perform.
Auth0 has great Analytics, User Management, RBAC, MFA, Multi-tenancy and many more
You can learn more at Auth0 or read their Docs.
Don’t be shy, get in touch with us!
![]()
Header image by Markus Spiske on Unsplash